
Homemade Hair Masks for Dry Type 4 Hair
Disclosure: Some of the links in this post are affiliate links. This means if you click on the link and purchase an item, I will receive an affiliate commission at no extra cost to you.
Type 4 hair has a reputation for being dry, and honestly, that reputation is well earned. The tight coil pattern makes it genuinely harder for natural oils to travel down each strand. A weekly conditioner alone often isn’t enough to keep this hair type feeling soft. That’s exactly where a good hair mask earns its place in your routine.
Masks offer a concentrated dose of moisture that regular conditioner simply can’t match. They’re also flexible enough to fit into almost any existing hair care routine.
This guide walks through why type 4 hair needs extra moisture and how to spot dryness early. It also shares several homemade mask recipes worth trying, along with application tips and timing. A few common mistakes and troubleshooting notes are covered too.
If you’re looking for styling ideas to pair with healthier hair, take a look. These 75 gorgeous afro hairstyles you’ll want to try this year are a great place to start.
Healthy, well-moisturized hair genuinely makes every style on that list easier to achieve. Let’s get into why moisture matters so much for this particular hair type.
Homemade Hair Masks for Dry Type 4 Hair
Why Type 4 Hair Needs Extra Moisture
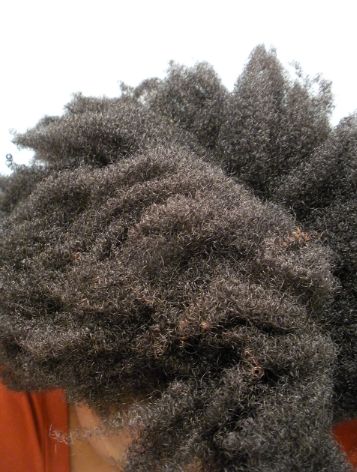
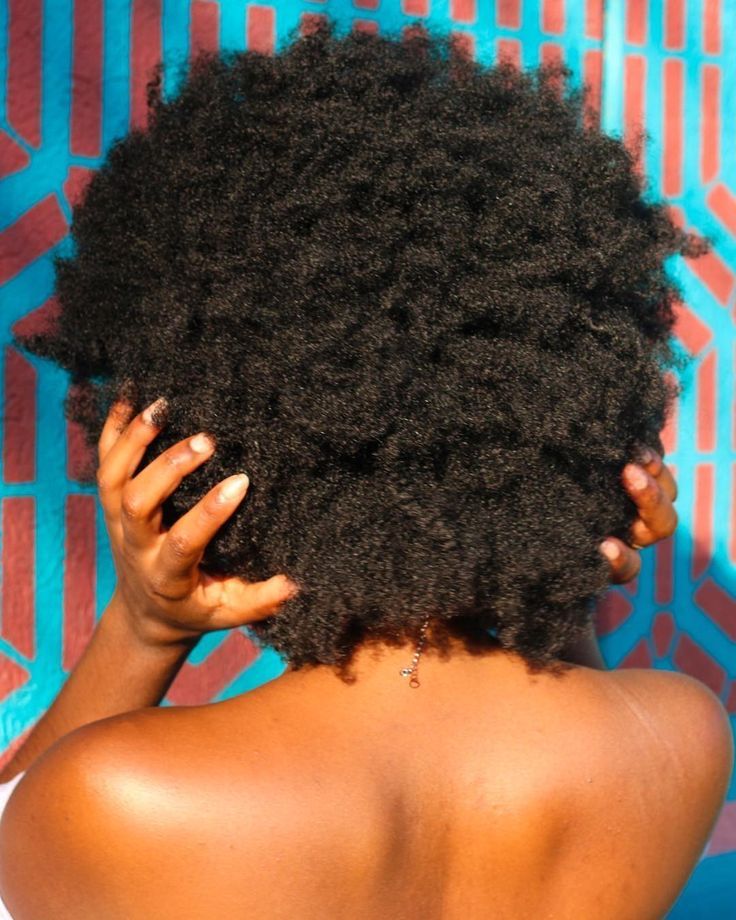
Type 4 hair has the tightest curl pattern of any natural hair type, often forming a Z-shaped coil. Each bend in the strand creates a point where natural scalp oil struggles to travel further.
This means the ends of type 4 hair are almost always the driest part. More moisture, applied more often, is usually the right answer here.
This is true regardless of how long or short your hair currently is. Even a fresh trim won’t fully solve dryness without a consistent moisture routine behind it.
This dryness isn’t a flaw, it’s simply how this hair type is naturally built. Understanding that structure helps explain why type 4 hair needs a different approach.
Looser curl patterns simply don’t face the same moisture challenges.
Dry hair is also more fragile hair, and that matters for styling choices. It’s worth considering before wearing any of these 60 protective styles that actually help with length retention.
Strong, moisturized strands hold up far better under the tension of braiding or twisting. Skipping moisture now often leads to more breakage later on.
Signs Your Hair Needs a Hair Mask
Hair that feels rough to the touch, even right after washing, is usually the clearest sign. A dull appearance that lacks shine, no matter how much product you apply, points to dryness too.
Excessive breakage during detangling is another common signal worth paying attention to.
These signs often show up gradually, which makes them easy to overlook at first. Paying closer attention during wash day helps you catch dryness before it worsens.
Curls that look shrunken and lifeless rather than springy and defined often need more moisture.
So does hair that tangles unusually fast after just a day or two. These signs tend to show up gradually rather than all at once.
A sudden change in how your hair usually behaves is often the clearest signal of all. Trust that instinct, even before you can pinpoint exactly what feels different.
Catching these signals early prevents small dryness from becoming a bigger, more frustrating problem.
A regular mask routine, done consistently, keeps these signs from showing up in the first place.
Think of masks as prevention rather than just a reaction to visible damage. This mindset shift makes consistency feel more worthwhile over time.
Hair Masks vs Deep Conditioners: What’s the Difference
Hair masks and deep conditioners often get used interchangeably, but they serve slightly different purposes.
Masks tend to be richer and heavier, designed to sit on the hair for a shorter period. Deep conditioners usually focus more on penetrating the hair shaft over a longer processing time.
Think of masks as a quick, concentrated boost and deep conditioners as a slower, deeper treatment. Both have a place, and neither one needs to be used exclusively.
If you already have a solid deep conditioning routine, masks can slot in nicely alongside it.
Check out these DIY deep conditioning treatments for afro hair if you’re just getting started. Both play a role in a complete natural hair care routine.
Neither one fully replaces the other, since they address slightly different needs. Understanding this distinction helps you build a more balanced, effective routine overall.
Most well-rounded routines end up using both at different points in the month.
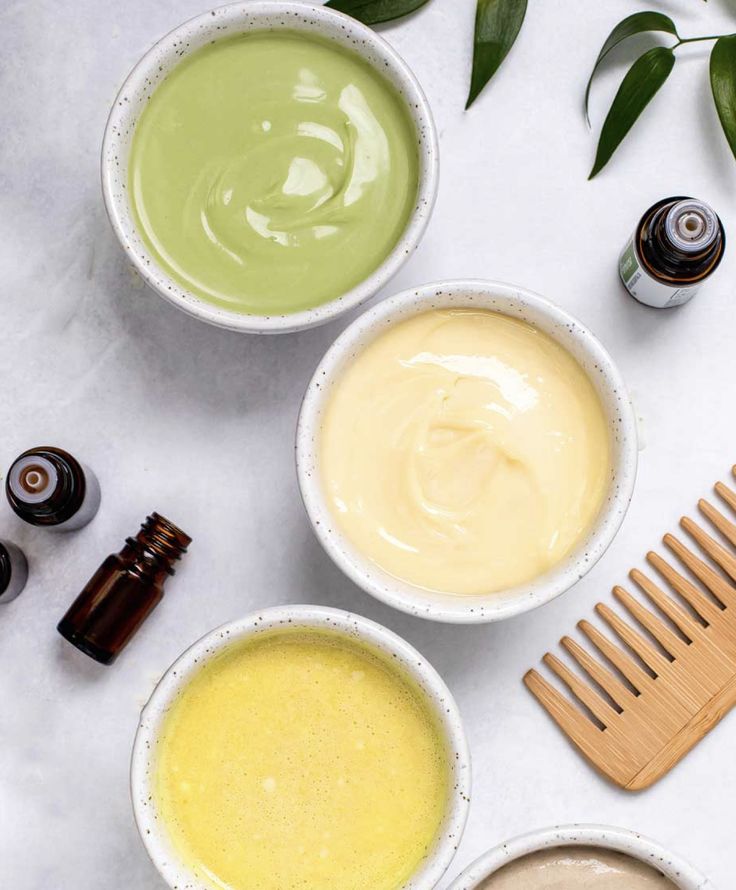
Shea Butter and Coconut Oil Mask
Melt one tablespoon of raw shea butter with one tablespoon of coconut oil until smooth. Shea butter is incredibly rich in fatty acids that coat and protect each strand.
Coconut oil helps the mixture penetrate slightly deeper than shea butter alone. Warming both ingredients together first makes them easier to blend evenly.
Apply the warm mixture generously from mid-shaft to ends, where dryness usually concentrates. Leave it on for thirty minutes under a plastic cap before rinsing with a gentle shampoo.
This combination works especially well for very coarse, tightly coiled type 4 hair.
The plastic cap traps body heat, which helps the shea butter and coconut oil melt further into your strands.
Some people also add a warm towel over the cap for extra warmth. This small addition can noticeably boost how deeply the mask penetrates.
This mask also works well as a monthly treatment for hair that’s generally healthy but needs a boost. Save the more frequent treatments for hair going through a noticeably dry stretch.
If your hair also feels weak or overly stretchy, try alternating recipes some weeks. A diy protein treatments for natural hair session works well in place of this one.
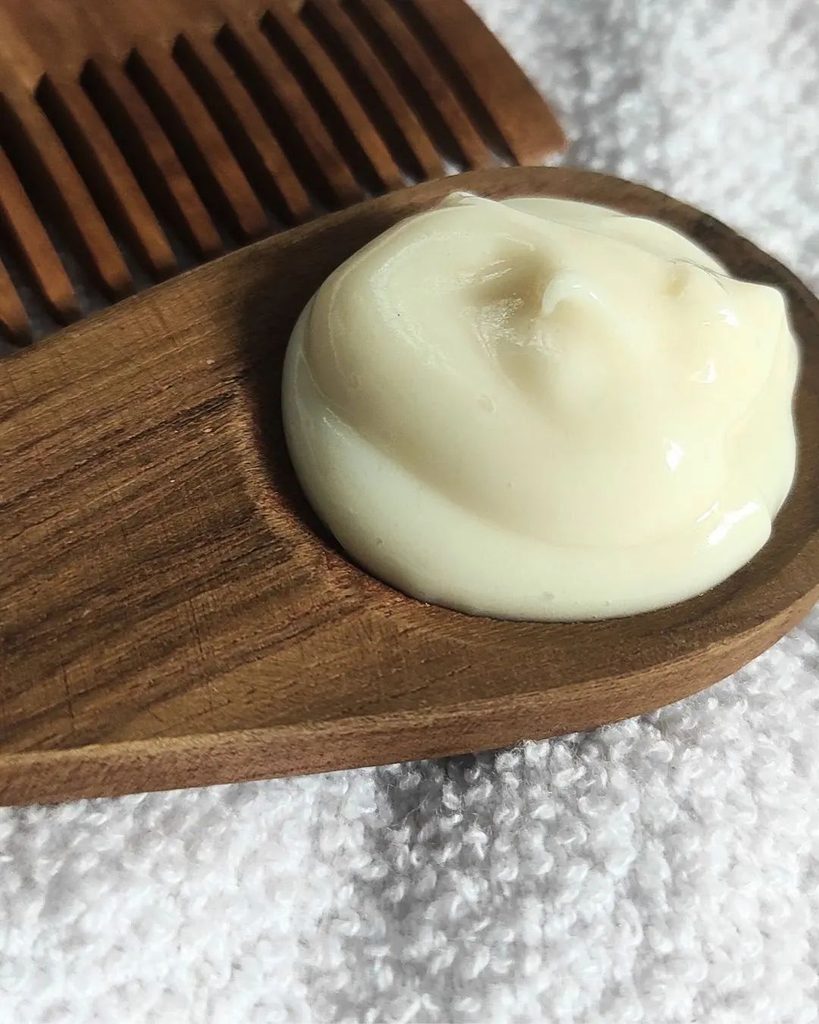
Avocado and Olive Oil Mask
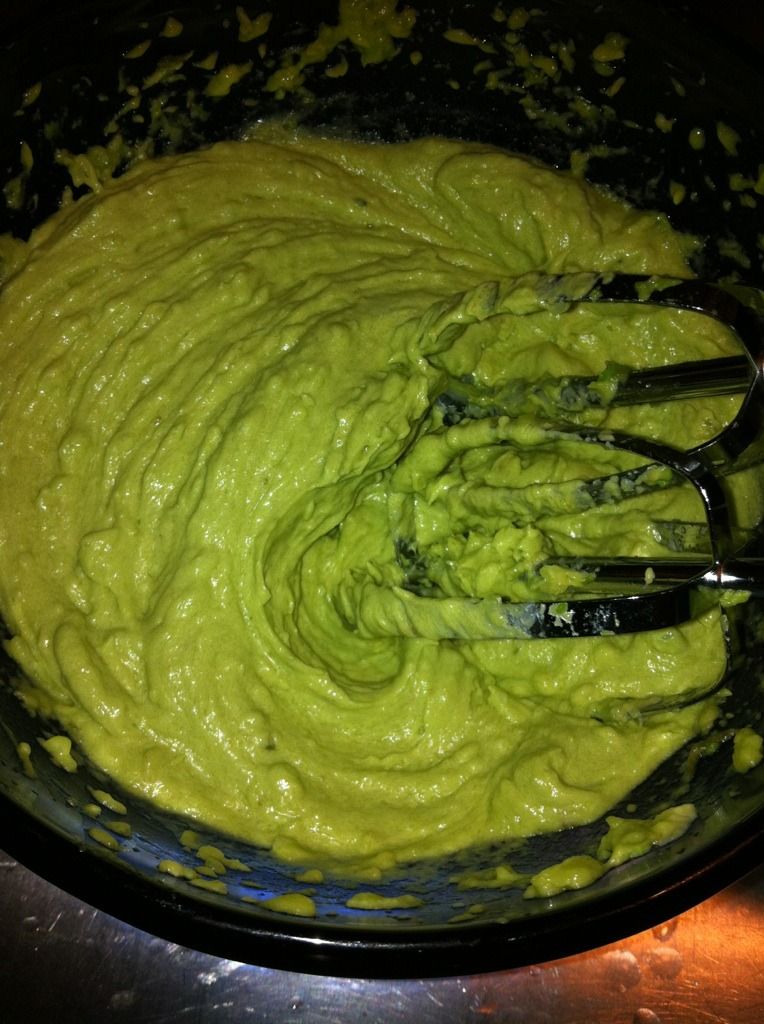
Mash half a ripe avocado until completely smooth, with no lumps remaining. Mix in one tablespoon of olive oil until the mixture becomes creamy and easy to spread.
Avocado is rich in healthy fats that closely mimic your scalp’s own natural oils. A very ripe avocado mashes far more easily than a firmer one.
Apply generously throughout dry or damp hair, focusing extra attention on your ends. Leave the mask on for twenty to thirty minutes before rinsing thoroughly with cool water.
This treatment leaves curls feeling noticeably softer after just one single use.
This mask also works well on second-day hair that’s starting to feel a little dry. A quick refresh mid-week can extend the time between full wash days. Many people keep a small batch ready specifically for this purpose.
This flexibility makes avocado one of the more versatile ingredients in any natural hair routine.
Once your hair is rinsed and fully dry, it’s a great time to try something new. These 45 braid-out styles you’ll want to screenshot show off freshly moisturized curls beautifully.
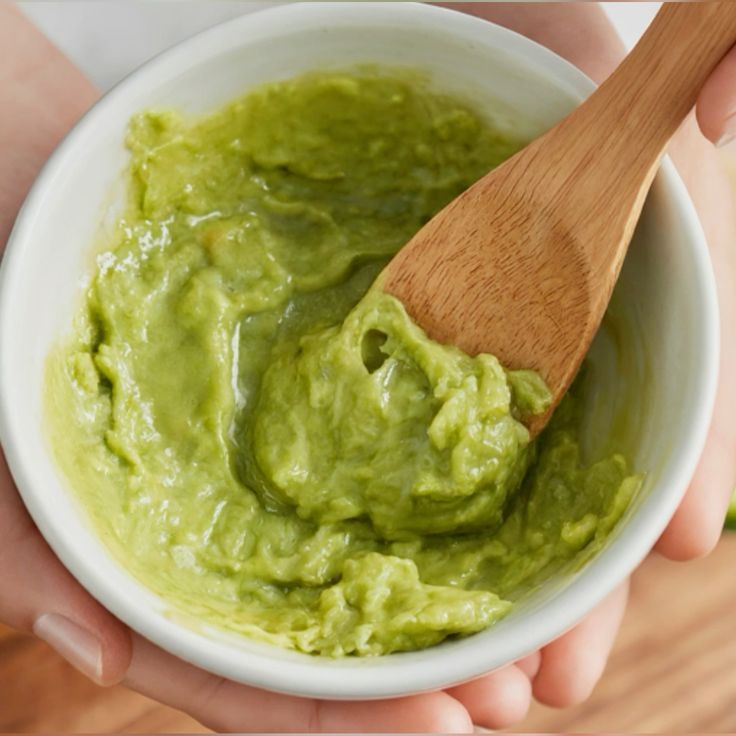
Honey and Yogurt Moisture Mask
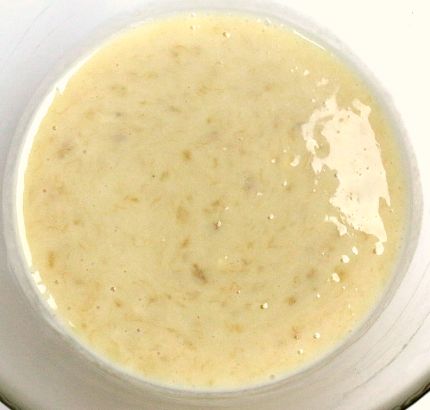
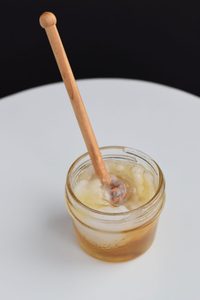
Combine two tablespoons of raw honey with two tablespoons of plain, full-fat yogurt. Honey pulls moisture into the hair shaft and helps lock it there.
Yogurt adds a light protein boost along with a bit of gentle, clarifying acidity. This combination feels lighter than many other masks on this list.
Apply the mixture evenly from roots to ends, then cover with a shower cap for twenty minutes. Rinse thoroughly with lukewarm water, since honey can feel slightly sticky if not fully removed.
This mask works especially well between wash days when hair needs a quick moisture boost.
If the mixture feels too runny, add a bit more yogurt to thicken the consistency. This adjustment makes the mask easier to apply without dripping everywhere during processing.
A thicker consistency also tends to stay in place better throughout the full processing time.
Once rinsed, this softness pairs beautifully with a defined curl look. Check out these 50 twist-out ideas for every hair length for inspiration on styling afterward.
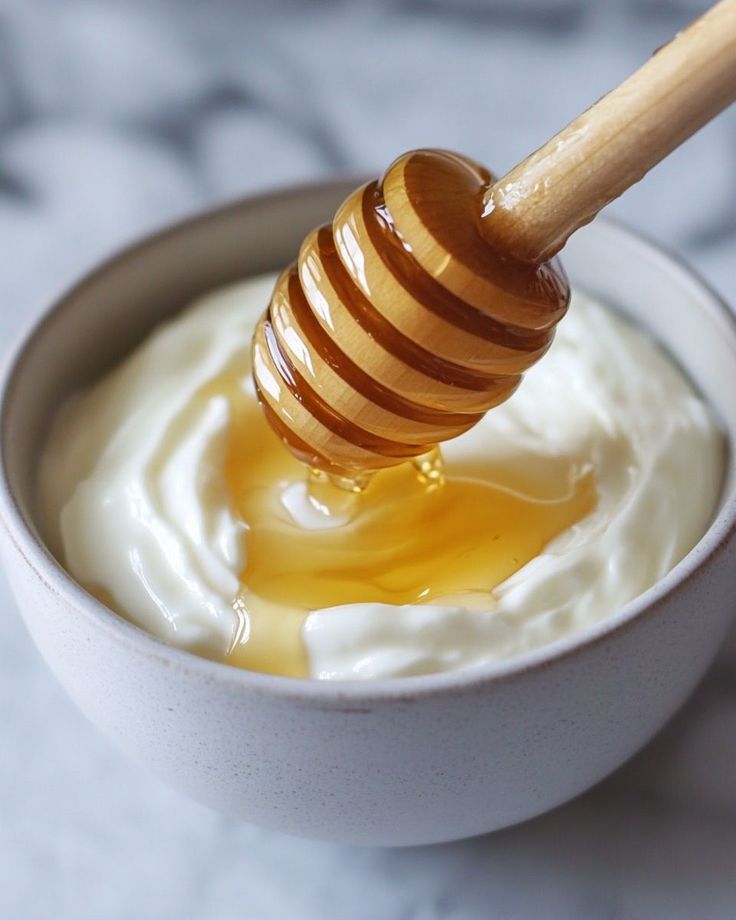
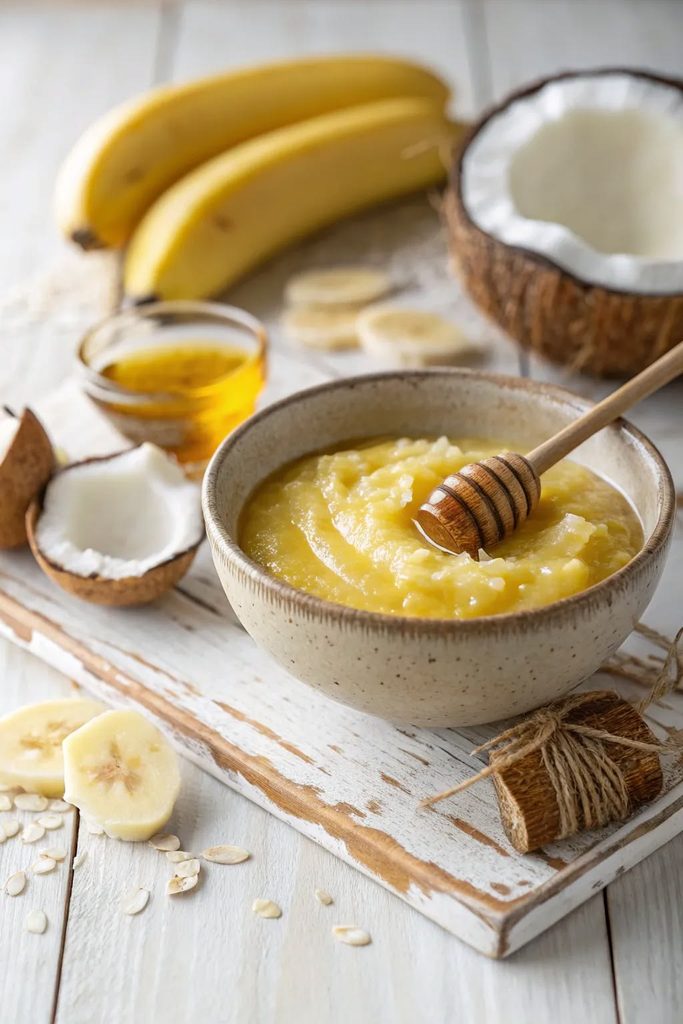
Banana and Coconut Milk Mask
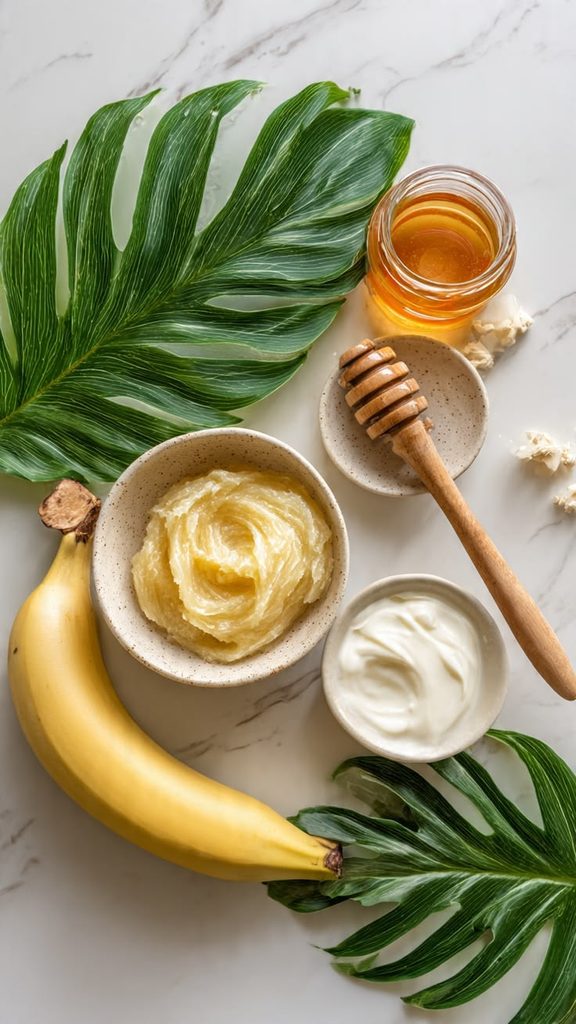
Mash one ripe banana until smooth, then mix in a quarter cup of full-fat coconut milk. Bananas are rich in potassium, which helps soften and smooth the hair cuticle.
Coconut milk adds an extra layer of penetrating moisture on top of that. Blending both ingredients together helps avoid any stray banana lumps.
Apply the mixture section by section, making sure every part of your hair gets coated evenly.
Leave it on for twenty minutes before rinsing well with a sulfate-free shampoo. This mask is especially gentle, making it a good option for sensitive scalps.
The mild, gentle ingredients also make this a good choice for kids with type 4 hair. It’s soothing enough for regular use without any harsh reactions on delicate scalps.
Parents managing a child’s natural hair often appreciate having a reliably gentle recipe on hand.
This lightweight treatment also travels well if you’re prepping before a trip. Pack it alongside a few 50 vacation hairstyles that protect your natural hair for your next getaway.
Aloe Vera and Glycerin Mask
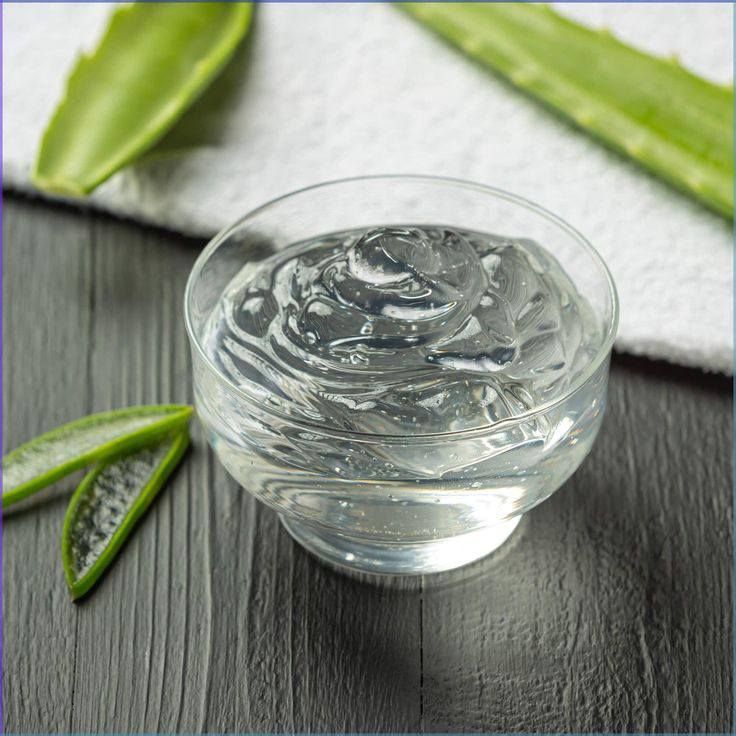
Mix two tablespoons of fresh aloe vera gel with one teaspoon of vegetable glycerin. Aloe vera soothes the scalp while adding lightweight, non-greasy moisture to each strand.
Glycerin is a humectant that draws moisture from the air into your hair. Fresh aloe straight from the plant works especially well here.
This combination works best in humid climates, where glycerin can pull in extra moisture from the surrounding air.
Apply from scalp to ends and leave on for fifteen minutes before rinsing. This mask feels noticeably lighter than oil-based recipes on this list.
In very dry climates, glycerin can sometimes pull moisture out of hair instead of in. Pay attention to how your hair responds and adjust based on your local climate.
This is a good example of why no single recipe works perfectly everywhere for everyone.
For daily upkeep between full mask days, a light mist helps maintain that hydrated feeling. Try aloe vera hair spray for afro hair whenever your curls need a quick refresh.
Castor Oil and Shea Butter Mask
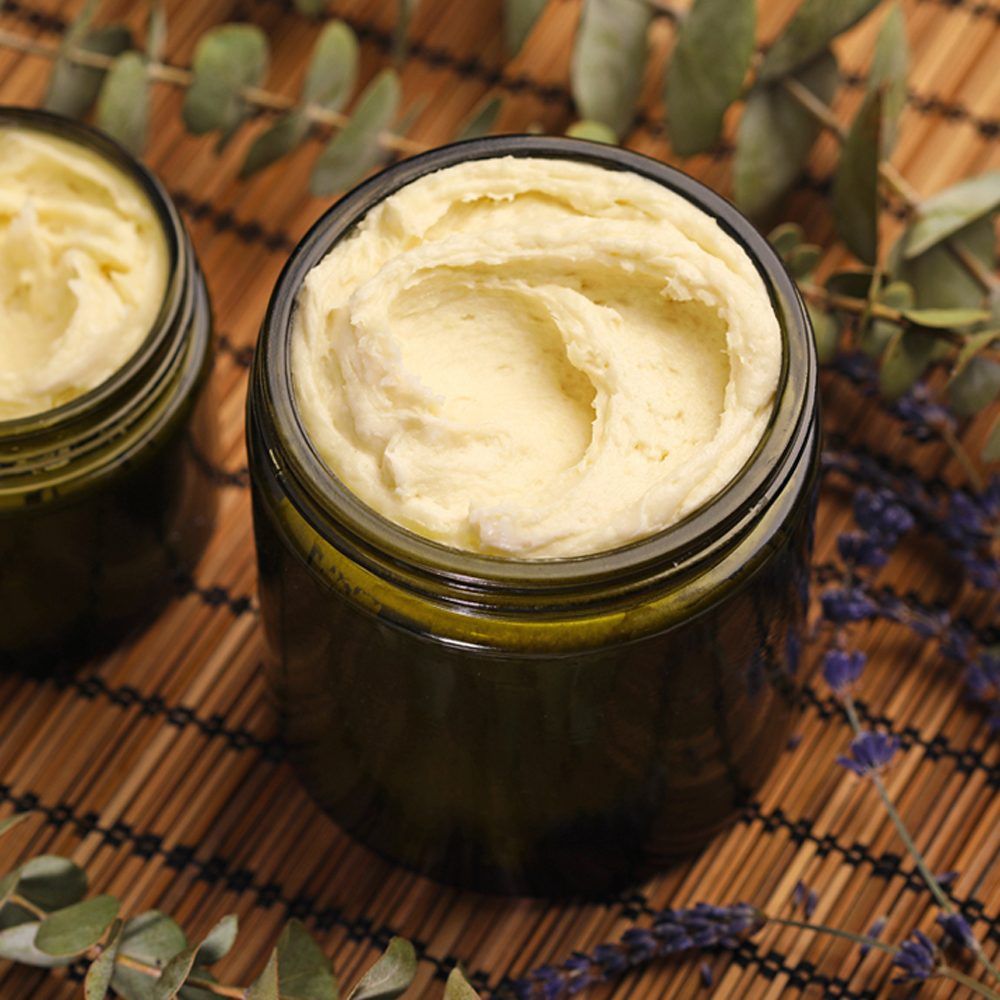
Melt one tablespoon of shea butter, then mix in one tablespoon of castor oil while still warm. Castor oil is thick and rich, often used to support scalp health and strand strength.
This combination feels heavier, so it’s best suited for very dry, coarse hair textures. A little goes a long way with this particular recipe.
Apply generously, focusing on your ends and any particularly dry patches throughout your hair. Leave on for thirty to forty-five minutes, ideally with a warm towel wrapped around your head.
Rinse thoroughly with a clarifying shampoo to avoid any greasy buildup afterward.
Skipping the clarifying shampoo step can leave hair feeling heavy for several days. This richer recipe genuinely needs that thorough rinse to feel its best afterward.
Save this treatment for days when you have time for a proper, thorough wash routine.
This richer mask pairs naturally with a warming step beforehand. Try a diy hot oil treatments that actually work session first for even deeper penetration.
Overnight Oil Mask for Extreme Dryness
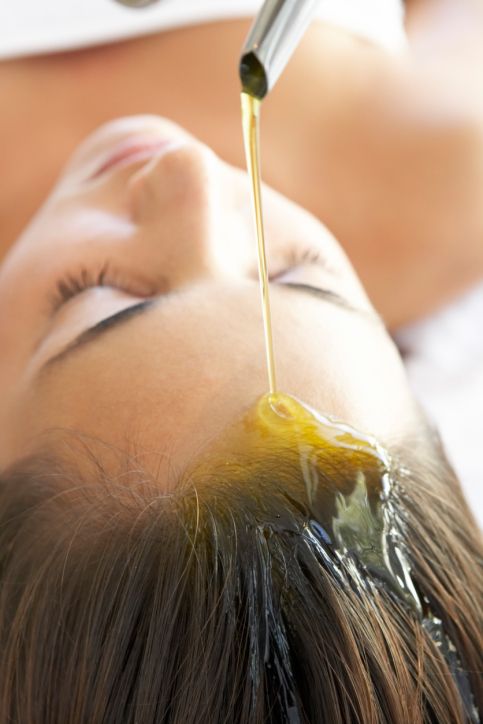
Warm two tablespoons of your favorite oil, such as olive, coconut, or jojoba, until slightly warm. Apply generously from roots to ends, focusing extra product on the driest sections.
This treatment is meant to sit for several hours rather than just thirty minutes. The extended time is what makes this treatment so effective.
Cover your hair with a plastic cap, then tie a scarf or bonnet over it before bed. This extended processing time allows the oil to penetrate far more deeply than a short treatment.
Wash out thoroughly in the morning with a gentle, sulfate-free shampoo.
Placing an old towel over your pillowcase helps protect it from any oil that might transfer overnight. This small precaution saves you from an unexpected laundry situation the next day.
A silk or satin pillowcase underneath also helps protect your hair while it processes overnight.
If you’d rather skip the plastic cap, there’s a comfortable alternative worth trying. These 50 cute headwrap styles for bad hair days work well as an overnight cover too.
How to Apply a Hair Mask Properly
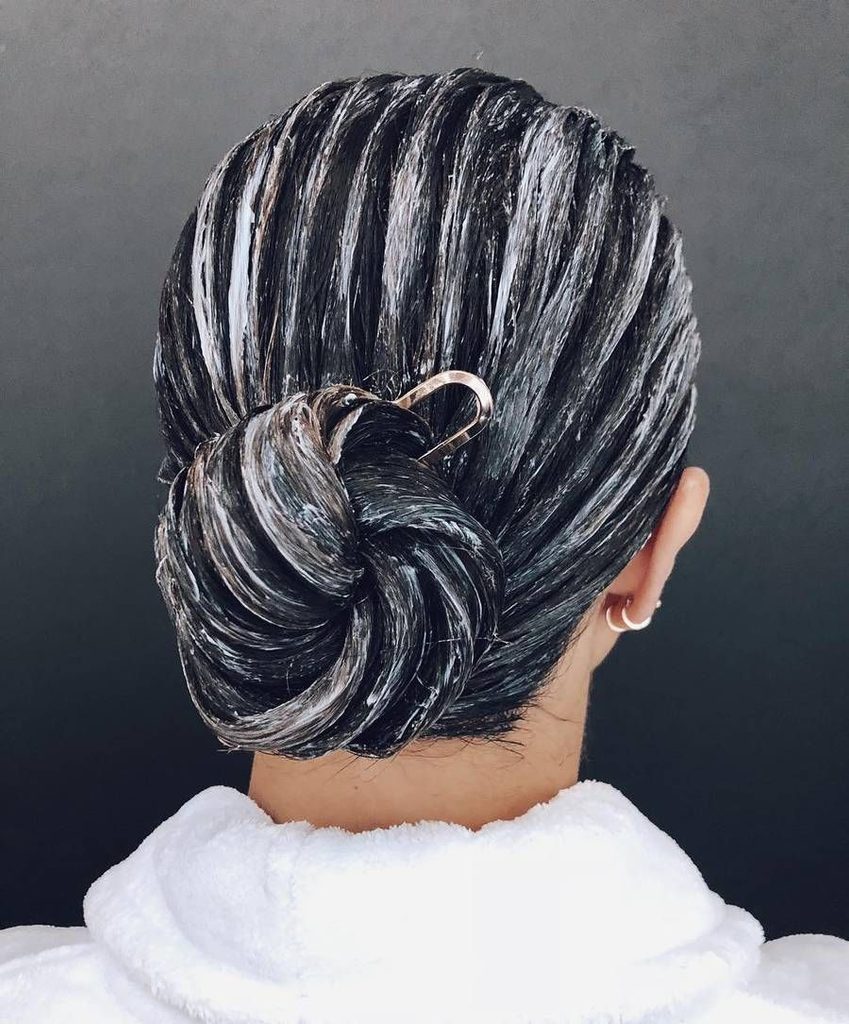
Start with clean, detangled hair before applying any homemade mask for the best results. Tangled hair prevents the mask from reaching every strand evenly throughout your head.
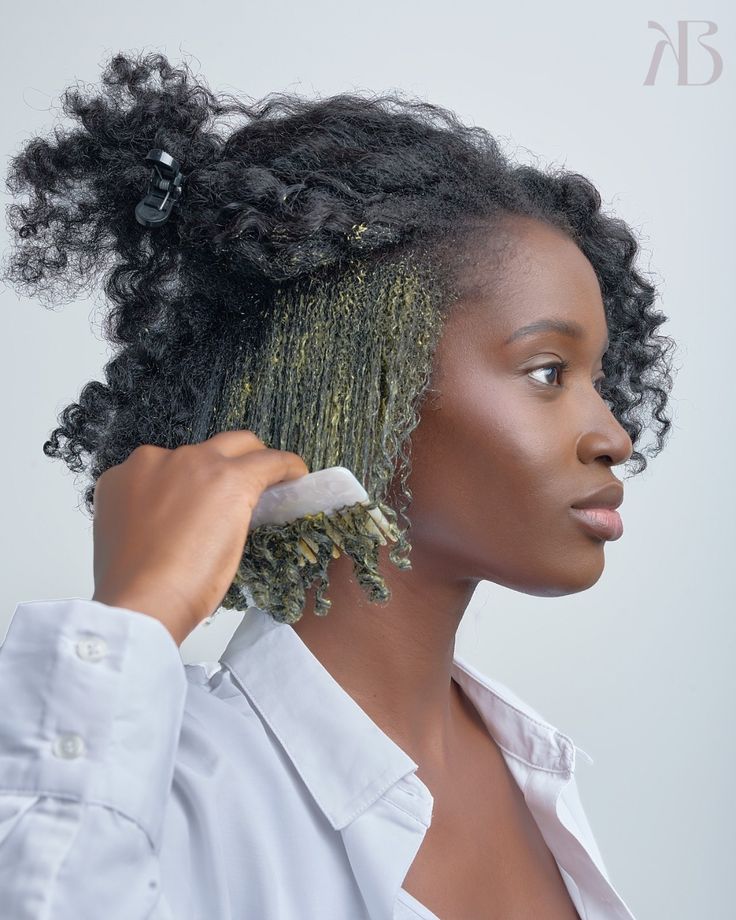
Apply in sections rather than all at once for more thorough, even coverage. This methodical approach really does pay off in the final overall results.
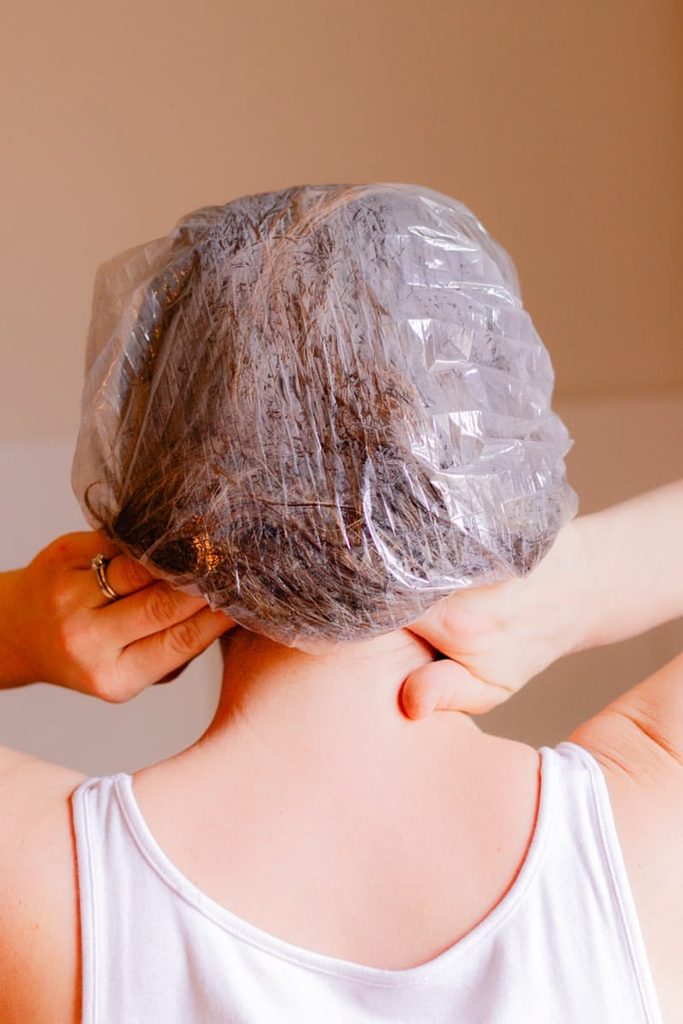
Focus extra product on your ends, since they’re typically older and drier than your roots. Covering your hair with a plastic cap helps trap warmth and moisture during processing.
Gentle heat, if available, can help the mask penetrate even more effectively.
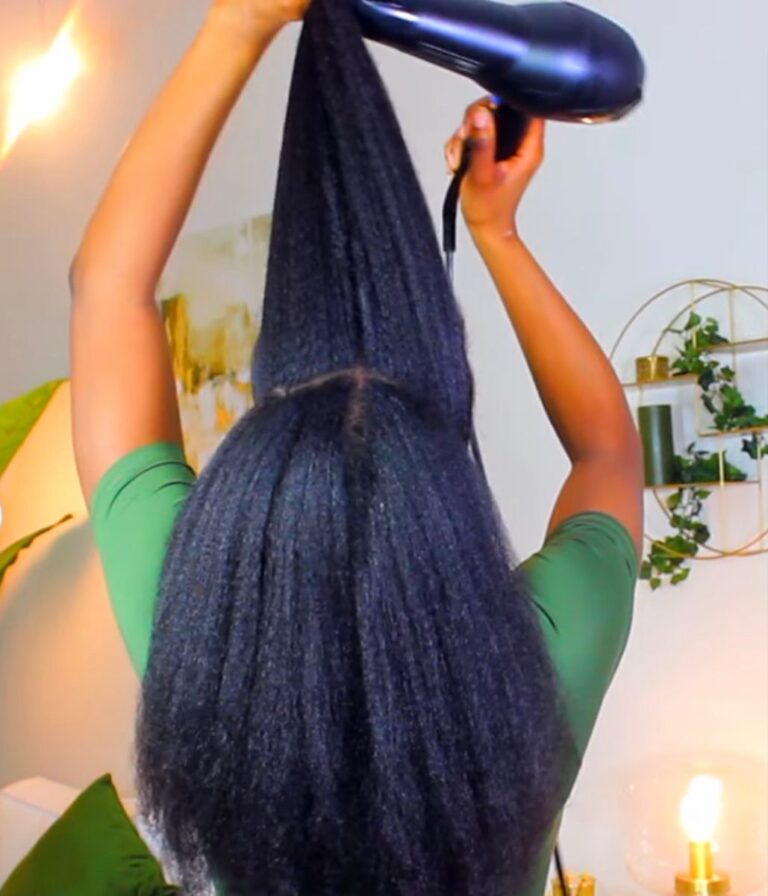
A hooded dryer or a warm towel both work well if you don’t have specialized equipment. Fifteen to twenty minutes under gentle heat is usually enough to notice a real difference.
Rinse thoroughly afterward, since leftover residue can leave hair feeling weighed down. A final cool water rinse also helps seal the hair cuticle shut.
How Often to Use a Hair Mask
Most type 4 hair benefits from a mask once every one to two weeks. Very dry or damaged hair might benefit from weekly treatments until moisture levels visibly improve.
Hair in a protective style may only need a mask every few weeks instead.
Pay close attention to how your hair responds and adjust your schedule accordingly. Overdoing it can occasionally leave hair feeling limp or oddly soft without enough structure.
Most people find their ideal rhythm within a month or so of experimenting.
Keeping a simple note of when you apply a mask helps you track what actually works. Over time, this record makes adjusting your routine far less like guesswork.
On busier weeks, a simple style can carry you through while you settle into a routine. These 40 professional hairstyles for the office work well on days when your hair needs minimal fuss.
Common Mistakes with Homemade Masks
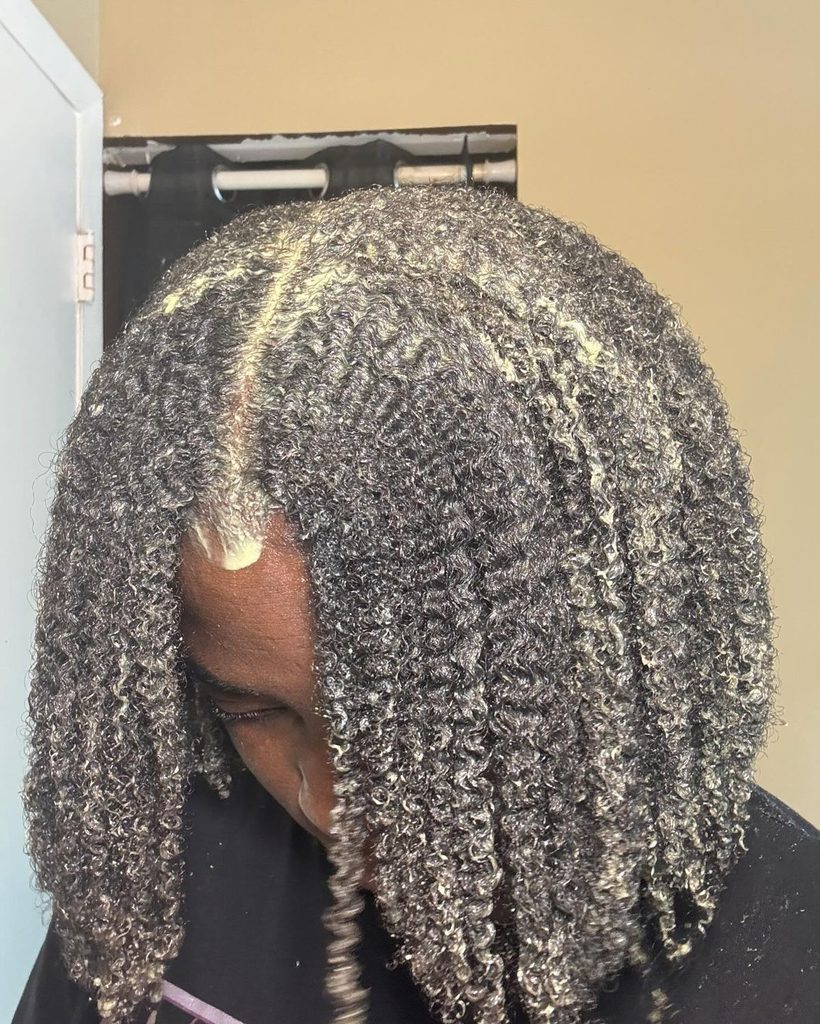
Applying a mask to dirty, unwashed hair reduces how well the ingredients can actually absorb. Skipping the detangling step beforehand often leads to patchy, uneven results throughout your hair.
Leaving a mask on for far longer than recommended doesn’t necessarily improve the outcome.
More time doesn’t always mean better results, especially with richer, oil-based recipes. Following the recommended timing usually produces the best balance of moisture without feeling greasy.
Rinsing with water that’s too hot can strip away the very moisture you just added. Using too little product on longer or thicker hair often leaves sections under-treated.
Being mindful of these small details makes a real difference in how well a mask performs.
Skipping a patch test with new ingredients can also lead to unexpected scalp irritation. A quick test on a small area saves you from a bigger issue later.
Storing and Prepping Masks Ahead of Time
Most homemade masks made with fresh ingredients should be used within a day or two. Refrigerating leftovers can extend their usability by a few extra days at most.
Masks containing dairy, egg, or fresh fruit spoil especially quickly and shouldn’t sit out.
Giving a refrigerated mask a quick smell check before reapplying is always a good habit. When in doubt, it’s better to mix a fresh, smaller batch instead.
Making smaller batches more frequently is usually more practical than storing large amounts.
This also keeps you from being tempted to use a mask well past its freshness window. Labeling containers with the date made helps avoid any confusion later.
A little bit of planning ahead makes mask day feel far less like a chore. Prepping ingredients the night before can save valuable time on a busy morning.
Keeping a small stock of shelf-stable ingredients on hand also makes spontaneous mask days possible. This way, a sudden dry spell doesn’t have to wait for a grocery trip.
Signs the Mask Is Working
Softer, more pliable curls immediately after rinsing are usually the first sign of progress. Less breakage during detangling sessions also points to genuine improvement in your hair’s condition.
Curls that bounce back more easily after being stretched show better elasticity overall.
Taking a quick photo before starting a new mask routine can help you track subtle changes. Gradual improvements are often easier to notice in photos than day to day.
Shinier, more defined curls after styling suggest the mask is doing exactly what it should.
These changes tend to build gradually rather than appearing after just one single use. Most people notice a real difference after three or four consistent applications.
Healthy, well-moisturized hair also photographs beautifully in the right lighting. That’s worth remembering ahead of any 35 date night hairstyles for afro hair you’re planning soon.
Adjusting Masks for Different Curl Patterns Within Type 4
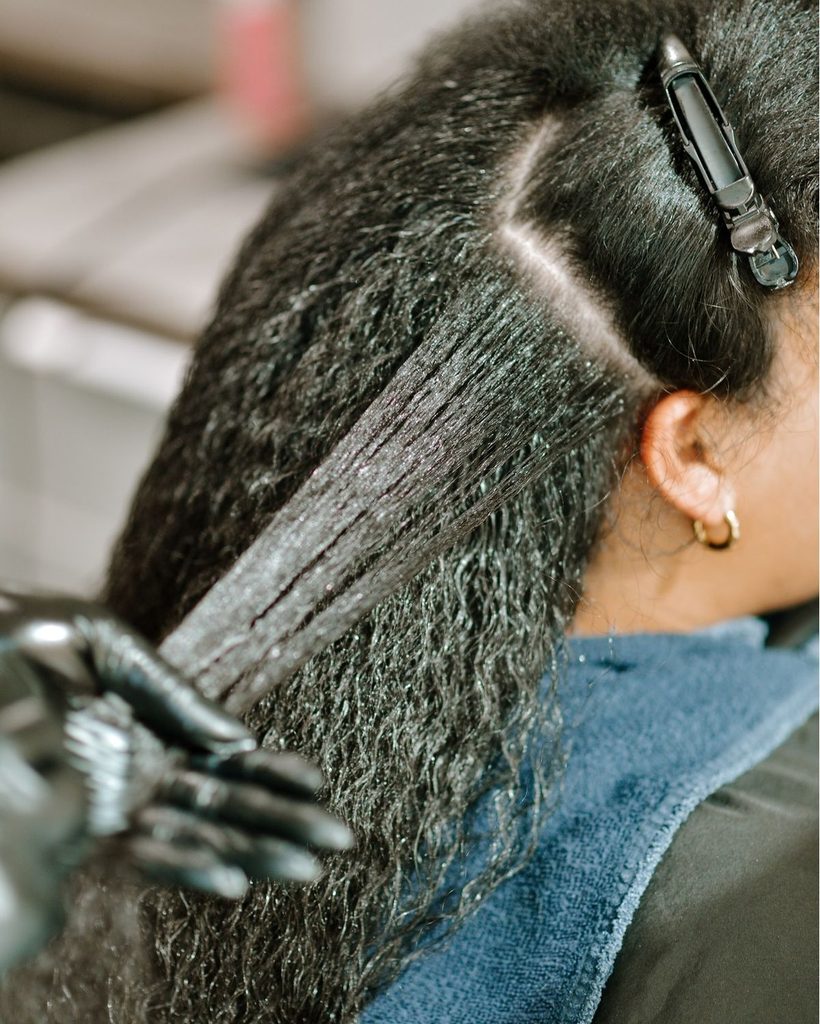
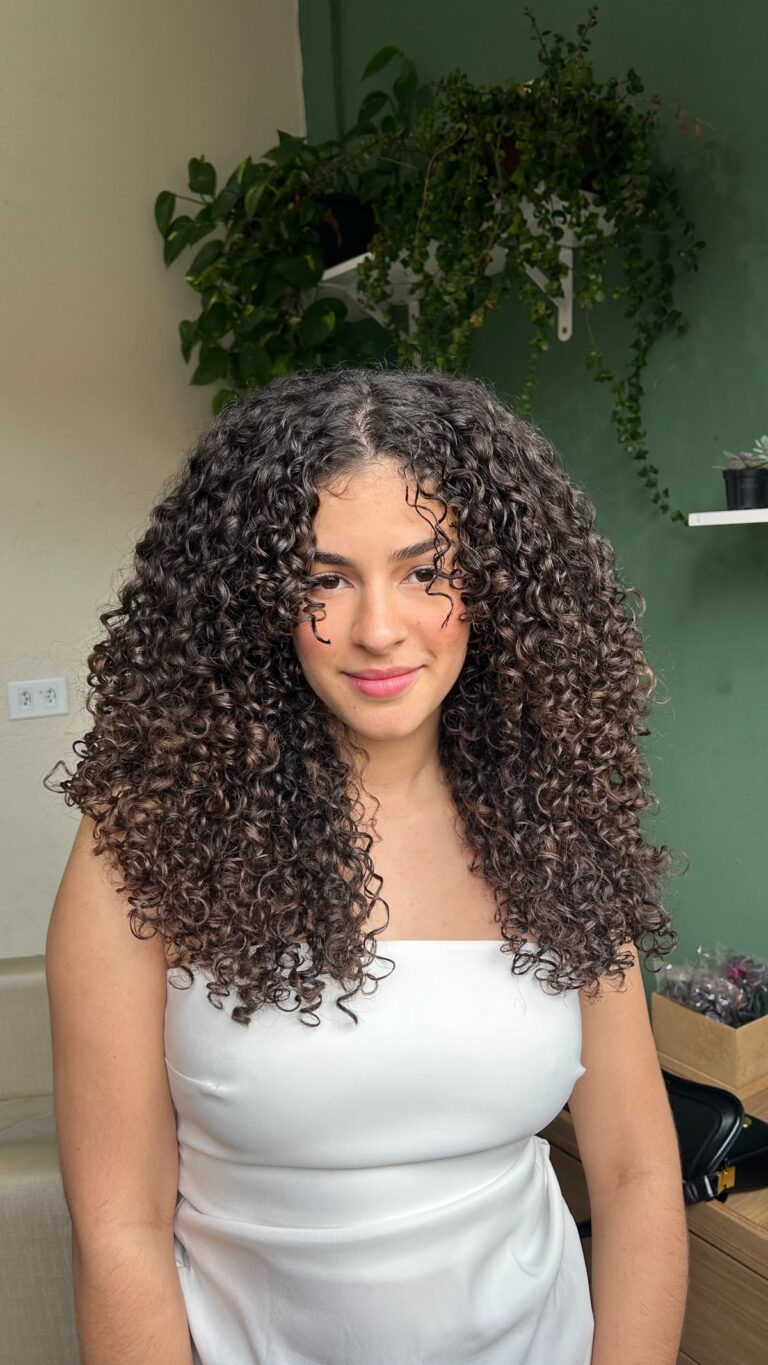
Type 4A hair tends to have a slightly looser curl pattern and may need lighter masks. Type 4B and 4C hair, with tighter coils, often benefit from richer, heavier ingredients.
Knowing where your hair falls on this spectrum helps you choose the right recipe.
Many people have more than one curl pattern across different sections of their head. It’s completely normal to need different masks for your crown versus your nape.
Hair with more shrinkage typically needs more moisture to feel and look its best. Experimenting with a few different masks helps you learn what your specific curl pattern actually prefers.
There’s no single formula that works identically for every single person.
Keep an open mind and expect some trial and error along the way. What works beautifully for someone else’s type 4 hair may need adjusting for yours.
Once you’ve found a mask that truly works, styling becomes noticeably easier too. A neat, healthy-looking puff often comes down to how well-moisturized hair already is underneath.
Explore these 40 elegant puff hairstyles for natural hair once your curls are feeling their best.
Building Masks Into a Full Hair Care Routine
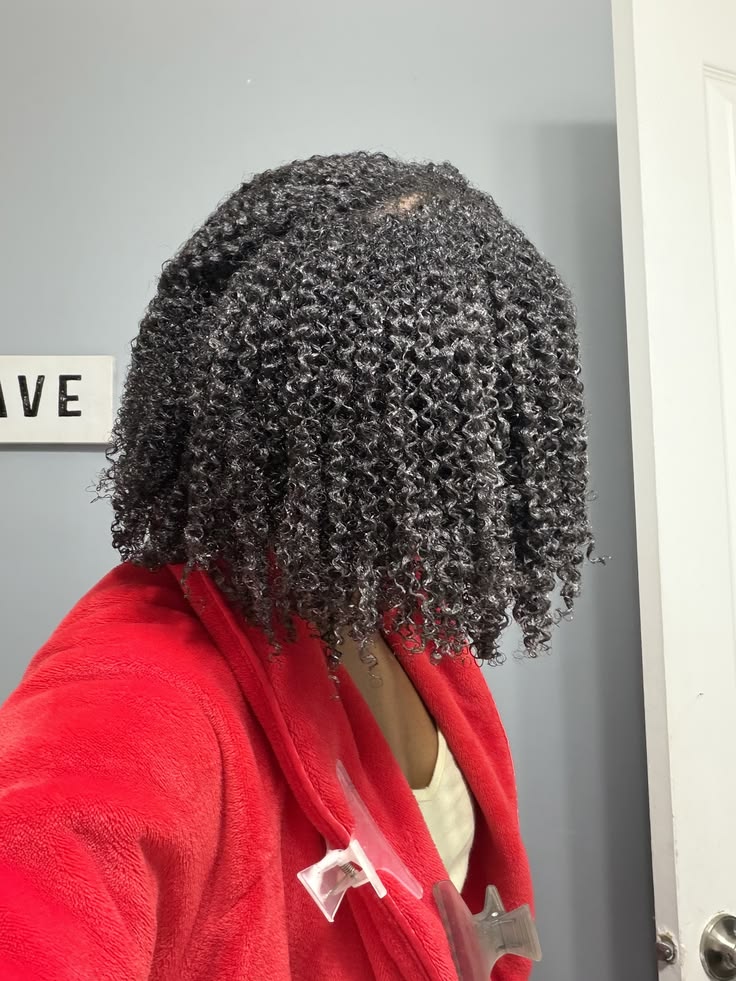
A hair mask works best as one part of a broader, consistent hair care routine. Pairing it with regular trims, gentle detangling, and proper protective styling supports even better results.
No single product or treatment can compensate for an otherwise inconsistent routine.
Think of a hair mask as one piece of a larger puzzle rather than a magic fix. Diet, sleep, and stress levels also play a real role in how your hair looks and feels.
Many people set aside a specific day each week for mask application and general hair care.
This consistency helps turn hair care into a predictable, manageable habit rather than an afterthought. Treating this day as non-negotiable tends to produce the best long-term results.
Special occasions are a good reminder to plan ahead with your routine. Deep moisture a few days before an 35 afro wedding hairstyles that turn heads look pays off in the final photos.
Final Thoughts
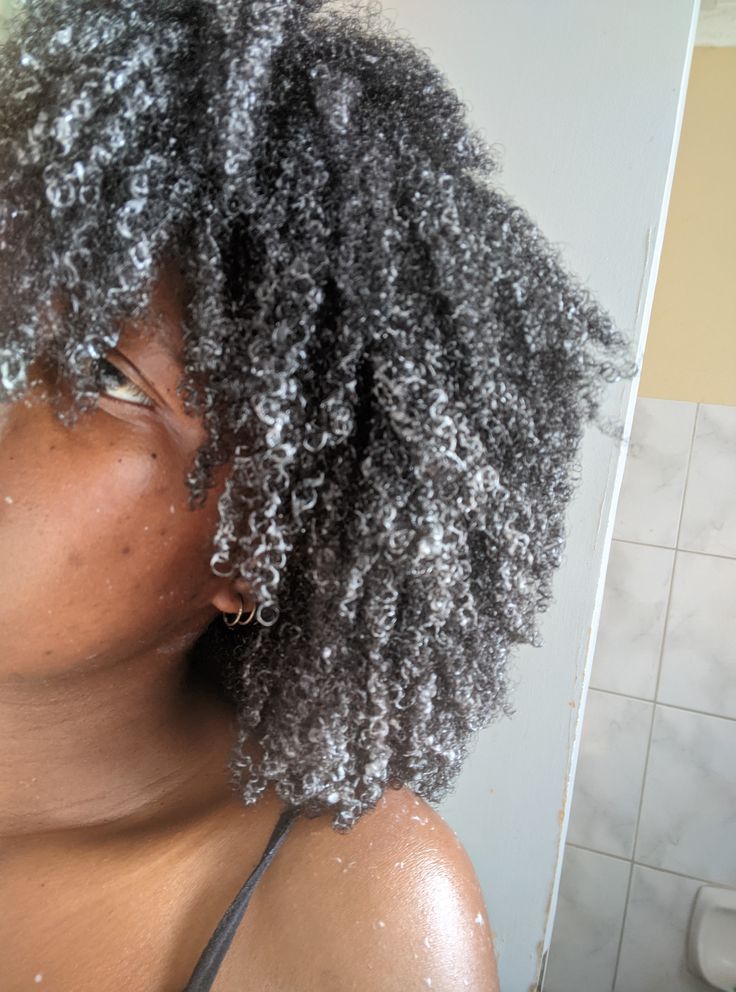
Type 4 hair genuinely thrives with consistent moisture, and homemade masks are an accessible way to provide it.
The right recipe depends on your specific hair needs, curl pattern, and current condition. There’s no need to try every recipe in this guide all at once.
Pick whichever recipe sounds most appealing and easiest to fit into your week. The best mask is the one you’ll actually make and use consistently.
Start with one mask that addresses your most pressing concern, whether that’s dryness, breakage, or dullness.
Build from there as you learn what your hair genuinely responds to best. Consistency, more than any single perfect recipe, is what produces real results over time.
Give any new recipe a few tries before deciding whether it works for you. One single use rarely tells the whole story about how your hair will respond.
Give your hair the moisture it’s been asking for, and the change will show for itself. Small, steady efforts compound into healthier, more resilient curls over the coming months.
Your type 4 hair has never needed fixing, just consistent care suited to how it’s built. With the right routine, it can look and feel as soft as you’ve always wanted.
8 Comments