
DIY Hot Oil Treatments That Actually Work
Disclosure: Some of the links in this post are affiliate links. This means if you click on the link and purchase an item, I will receive an affiliate commission at no extra cost to you.
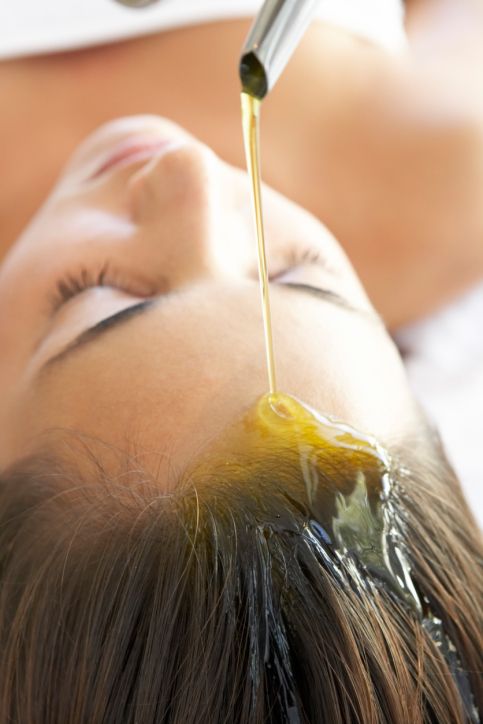
A hot oil treatment sounds simple, and honestly, it mostly is. Warm oil, applied to hair and scalp, penetrates more deeply than oil applied cold. That extra warmth opens the hair cuticle just enough to let the oil do its job. For natural hair, this small step can make a noticeable difference in shine and softness.
This guide covers why hot oil treatments work, how to choose the right oil, and several recipes worth trying. It also walks through safe warming methods, application technique, and how often to use this treatment.
If you want to build out your routine even further, take a look. These 75 gorgeous afro hairstyles you’ll want to try this year are a great next stop. Let’s start now with why warming the oil actually matters so much.
DIY Hot Oil Treatments That Actually Work
Why Hot Oil Treatments Work for Natural Hair
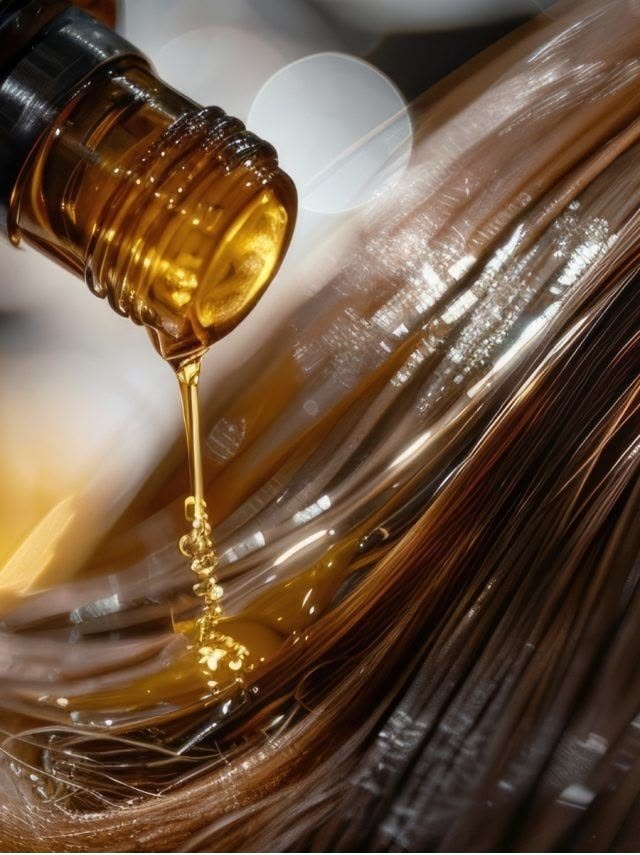
Cold oil sits mostly on the surface of the hair, offering some slip and shine but limited penetration. Warm oil behaves differently, since heat gently lifts the hair cuticle and allows oil to travel deeper.
This deeper penetration is what makes hot oil treatments feel more effective than a quick oiling.
This is why the same oil can feel dramatically different depending on how it’s applied. Warmth is really the key variable that changes the entire experience.
Warmth also improves circulation at the scalp, which many people find soothing and beneficial. Better circulation may support a healthier environment for hair to grow from.
A few extra minutes of gentle massage during application can enhance this benefit further. It’s a small addition that makes the whole treatment feel more intentional.
This treatment pairs naturally with other moisture-focused steps in a routine. Many people alternate it with a DIY deep conditioning treatments for afro hair session for a complete moisture routine.
Together, they address both surface softness and deeper hair hydration overall.
Signs Your Hair Could Use a Hot Oil Treatment
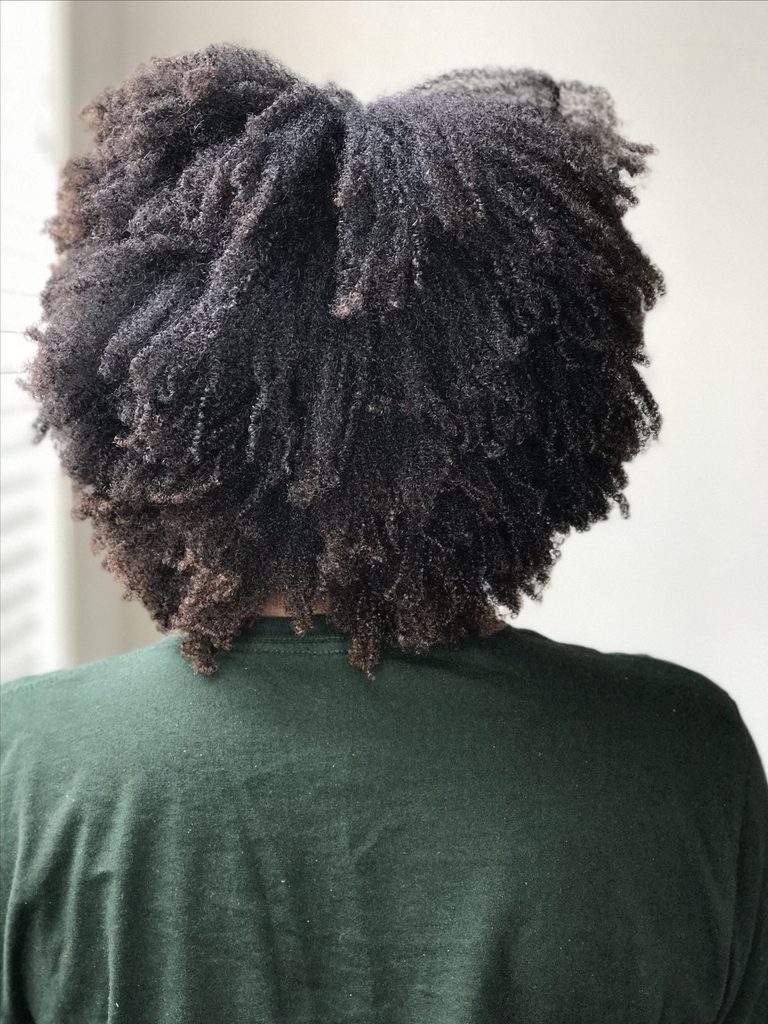
Dull, lackluster strands that don’t reflect much light are often asking for a hot oil treatment. Dry ends that feel rough despite regular moisturizing are another common sign worth noticing.
These signs often appear even when your regular routine seems otherwise on track. That’s usually a sign your hair needs something a little extra, not a complete overhaul.
Hair that tangles more than usual, especially after a fresh wash, can also indicate a need for extra oil. A scalp that feels tight, flaky, or generally uncomfortable often benefits from the added warmth too.
Noticing these smaller discomforts early can prevent a more serious dryness issue from developing later.
These signs tend to build gradually, so it helps to check in with your hair regularly. Catching them early makes the treatment feel like maintenance rather than damage control.
Hot Oil Treatments for Scalp Health
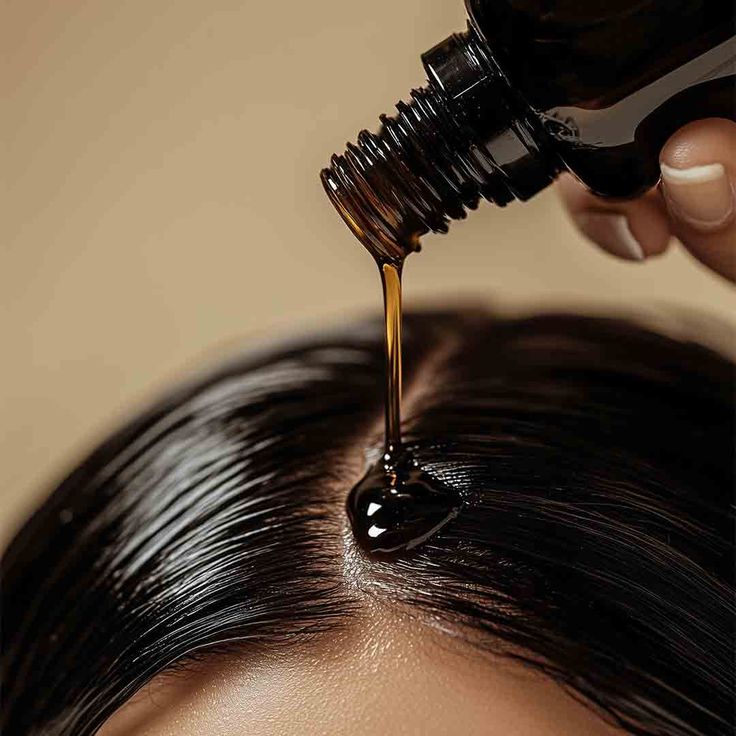
A hot oil treatment isn’t only about the hair strand itself, the scalp benefits just as much. Warm oil massaged into the scalp can help loosen product buildup and dry, flaky skin.
This gentle massage also feels genuinely relaxing, which is a nice bonus.
Taking a few extra minutes to massage slowly makes the whole treatment feel more like self-care. Many people look forward to this step specifically for that reason.
Improved scalp comfort often translates into a better foundation for healthy hair growth over time. A calm, balanced scalp is simply easier for hair to thrive on.
Many people notice less itching and flaking after just a few consistent hot oil sessions.
While the oil processes, keeping your scalp and hair covered helps trap warmth effectively. These 50 cute headwrap styles for bad hair days work beautifully for this exact purpose.
Choosing the Right Oil for Your Hair Type
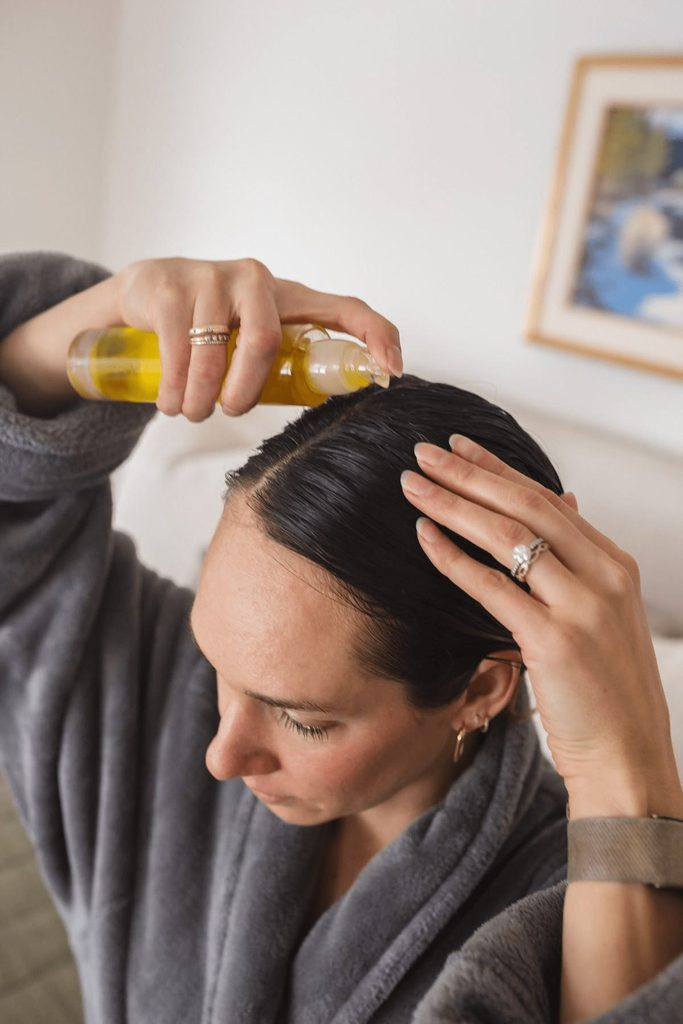
Not every oil works the same way for every hair type, so a little matching helps. Lighter oils like jojoba or grapeseed suit finer, lower porosity hair that resists heavier products.
Richer oils like castor or olive oil suit coarser, higher porosity hair that can handle more weight.
This matching process takes a bit of trial and error at first. Most people land on a favorite oil after trying two or three different options.
Testing a new oil on a small section first helps you gauge how your hair responds. This small step prevents a full-head disappointment if an oil doesn’t suit your texture.
If a hot oil treatment feels too light for your needs, a richer option might work better.
These homemade hair masks for dry type 4 hair offer a heavier, more intensive alternative worth considering.
Coconut Oil Hot Oil Treatment
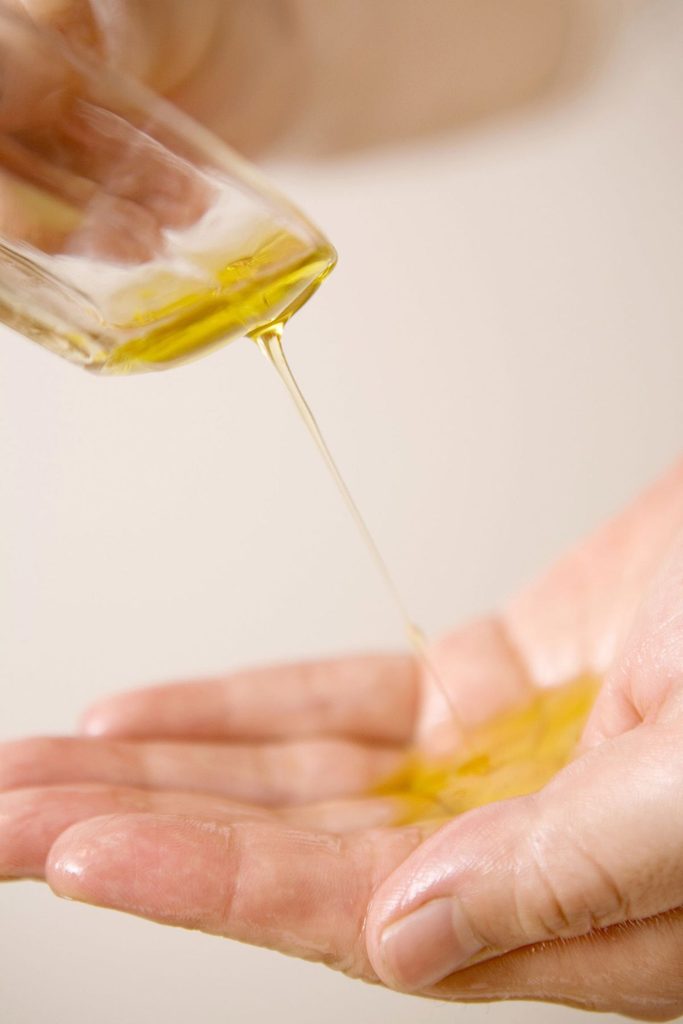
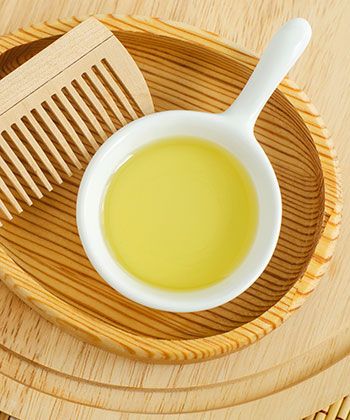
Warm two tablespoons of coconut oil until it’s melted and comfortably warm to the touch. Coconut oil is well known for reducing protein loss during washing and styling.
This makes it a popular choice for anyone dealing with regular breakage. It’s often the very first oil naturalistas reach for when starting out.
Apply the warm oil from roots to ends, massaging gently into the scalp as you go. Leave it on for thirty minutes under a plastic cap before shampooing thoroughly.
Once your hair is clean and dry, the added shine pairs beautifully with defined styles. These 45 braid-out styles you’ll want to screenshot look especially glossy after this treatment.
Olive Oil Hot Oil Treatment
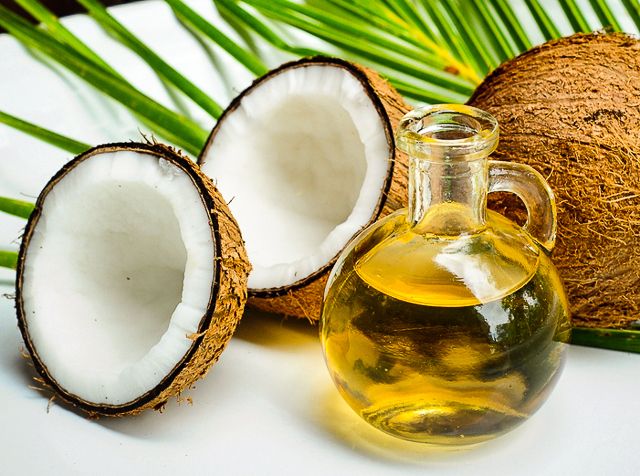
Warm two tablespoons of extra virgin olive oil until it feels pleasantly warm, not hot. Olive oil is rich in antioxidants and fatty acids that support overall strand health.
It’s also one of the most widely available oils for this kind of treatment. Most kitchens already have a bottle sitting on hand somewhere.
Apply generously throughout your hair, paying extra attention to drier sections. Leave on for thirty minutes, then shampoo out completely to avoid any greasy residue.
This treatment leaves curls looking soft and full of definition. These 50 twist-out ideas for every hair length show off that softness particularly well.
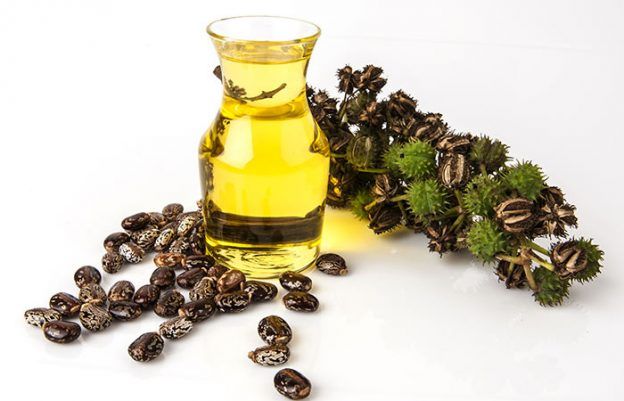
Castor Oil Hot Oil Treatment
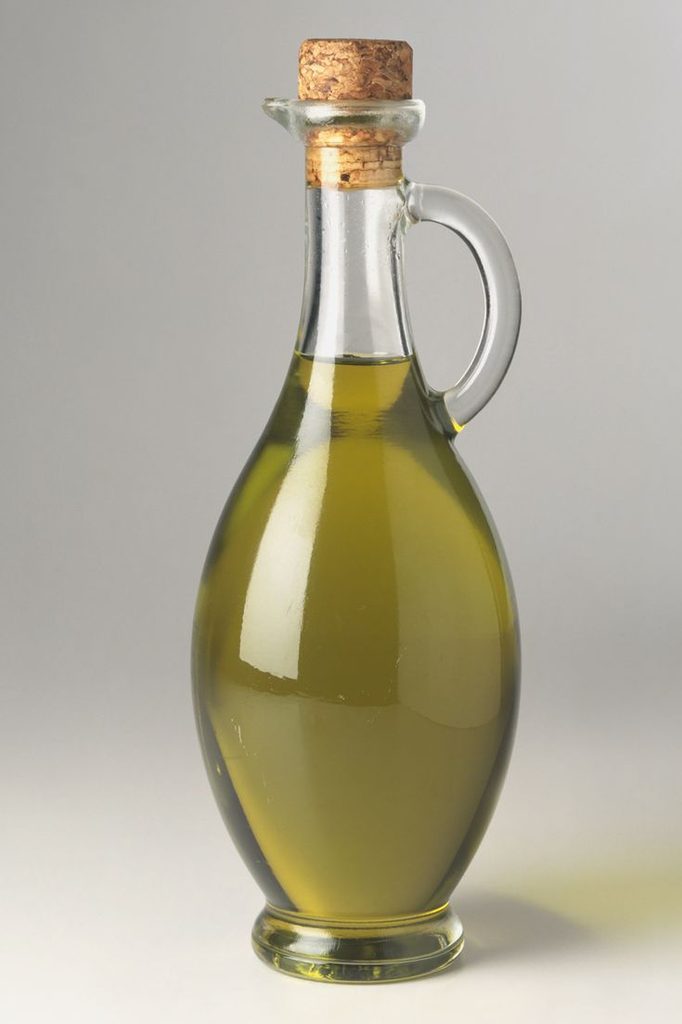
Warm two tablespoons of castor oil gently, since it’s naturally thicker than many other oils. Castor oil is often used to support scalp health and encourage a stronger-feeling strand.
Its thickness makes it especially good for very dry or damaged hair. Diluting it slightly with a lighter oil can make it easier to work with.
Apply carefully to your scalp and ends, since a little goes a long way with this oil. Leave on for thirty to forty-five minutes before shampooing thoroughly to remove any residue.
This richer treatment pairs well with a strength-focused step beforehand. A diy protein treatments for natural hair session a day or two prior can boost the combined benefits.
Jojoba Oil Hot Oil Treatment
Warm two tablespoons of jojoba oil until it feels comfortably warm against your skin. Jojoba oil closely resembles the natural oils your scalp already produces.
This similarity makes it an easy oil for most hair types to absorb well. It’s a gentle choice for anyone with a sensitive or reactive scalp.
Apply evenly throughout hair and scalp, then leave on for twenty to thirty minutes. Rinse thoroughly with a gentle shampoo to avoid any lingering oiliness.
This lightweight oil also travels well if you’re packing for a trip. Bring a small bottle along with your other 50 vacation hairstyles that protect your natural hair essentials.
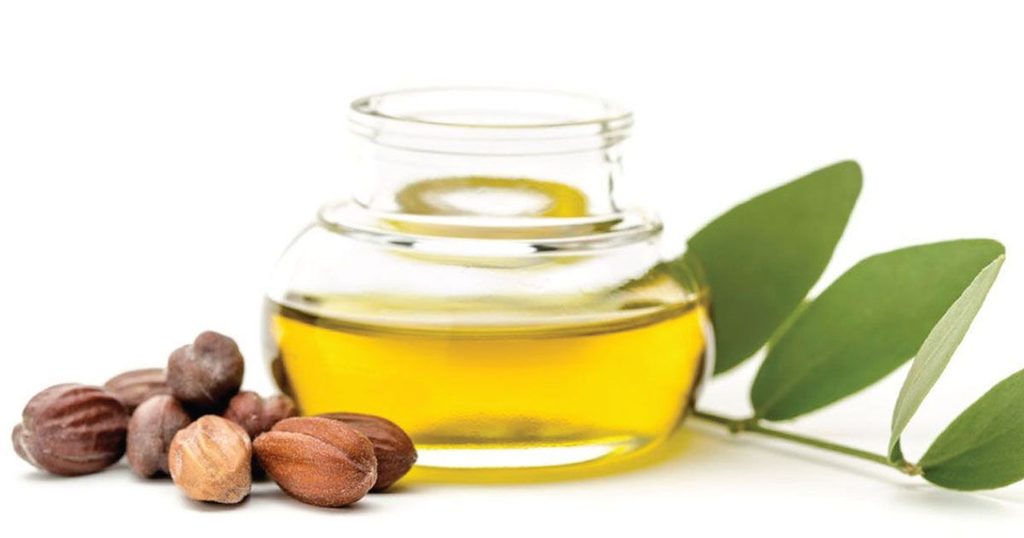
photo credit
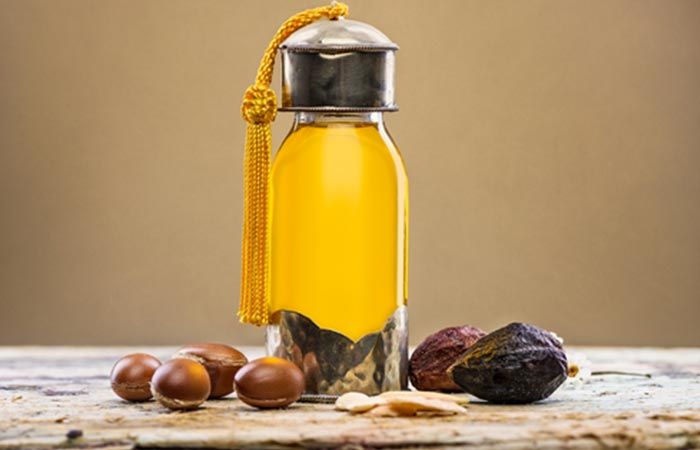
Argan Oil Hot Oil Treatment
Warm two tablespoons of argan oil gently until it reaches a comfortable temperature. Argan oil is prized for the shine and softness it leaves behind on hair.
It absorbs relatively quickly, making it a good choice for finer natural hair textures. This lighter feel makes it less likely to weigh curls down.
Apply throughout hair, focusing on mid-lengths and ends where shine tends to fade first. Leave on for twenty minutes before rinsing thoroughly with a gentle shampoo.
The glossy finish this treatment leaves behind is worth showing off. Consider pairing it with one of these 35 date night hairstyles for afro hair for extra shine.
Multi-Oil Blend Hot Oil Treatment
Combine one tablespoon each of coconut, olive, and castor oil for a well-rounded blend. Warm the mixture gently until it feels pleasantly warm throughout.
This combination covers penetration, antioxidants, and scalp support all in one treatment. Adjusting the ratios slightly lets you customize the blend to your hair’s needs.
Apply generously from scalp to ends, then leave on for thirty minutes under a plastic cap. Shampoo thoroughly afterward to remove any excess oil from your scalp and strands.
This blended approach suits anyone unsure which single oil their hair prefers most. It’s a solid, balanced option to start with before narrowing things down.
How to Safely Warm Oil at Home
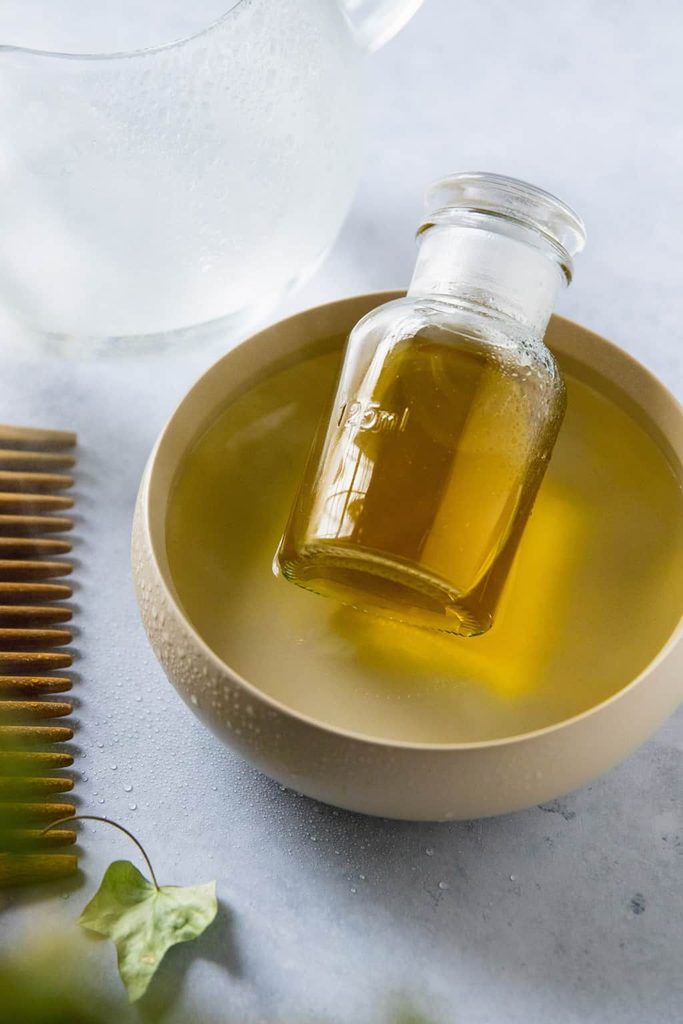
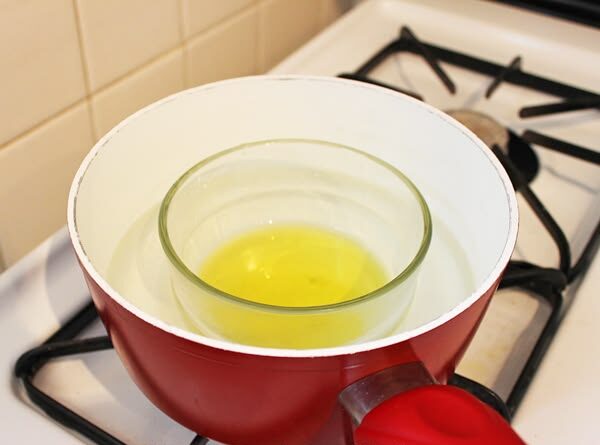
Warming oil on the stove in a small saucepan is the most common and reliable method. Heat gently on low, stirring occasionally, until the oil feels warm rather than hot.
Always test the temperature on your wrist before applying it anywhere near your scalp. This quick precaution takes only seconds but prevents a genuinely painful mistake.
A microwave can also work in short bursts, though it heats less evenly than a stovetop. Stir thoroughly between short intervals to avoid any unexpectedly hot pockets in the oil.
Oil that’s too hot can burn your scalp, so patience here really does matter. When in doubt, slightly warm is always safer than accidentally too hot.
How to Apply a Hot Oil Treatment
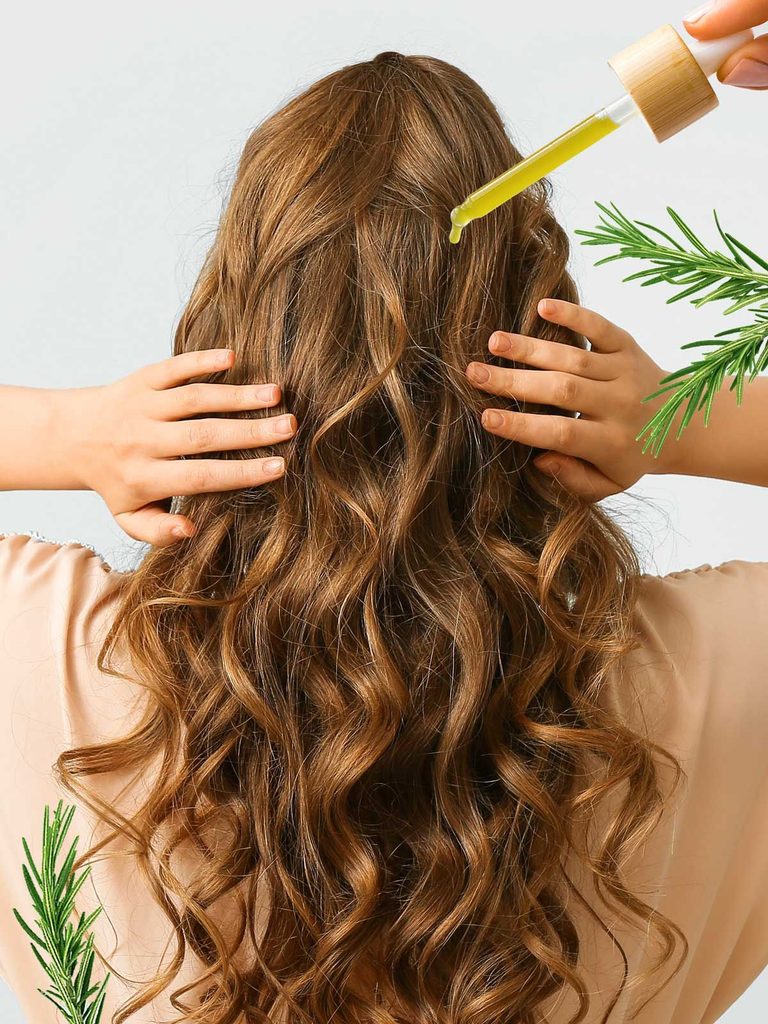
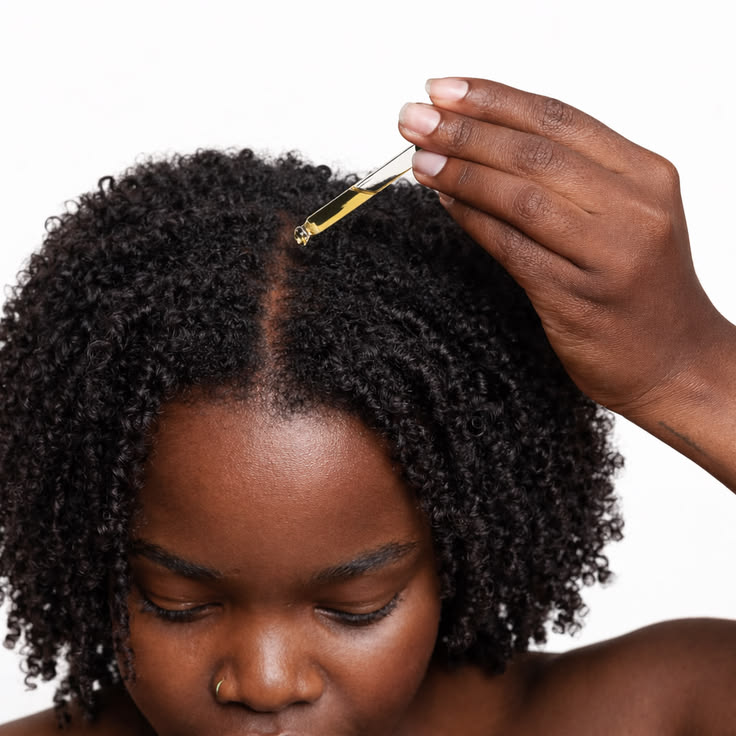
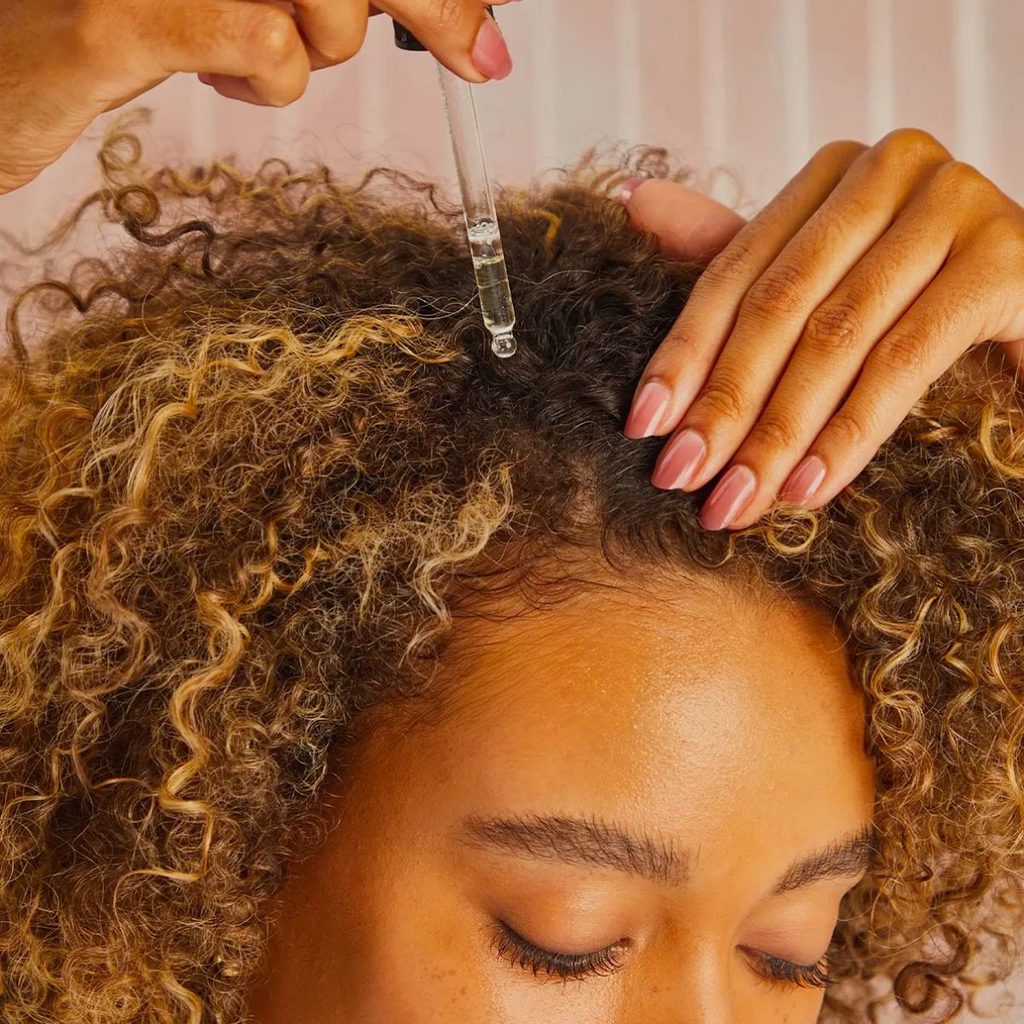
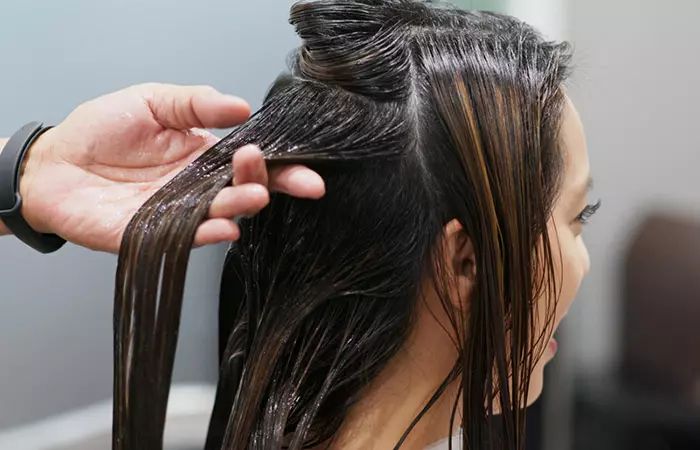
Section your hair before applying oil to ensure even coverage from root to tip. Massage the warm oil into your scalp first, then work it through the rest of your strands.
This order helps distribute warmth and product more evenly overall. Working methodically like this prevents any single section from being missed entirely.
Cover your hair with a plastic cap to trap heat during the processing time. A warm towel wrapped around the cap can help extend that warmth even further.
Finish rinsed, treated hair with a lightweight product to lock in the results. A quick mist of aloe vera hair spray for afro hair afterward adds an extra layer of shine and hydration.
How Often to Use Hot Oil Treatments
Most natural hair benefits from a hot oil treatment once every one to two weeks. Very dry or damaged hair might benefit from slightly more frequent treatments until things improve.
Well-moisturized, healthy hair often needs this treatment less often than that. Most people settle into a comfortable rhythm within a few tries.
Pay attention to how your hair and scalp respond, and adjust the frequency from there. Overdoing oil treatments can sometimes leave hair feeling weighed down rather than nourished.
On lighter routine weeks, a simple style keeps things easy while you settle into a rhythm. These 40 professional hairstyles for the office require very little extra effort on busy days.
Common Mistakes with Hot Oil Treatments
Applying oil that’s too hot is one of the most common and most avoidable mistakes. Always test the temperature before it touches your scalp, without exception.
Skipping the shampoo step afterward is another frequent misstep that leaves hair feeling greasy. A thorough rinse afterward really does make all the difference.
Using too much oil for your hair’s actual needs can also weigh curls down unnecessarily. A little oil, applied thoughtfully, usually goes further than people initially expect.
Rushing through application without properly sectioning hair often leads to uneven, inconsistent coverage. Taking a few extra minutes here makes a real difference in the final result.
Hot Oil Treatments Before Protective Styles
Applying a hot oil treatment before installing a protective style sets your hair up well. Well-oiled, nourished strands tend to handle the tension of braiding or twisting more comfortably.
This preparation step matters even more before styles staying in for several weeks. Protective styles hold up noticeably better on hair that started out healthy.
This small extra step is easy to skip when you’re pressed for time before an appointment. Making the effort anyway tends to pay off once the style eventually comes down.
These 60 protective styles that actually help with length retention benefit especially from this kind of preparation.
Scheduling this treatment a day or two before your appointment gives oil time to fully absorb. Rushed, last-minute treatments rarely deliver the same depth of benefit.
Signs the Treatment Is Working
Softer, shinier hair immediately after rinsing is usually the clearest first sign. Reduced tangling during detangling sessions also points to real improvement in your hair’s condition.
Curls that feel more flexible and less prone to snapping show genuine progress too. These changes tend to be noticeable right from the very first treatment.
A noticeably calmer, more comfortable scalp is another welcome sign worth paying attention to. These improvements tend to build with consistent use rather than appearing after just one treatment.
Healthy, glossy hair also tends to style more easily overall. A neat, shiny 40 elegant puff hairstyles for natural hair look often comes down to exactly this kind of underlying health.
Building Hot Oil Treatments Into a Full Routine
Hot oil treatments work best as one part of a broader, well-rounded hair care routine.
Pairing them with regular washing, gentle detangling, and occasional protein treatments supports even better results.
No single treatment can compensate for an otherwise inconsistent routine. Think of oiling as one supportive piece within a larger, consistent puzzle.
Many people set aside a specific day for oiling, deep conditioning, or general hair maintenance. This consistency turns hair care into a predictable habit rather than something squeezed in randomly.
Special occasions are a good reminder to plan your routine a little further ahead. Glossy, healthy hair pairs beautifully with an 35 afro wedding hairstyles that turn heads look or any other big event.
Final Thoughts
Hot oil treatments are a simple, low-effort way to add real shine and softness to natural hair. The right oil depends on your hair’s texture, porosity, and current condition.
There’s no need to try every oil in this guide before finding what actually works.
Start with one oil that matches your hair’s needs, then adjust from there as you learn more. Consistency, more than any single perfect oil, is what produces noticeable long-term results.
Give your hair the warmth and nourishment it’s been asking for, and the shine will follow. Small, steady care adds up to healthier, more resilient hair over time.




4 Comments