
Knotless Braids: Complete Beginner’s Guide
Disclosure: Some of the links in this post are affiliate links. This means if you click on the link and purchase an item, I will receive an affiliate commission at no extra cost to you.
This beginner’s guide is not just for people that are new to knotless braids, but also for people that have been getting them and don’t go about it the right way.
A lot of people have been wearing knotless braids for years without really understanding what makes them different from regular box braids. They don’t know why the installation method matters or how to care for their hair and scalp while the braids are in.
They just sit in the chair, get the braids done, and hope for the best. Then they wonder why their edges are thinning, why their scalp itches constantly, or why their hair comes out weaker than it went in.
Getting knotless braids the right way is not complicated. But it does require knowing a few important things before you sit down in that chair, while the braids are in, and when it’s time to take them out.
This guide covers all of it. Everything from what knotless braids actually are, to how to prepare your hair, choose the right size, care for your scalp, and take them down without causing damage.
By the end of this guide, whether you’re a complete beginner or someone who has been getting knotless braids for years, you will know exactly how to get the most out of this style while keeping your hair and edges healthy.
If you haven’t read Everything You Need to Know About Protective Styling yet, start there first. It covers the foundation rules that apply to knotless braids and every other protective style.
Knotless Braids: Complete Beginner’s Guide
What Knotless Braids Actually Are
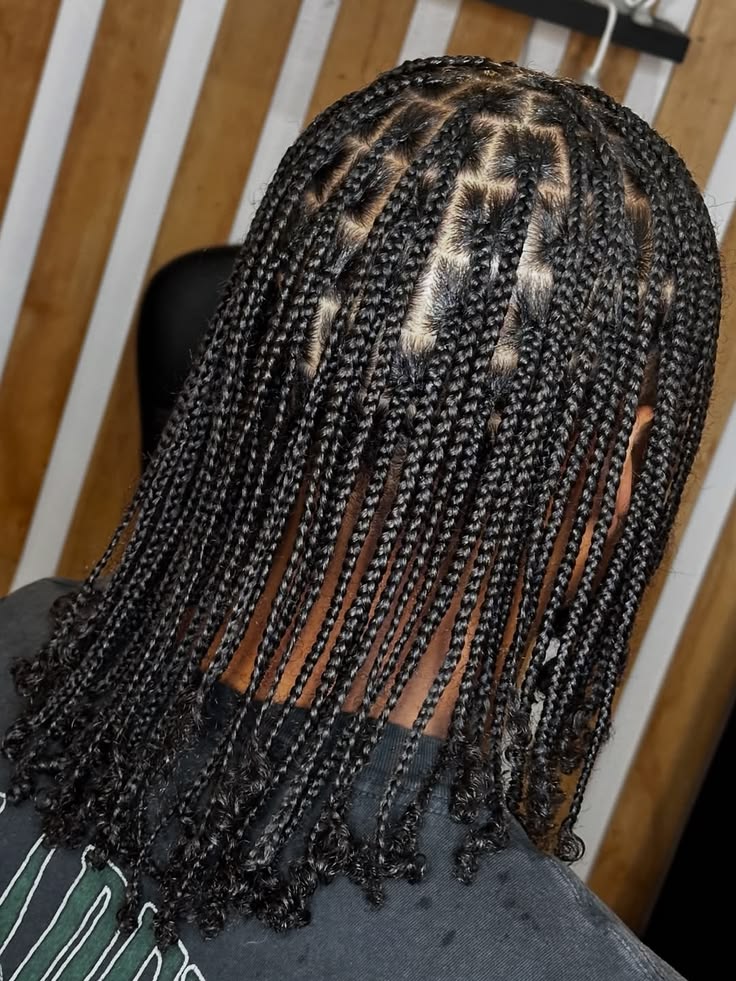
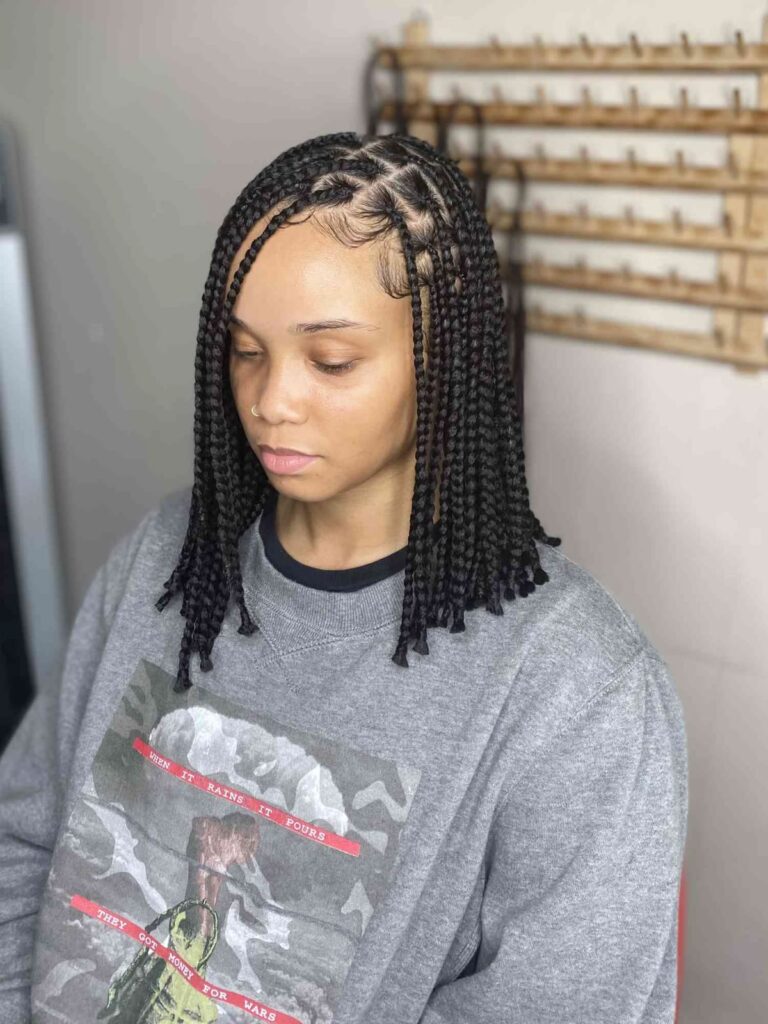
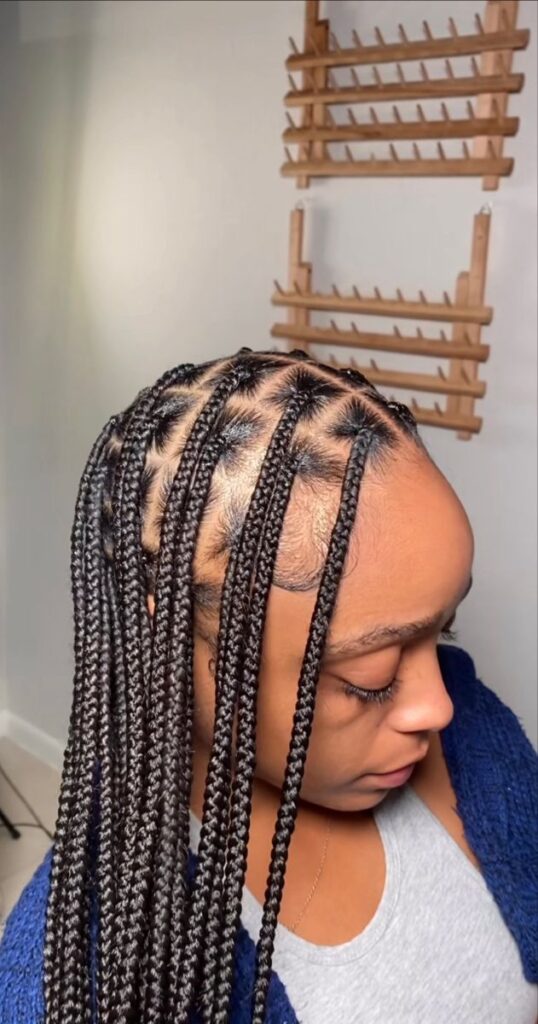
Knotless braids are a type of box braid where the extension hair is fed into the braid gradually as it progresses. Rather than being tied in a large knot at the very root of the section at the beginning.
In traditional box braids, the braider ties a folded piece of extension hair around the natural hair right at the root before braiding.
This creates a knot directly at the scalp that puts immediate, concentrated pressure on that section.
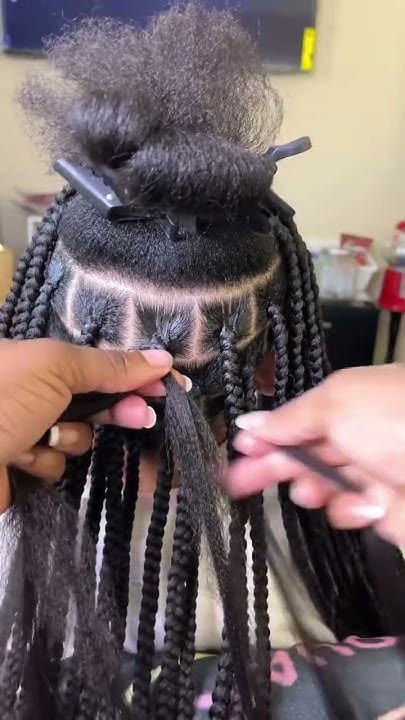
With knotless braids, the braider starts braiding with just your natural hair for a few passes first.
Then small pieces of extension hair are gradually fed in and incorporated into the braid as it moves down the length.
This difference in installation method changes everything about how the style feels.
It also changes how it sits on the scalp and how much stress it puts on your hair and edges throughout the wear period.
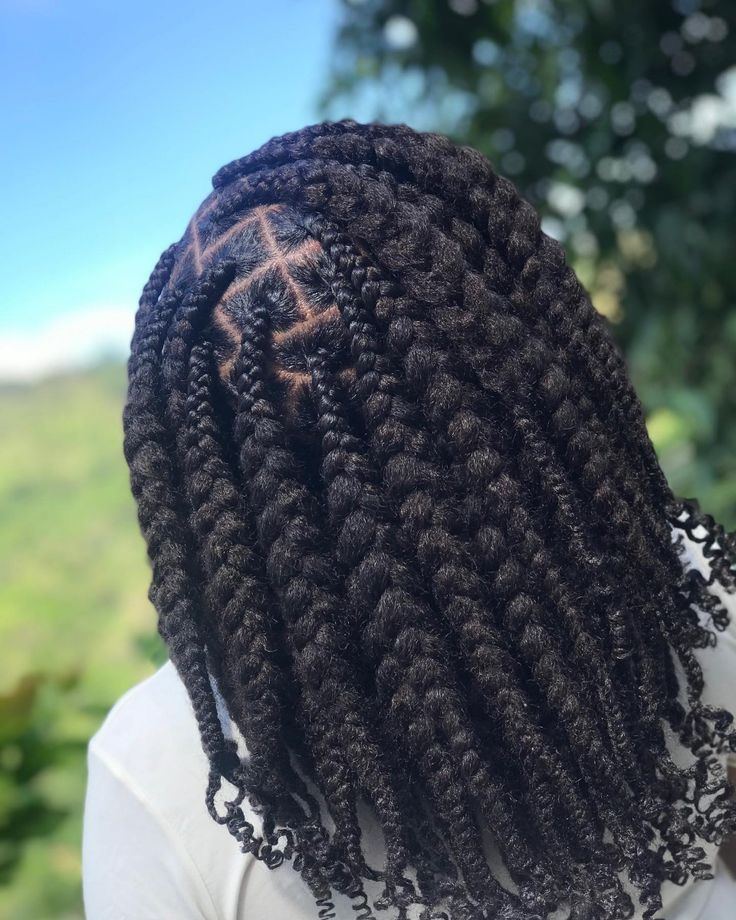
The result is a braid that starts very thin and natural looking at the root. It builds gradually in size and fullness as it progresses down the length, giving a much more realistic and organic appearance.
Read this next: 27 Best Protective Styles for Afro Hair
Why Knotless Braids Are Better for Afro Hair
The single biggest advantage of knotless braids over traditional box braids is the dramatically reduced tension at the root of each braid during and after installation.
Traditional box braid knots sit directly on the scalp. The weight of all the extension hair attached to that knot pulls constantly on that single point throughout the entire time the braids are worn.
Over weeks, that repeated tension weakens the follicle and can cause traction alopecia. This is hair loss caused by persistent pulling on the hair roots and it is very difficult to reverse.
With knotless braids, there is no heavy knot at the root. The extension hair is distributed along the length of the braid rather than concentrated at one point next to the scalp.
This makes knotless braids much more comfortable to wear, especially in the first few days after installation.
Traditional box braids are notorious for causing headaches and scalp soreness from the tight, heavy knots at the root.
Knotless braids also look more natural because the gradual build of the braid mimics how hair actually grows. Rather than having an obviously artificial knot visible at the base of each section.
Don’t miss this: Feed-In Braids That Protect Your Edges
How to Prepare Your Hair Before Knotless Braids
What you do before sitting in the braiding chair is just as important as the installation itself.
Proper preparation protects your hair during the weeks the braids are in and makes the takedown significantly easier when the time comes.
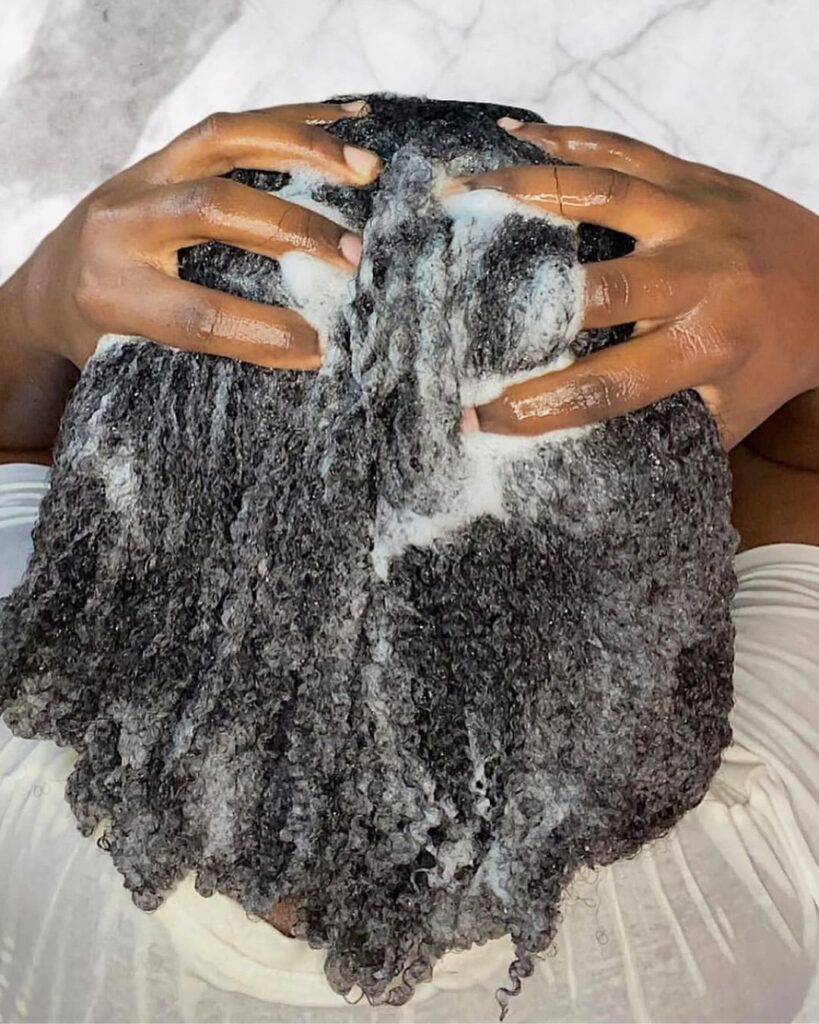
Wash and Deep Condition First
Always get knotless braids on freshly washed and deeply conditioned hair. Never install any protective style on dirty or dry hair under any circumstances.
Washing before installation removes any product buildup, sweat, and oils that would otherwise be trapped under your braids for weeks.
Deep conditioning restores moisture and strength to the hair before it goes under a style.
Use a moisturizing deep conditioner and leave it on for at least thirty minutes before rinsing. Follow with a leave in conditioner applied to your damp hair before you head to your appointment.
You’ll thank yourself later: The Complete Wash Day Routine for Afro Hair
Detangle Thoroughly
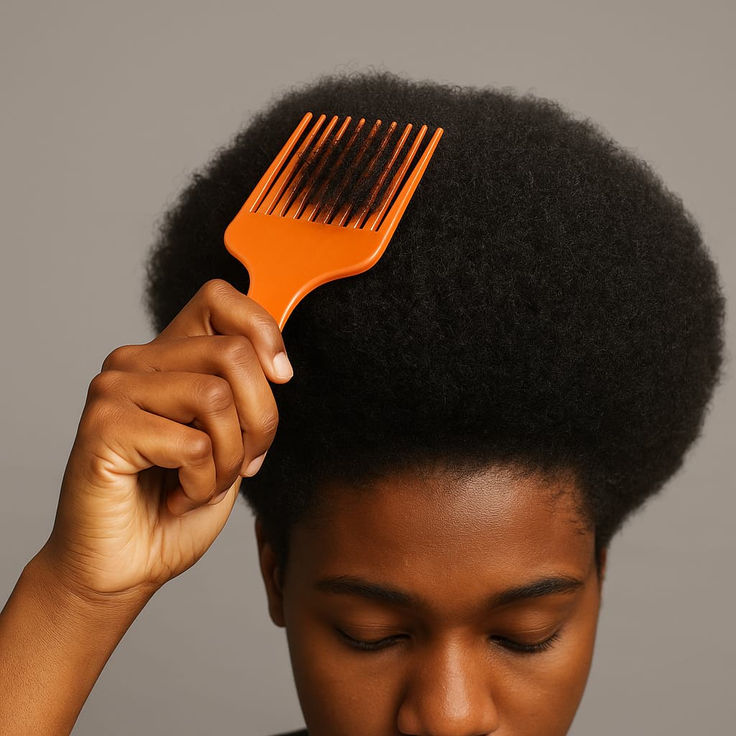
Your hair must be fully detangled before knotless braid installation.
Any existing tangles or knots will be locked into the braids and will be significantly harder to deal with during the takedown weeks later.
Work through your hair section by section with a wide tooth comb after applying your leave in conditioner.
Take your time and make sure every section is completely tangle free before you sit down in the braiding chair.
Don’t rush this step even if you’re short on time before your appointment. Arriving with detangled hair also makes the braiding process faster and more comfortable for both you and your braider.
Stretch Your Hair if Possible
Stretching your hair before installation using the banding method or African threading helps your natural hair blend more smoothly with the extension hair.
This makes the knotless installation process much neater and easier.
Stretched hair also gives the braider more length to work with at the root during the initial passes before the extension hair is introduced.
This makes the natural start of each braid neater and more secure.
If you don’t have time to stretch your hair before your appointment, asking your braider to blow out your hair lightly before starting is another option.
Keep in mind that this involves heat so weigh that against the benefits.
Keep this handy: How Often Should You Wash Afro Hair?
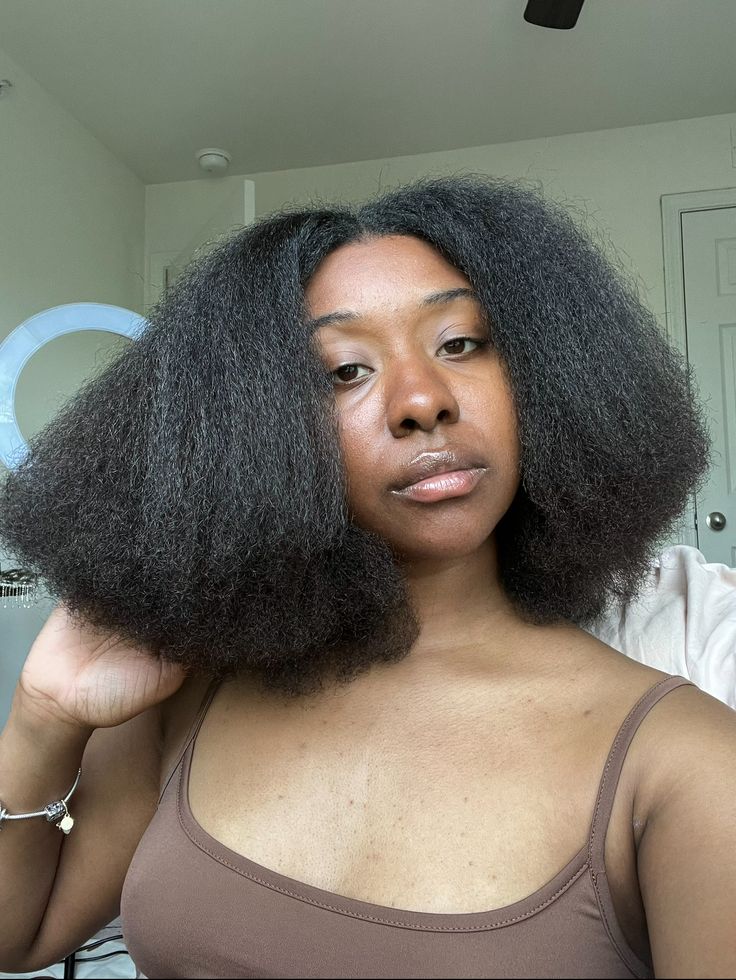
Choosing the Right Size
The size of your knotless braids affects how long they last, how heavy they feel, and how much tension they put on your scalp.
Choosing the right size for your hair thickness and lifestyle is very important.
Small Knotless Braids
Small knotless braids are the most time consuming to install, typically taking eight to twelve hours or more depending on the length.
They create the most individual braids across your head and give the fullest, most voluminous result when worn loose.
Small braids last the longest of any size, typically six to eight weeks. The small individual sections move less and put less individual weight on each root throughout the wear period.
They are the most popular size for people who want their knotless braids to last as long as possible.
However, the long installation time and higher cost compared to larger sizes are important things to consider carefully before committing.
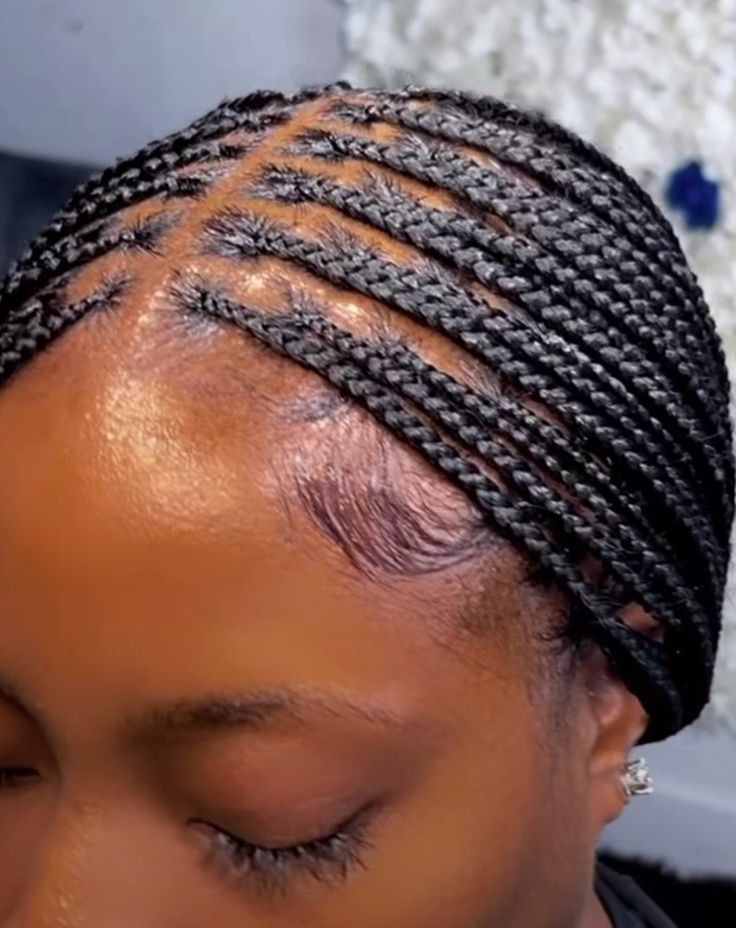
Medium Knotless Braids
Medium knotless braids strike the most popular balance between installation time, wear longevity, and visual impact.
They typically take four to eight hours to install and last four to six weeks with proper care.
They are the most widely requested size at salons because they give a good balance between fullness, neatness, and reasonable installation time.
Most people find medium braids comfortable and manageable throughout the full wear period.
Medium braids are the best starting size for someone getting knotless braids for the first time.
They give a good representation of what the style looks and feels like without the extreme commitment of small braids.
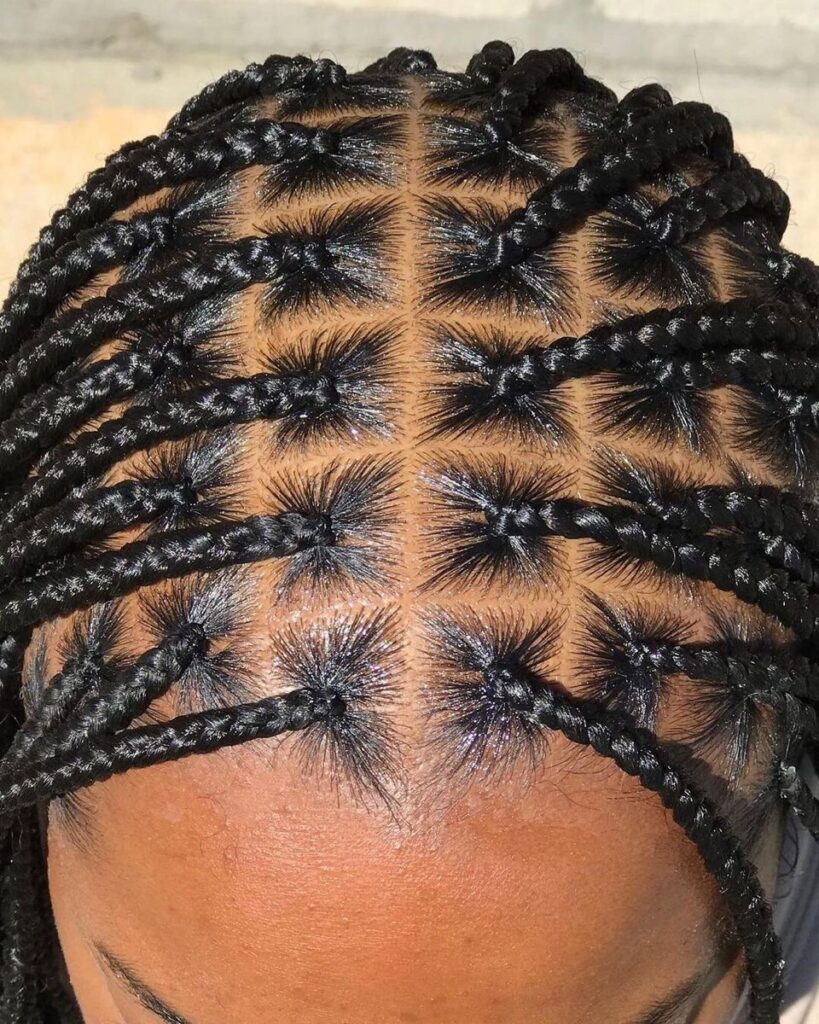
Large and Jumbo Knotless Braids
Large and jumbo knotless braids are the fastest to install and the most affordable option at most salons.
Fewer sections means less time in the chair and they typically take two to four hours and last three to five weeks.
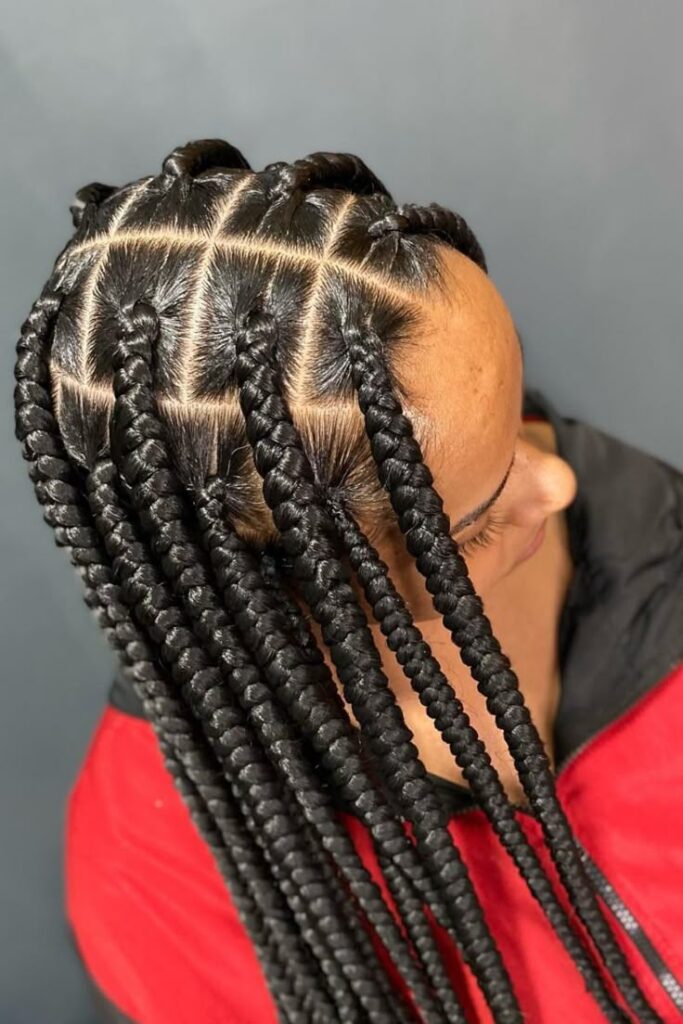
The larger sections mean fewer individual braids across the head. This gives a bolder, more dramatic look that makes a strong visual statement but is slightly less versatile for styling in different ways.
They are a good option for people with thicker, denser Afro hair that can support the slightly heavier individual braids comfortably.
They should not put too much strain on any single root section throughout the wear period.
Don’t lose this list: How to Build the Perfect Afro Hair Care Routine
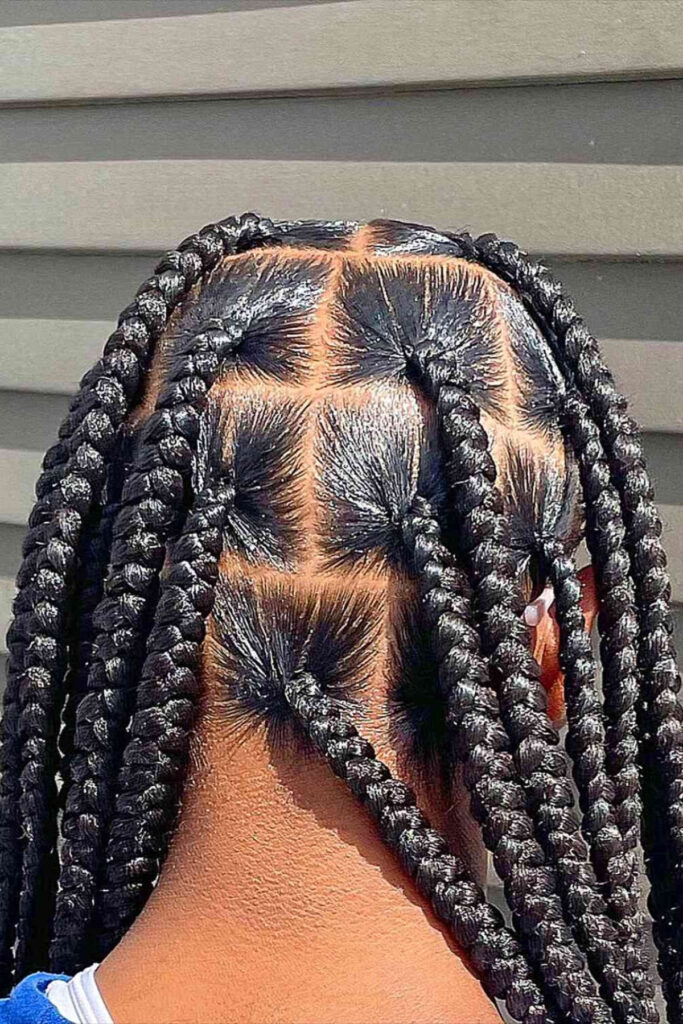
Choosing the Right Extension Hair
The type of extension hair you choose for knotless braids affects how the finished style looks, how heavy it feels, and how well it holds up throughout the wear period.
Make this decision carefully before your appointment.
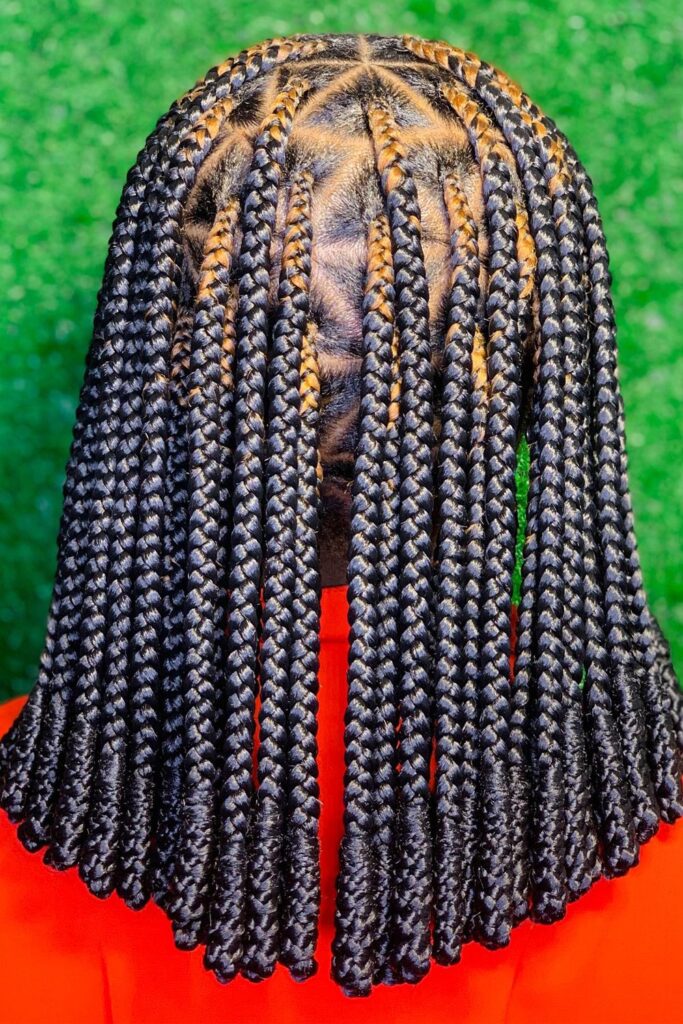
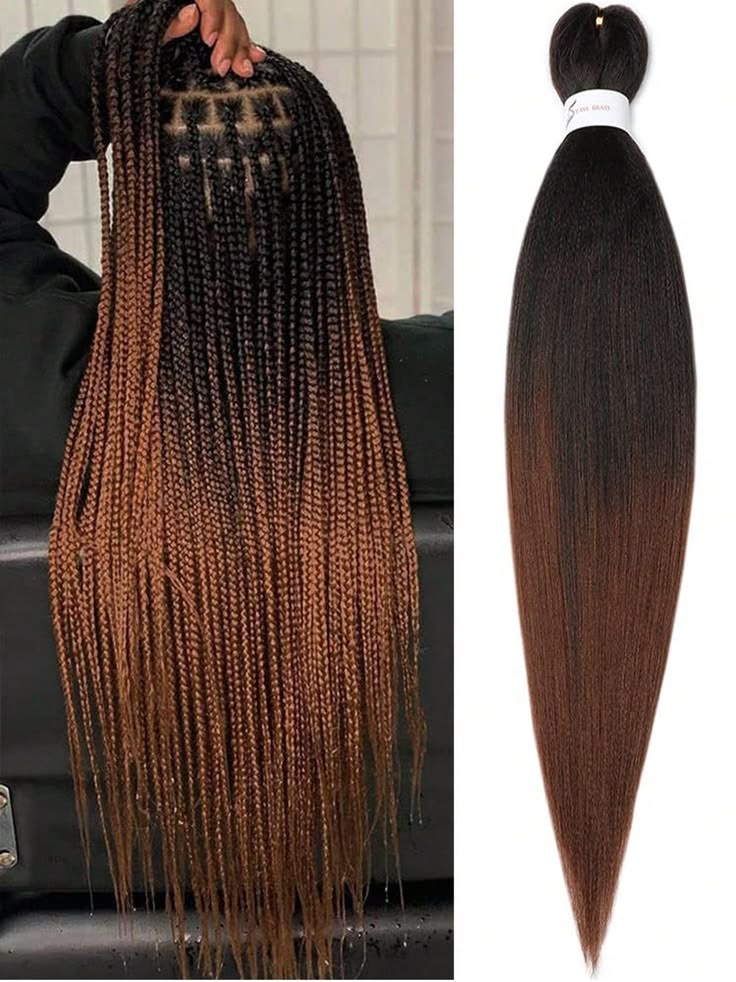
Pre Stretched Braiding Hair
Pre stretched braiding hair is the most commonly used and most recommended extension hair for knotless braids.
It comes already stretched to a uniform length and taper, which makes it easier for the braider to feed in gradually during installation.
The pre stretching process also removes some of the tension and kinkiness from the hair.
This results in braids that feel lighter and more comfortable to wear than braids done with unstretched extension hair would feel.
Pre stretched hair is available in many lengths, colors, and thicknesses.
Choosing a length that is proportional to your natural hair and body height is important since very long heavy braids put more weight on the scalp over weeks.
Avoiding Heavy Extension Hair
One of the most common mistakes people make with knotless braids is choosing extension hair that is too thick or too heavy.
Your natural hair must be able to support the weight comfortably over the entire wear period.
Heavy extension hair puts a lot of weight on each root section throughout the weeks the braids are in.
Even without a knot at the root, very heavy braids can still cause tension related damage to the follicles over time.
Ask your braider to show you the extension hair before installation and feel the weight of a full braid’s worth in your hand.
If it feels very heavy, consider going up a size to distribute the weight more evenly.
Avoiding Synthetic Hair That Tangles
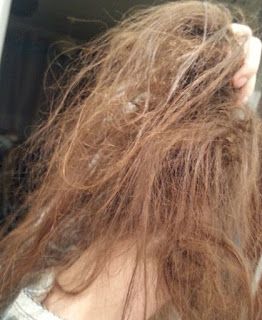
Some lower quality synthetic braiding hair tends to tangle and lock around itself during the wear period.
This creates matting that makes the takedown process much harder and more damaging than it needs to be.
Ask your braider what brand of hair they use and whether it is known for tangling.
Investing in slightly higher quality extension hair is worth it for the improved experience during wear and the easier takedown at the end.
See what everyone’s talking about: 35 Easy Afro Hairstyles for Beginners
What to Expect During Installation
Understanding what the installation process involves helps you know what is normal and what is a warning sign that something isn’t right during your appointment.
This knowledge protects you during the process.
How Long It Takes
Knotless braid installation takes longer than traditional box braids of the same size. The gradual feed in technique requires more careful, methodical work from the braider at the start of each section.
Small knotless braids can take anywhere from eight to twelve hours or more. Medium braids typically take four to eight hours.
Large braids take two to four hours depending on the length and thickness chosen.
Plan your appointment on a day when you have plenty of time and don’t need to be somewhere else by a specific time.
Rushing the end of an installation often results in the last sections being done less carefully than the first ones.
Tension During Installation
Pay close attention to how your scalp feels during installation.
Knotless braids should feel noticeably more comfortable than traditional box braids, especially during the first few passes at the root of each section.
If any section feels too tight or painful during installation, say something immediately.
Don’t wait until the end of the appointment to mention it since by then the discomfort is already locked into the braid.
It is your right as a client to ask for looser installation at any point during the appointment.
A skilled braider will accommodate this without making you feel like you’re being difficult or unreasonable.
What the Finished Style Should Feel Like
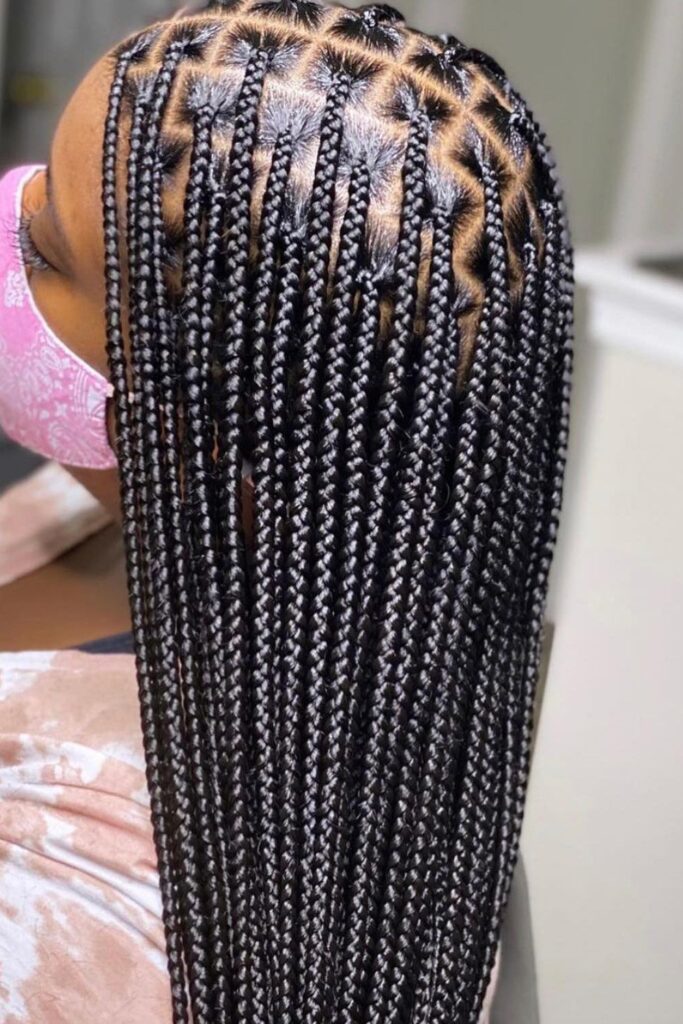
When the installation is complete, your braids should feel secure and neat without feeling tight or causing tension along your hairline.
You should not have a headache or scalp soreness immediately after installation.
If you do feel significant scalp soreness or a headache after getting knotless braids, that is a sign the installation was too tight even for knotless braids.
This is not something you should push through or ignore.
Very mild tenderness in the first twelve to twenty four hours can be normal as the scalp adjusts to having braids.
But significant pain, visible bumps along the hairline, or redness on the scalp are all signs of too much tension.
Worth a look: 75 Beautiful Afro Hairstyles You’ll Want to Save
How to Care for Your Hair While in Knotless Braids
Proper care while the braids are in is what determines whether your hair comes out in better or worse condition than when it went in.
Many people make the mistake of completely ignoring their hair while a protective style is in.
Moisturize Your Scalp Regularly
Your scalp still produces natural oils and still needs moisture while your knotless braids are in.
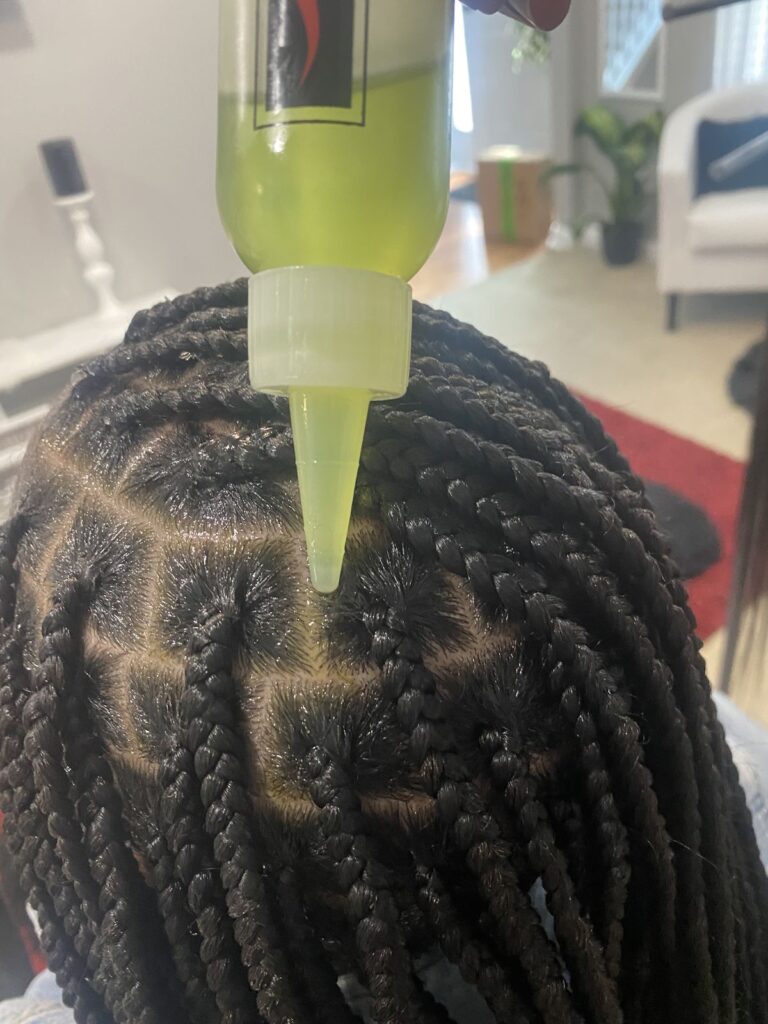
Use a lightweight scalp oil or a diluted leave in conditioner in an applicator bottle to apply moisture directly to your scalp every two to three days.
Focus on the scalp rather than the braids themselves since the braids don’t need moisturizing. Your natural hair underneath is what actually needs attention and care throughout the entire wear period.
Apply the oil in small amounts directly to the scalp parts rather than saturating the braids.
Too much product on the braids causes buildup and makes the style look dull and heavy before its time.
Wash Your Scalp During the Style
Your scalp still needs to be cleaned while your knotless braids are in.
This is especially important if you work out regularly or live in a hot climate where sweating is frequent throughout the week.
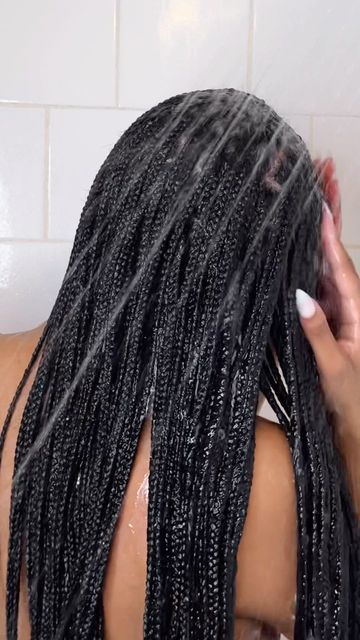
Use a diluted shampoo in an applicator bottle to apply directly to your scalp through the parts of your braids. Massage gently with your fingertips, then rinse thoroughly with water directed at the scalp.
After rinsing, squeeze the braids gently from root to tip to remove excess water rather than rubbing or wringing them.
Rubbing causes frizzing and weakening of the braid pattern which shortens the life of the style.
Aim to do a scalp wash every two to three weeks while the braids are in. This prevents buildup and maintains a healthy, comfortable scalp throughout the entire wear period.
Readers also loved this: Daily Habits That Keep Afro Hair Healthy
Protect Your Braids at Night
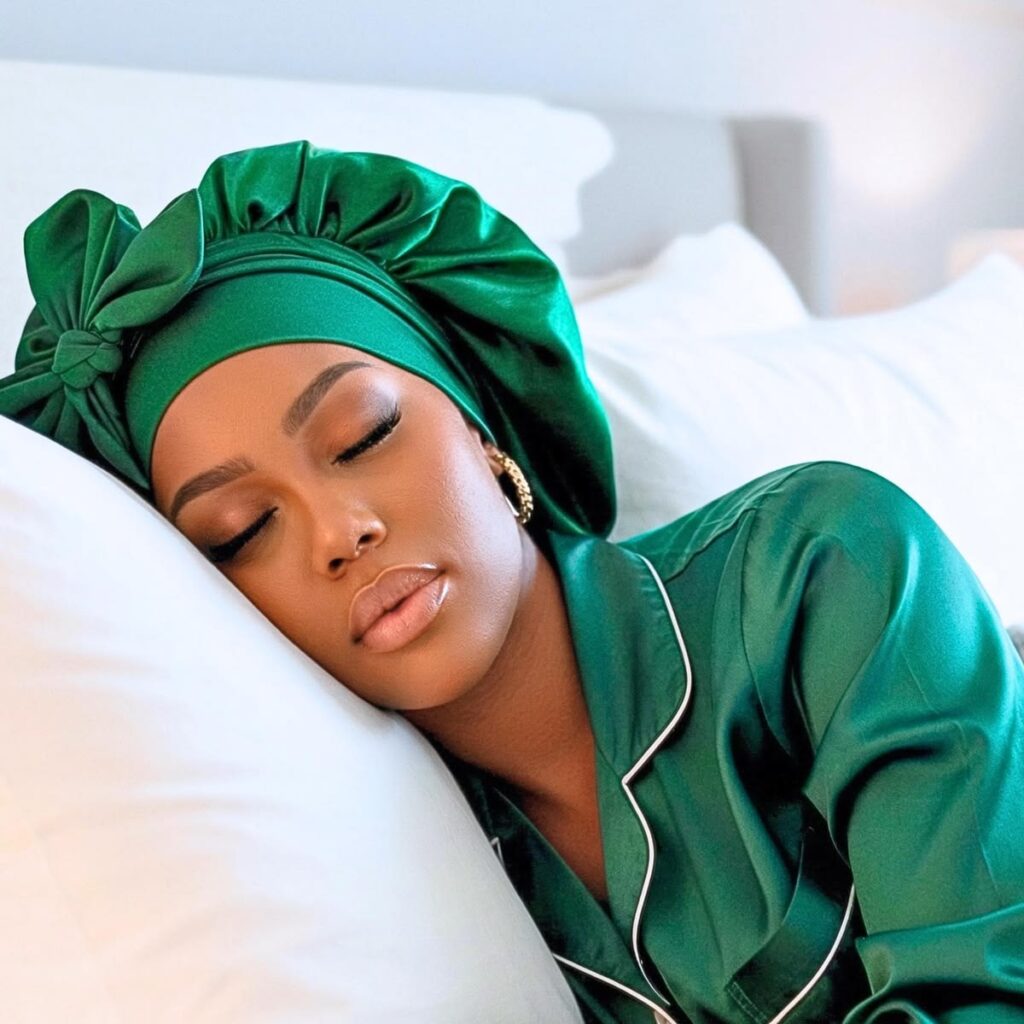
Sleep with a satin bonnet or on a satin pillowcase every night while your knotless braids are in.
This protects both the braids from frizzing and your edges from friction against rough fabric overnight.
Satin protection also helps the braids maintain their neat, freshly done appearance for longer.
Cotton fabric pulls at the surface of the braids and causes the extension hair to frizz and look worn much earlier than it otherwise would.
If your braids are too long to fit comfortably under a bonnet, gather them loosely in a loose pineapple at the top of your head before putting on the bonnet.
This contains them without crushing or damaging them.
Watch Your Edges
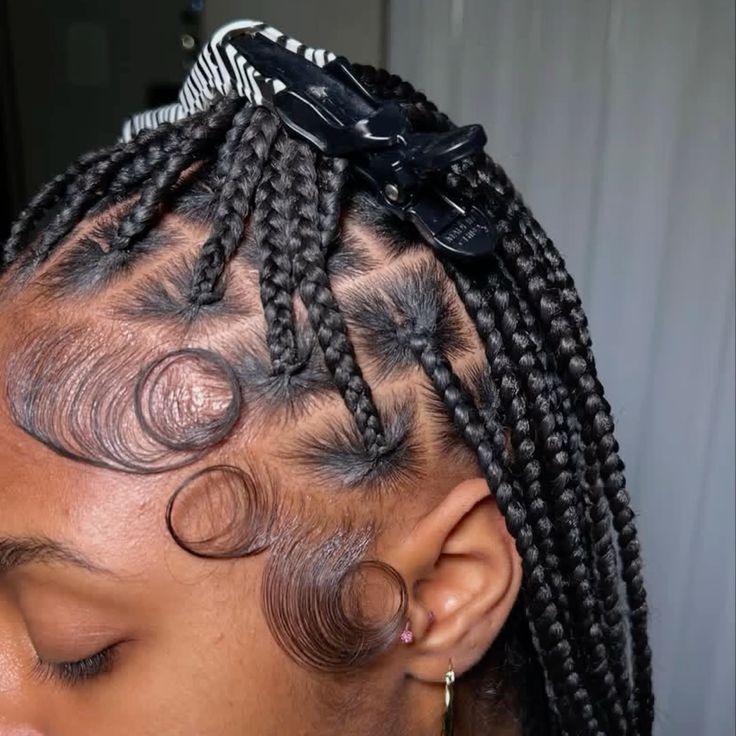
Check your edges regularly throughout the wear period by gently feeling along your hairline.
The skin along your hairline should not feel sore, tender, or inflamed at any point while your knotless braids are in.
If you notice your edges starting to look thinner or feel sore at any point during the wear period, take the braids down immediately.
Don’t push through to your intended removal date just to preserve the style longer.
Catching edge damage early and removing the style before the damage progresses is always the right choice.
Even if it means taking the braids down earlier than planned, your edges are always worth protecting first.
You’ll want to read this: 27 Wash and Go Hairstyles That Actually Last
How Long Knotless Braids Should Stay In
The maximum recommended wear time for knotless braids is eight weeks.
Going beyond eight weeks significantly increases the risk of matting, severe tangling, and new growth locking around the braided sections.
The ideal wear period for most people is four to six weeks. At this point the style is still looking relatively neat and the new growth hasn’t built up to a level that makes the takedown complicated.
Small braids can stretch closer to the eight week maximum because the smaller sections hold their pattern and remain neater for longer.
Larger braids may start to look worn earlier, making a four to five week wear period more appropriate.
Don’t be the last to see this: 31 Quick Natural Hairstyles for Busy Mornings
How to Take Down Knotless Braids
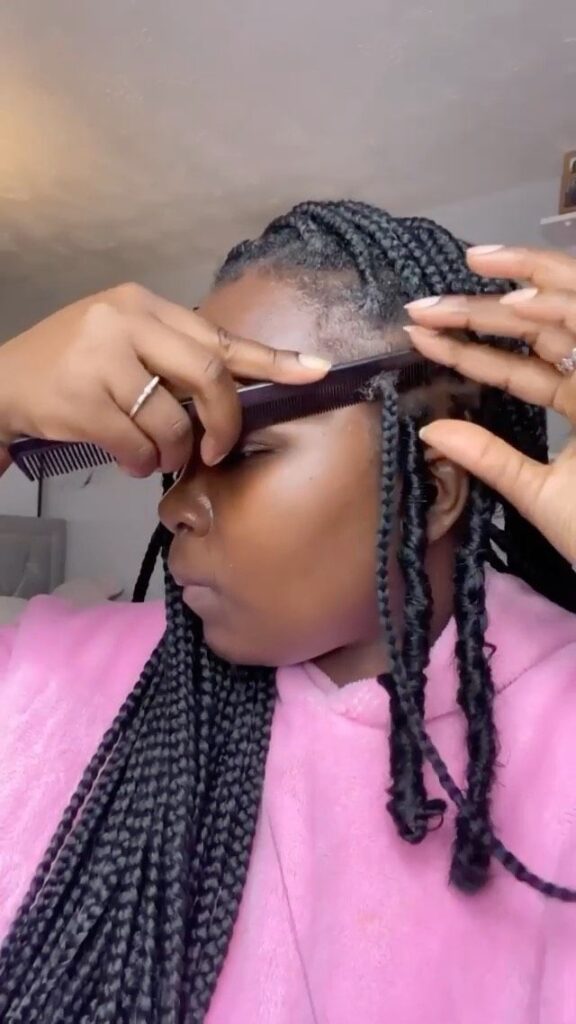
The takedown is one of the most important steps in the entire knotless braid process. It is also the one most likely to be rushed when people are ready to be done with the style.
Rushing the takedown causes the majority of the breakage that people associate with protective styling.
What You Will Need
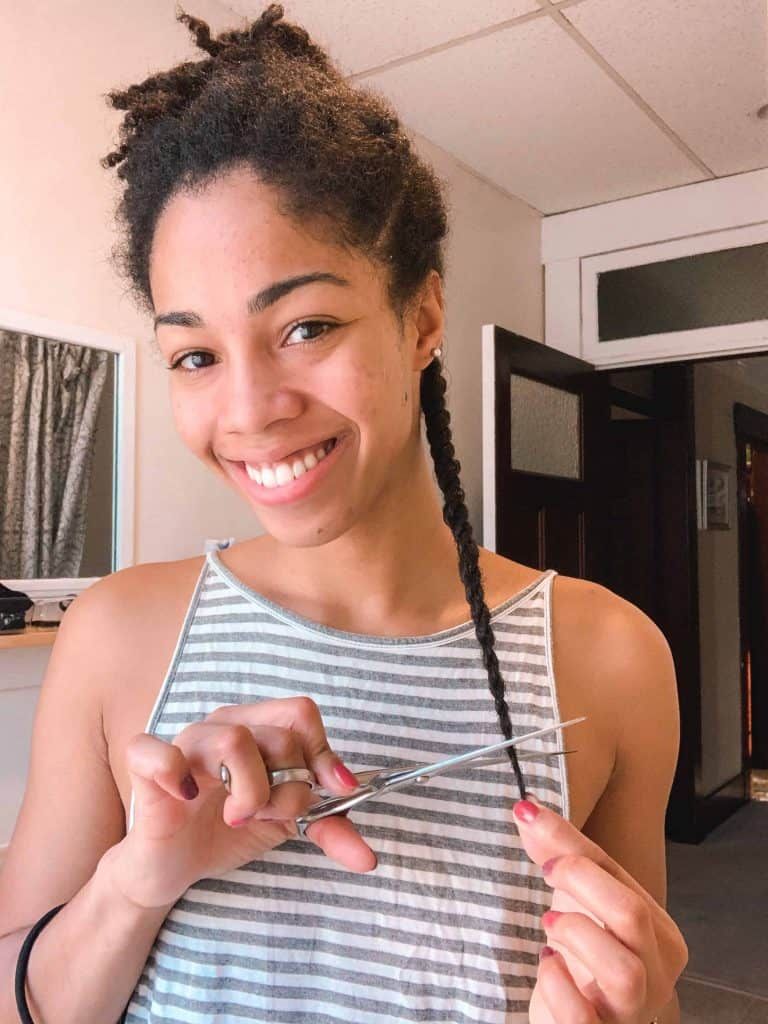
Gather a generous amount of detangling conditioner or oil, a wide tooth comb, scissors if needed for any severely matted sections, and a spray bottle with water.
Make sure you also have plenty of time set aside before you begin.
Set aside a full day for the takedown if you have small or medium knotless braids.
Large braids come out faster but still deserve careful attention rather than rushing through the process.
The Takedown Process
Start at the bottom of each braid and carefully unravel it upward rather than trying to pull the braid apart from the root down.
Pulling from the root down causes the extension hair to tangle around your natural hair.
Apply detangling oil or conditioner to each section before unraveling to soften the hair and reduce friction and snagging as you work.
Work in small sections and be patient throughout the entire process.
Once the extension hair is removed from a section, hold the natural hair gently and work through any tangles with your fingers.
Never drag a comb through tangled natural hair fresh from a braid section without detangling first.
After the Takedown
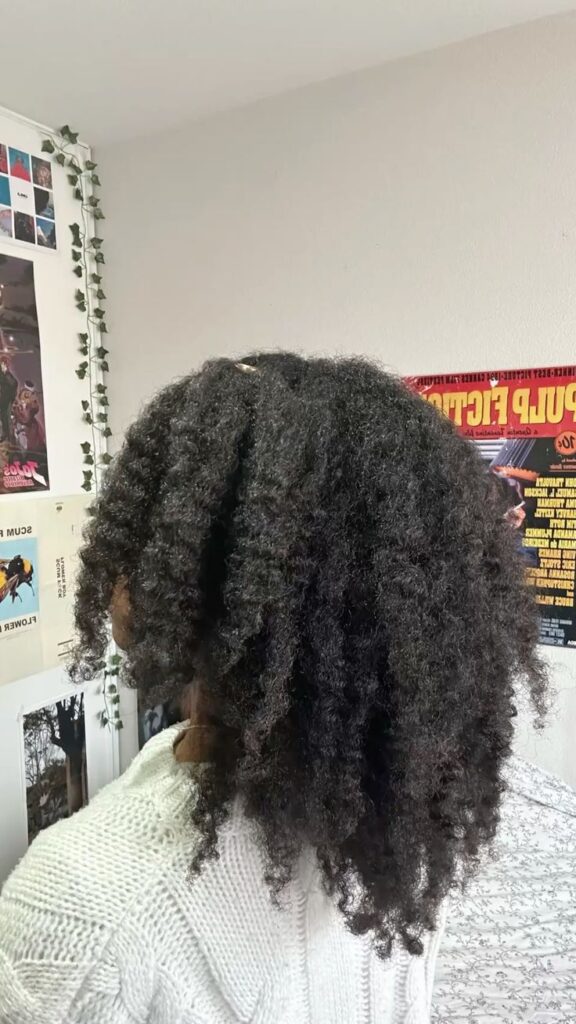
Once all the braids are out, resist the urge to immediately restyle. Your hair needs a thorough wash day before anything else goes in and it needs your full attention during that wash day.
Shampoo your scalp carefully to remove all the buildup accumulated during the wear period.
Deep condition for at least thirty minutes to restore the moisture and strength that weeks under a protective style has reduced.
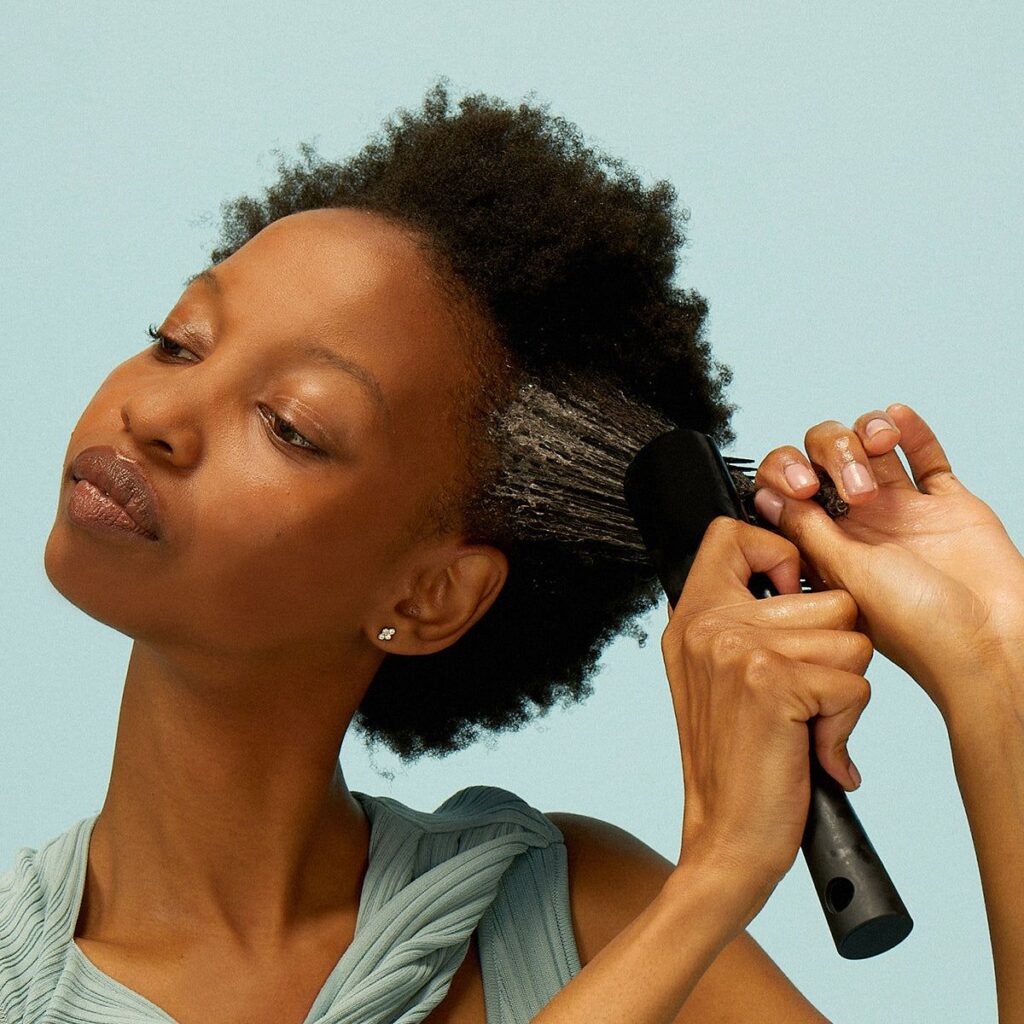
Detangle gently during the deep conditioning step when the hair is at its softest and most slippery.
This makes the process much easier and causes significantly less breakage than detangling dry hair after washing.
Assess your hair honestly after the takedown and wash. Look at your edges, feel the strength of your strands, and check your ends for damage before deciding what to do next with your hair.
See why this is so popular: 25 Afro Puff Styles You Will Like
Common Knotless Braid Mistakes to Avoid
Knowing what not to do is just as valuable as knowing what to do. These are the most common mistakes people make with knotless braids and how to avoid every single one of them going forward.
Getting braids on dirty, dry, or unprepared hair is the most damaging starting mistake.
Always wash and deep condition before any protective style installation without any exception whatsoever.
Choosing extension hair that is too heavy for your natural hair is a very common error. It puts strain on the scalp even without the traditional knot and causes damage over the weeks the style is worn.
Ignoring scalp care while the braids are in is another widespread and easily avoidable mistake.
A dry, neglected scalp under knotless braids leads to discomfort, slow growth, and potential damage that shows up at takedown.
Going past the eight week maximum wear time is something many people do because the braids still look okay on the outside.
But the inside story is very different with matting and tangling building up invisibly throughout the extra weeks.
Rushing the takedown and causing the majority of the breakage associated with the style is the final and most avoidable mistake.
Give yourself enough time to take the braids down properly and your hair will always thank you for it.
A Few Final Things Worth Knowing
Knotless braids are one of the best protective style options for Afro hair when done correctly, cared for properly, and removed gently and on time.
They protect your ends, reduce daily manipulation, give your hair a real break from constant styling, and look beautiful for weeks at a time.
All of this makes them one of the most valuable styles in natural hair care.
But no protective style works in isolation. The health of your hair before the braids go in, the care you give it while they are in, and the gentleness of the takedown all determine the final outcome for your hair.
Follow every step in this guide and knotless braids will consistently be one of the best things you do for your Afro hair journey.
For inspiration on other braided styles to try after your next knotless braid takedown, read Box Braids vs Knotless Braids: Which Is Better?.