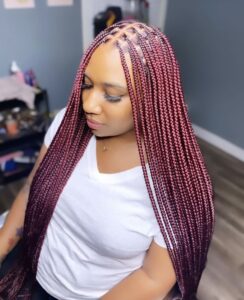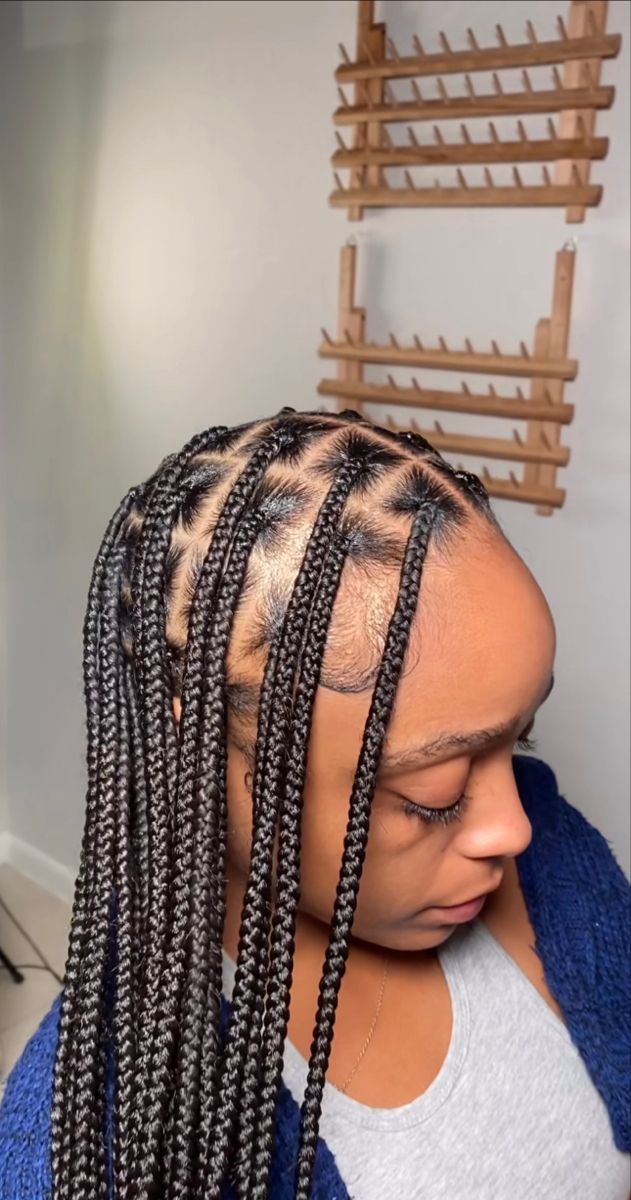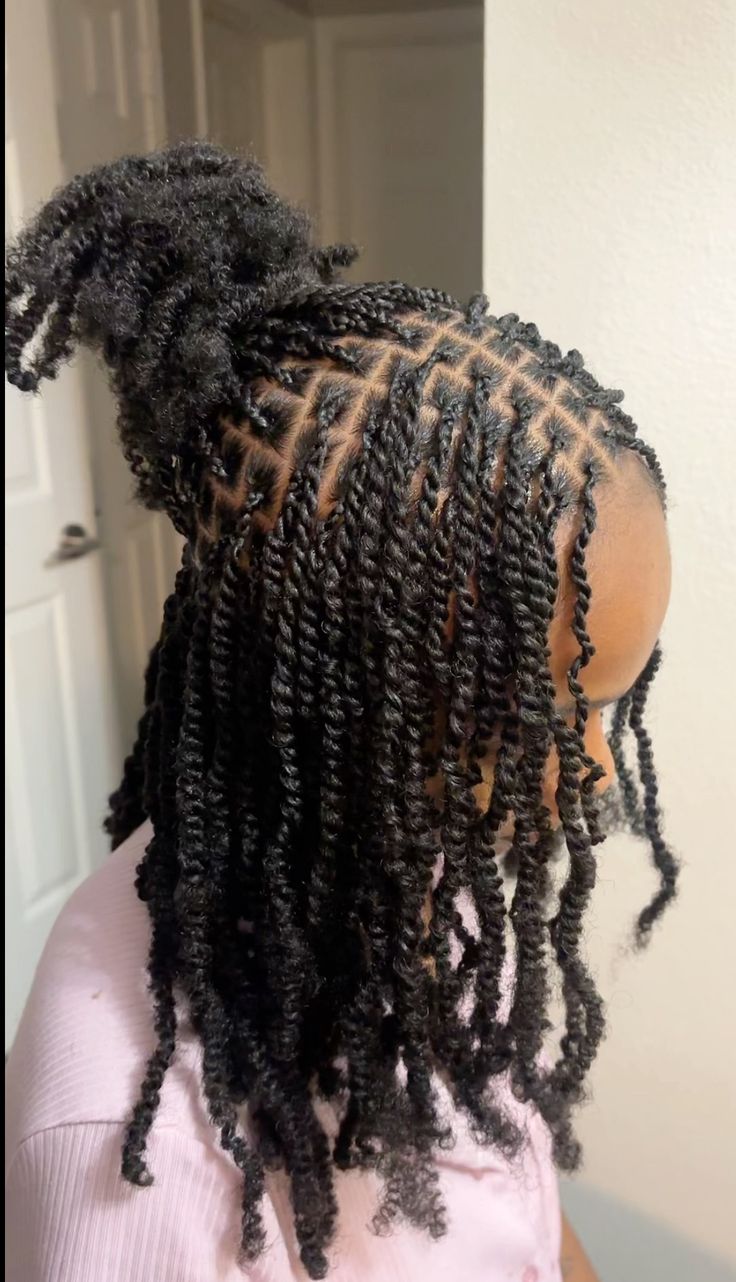

Feed-In Braids That Protect Your Edges
Disclosure: Some of the links in this post are affiliate links. This means if you click on the link and purchase an item, I will receive an affiliate commission at no extra cost to you.
Some people lose their edges anytime they braid their hair. My new client complained to me about the same problem the first day I wanted to make her hair.
She told me she had been getting braids for years. Every single time, her edges came out thinner than they went in.
She thought it was just something that happened with braids. She believed nothing could be done about it.
But that’s not true at all. Losing your edges every time you braid is not normal. It is not something you have to accept. It is a sign that something about the way your hair is being braided needs to change.
Feed in braids are one of the most powerful solutions to this problem. They are designed specifically to reduce tension along the hairline.
They also protect the most fragile parts of your hair. Traditional tight braids often damage these areas.
This guide covers everything you need to know about feed in braids. How they work, why they protect your edges, and how to install them correctly.
It also explains how to care for your hair while they are in. It shows how to take them down without undoing all the protection they provided.
If you have been losing your edges every time you braid, this post was written specifically for you.
Before reading further, check out Everything You Need to Know About Protective Styling. It covers the foundation rules that make feed in braids and every other protective style genuinely work for your hair.
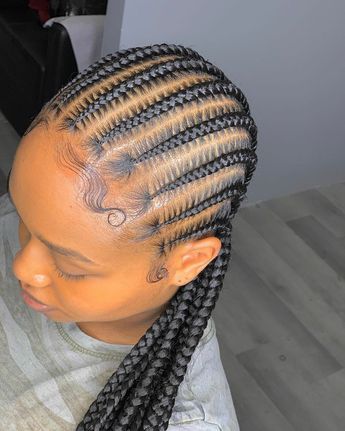
Feed-In Braids That Protect Your Edges
What Feed In Braids Actually Are
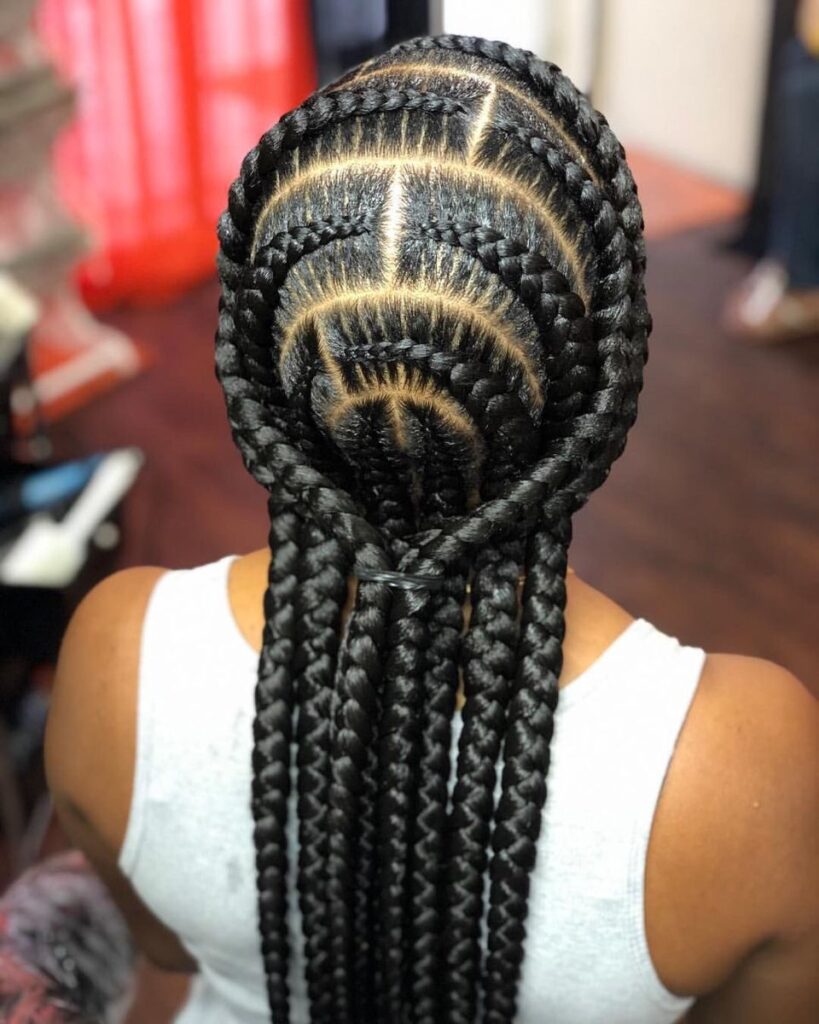
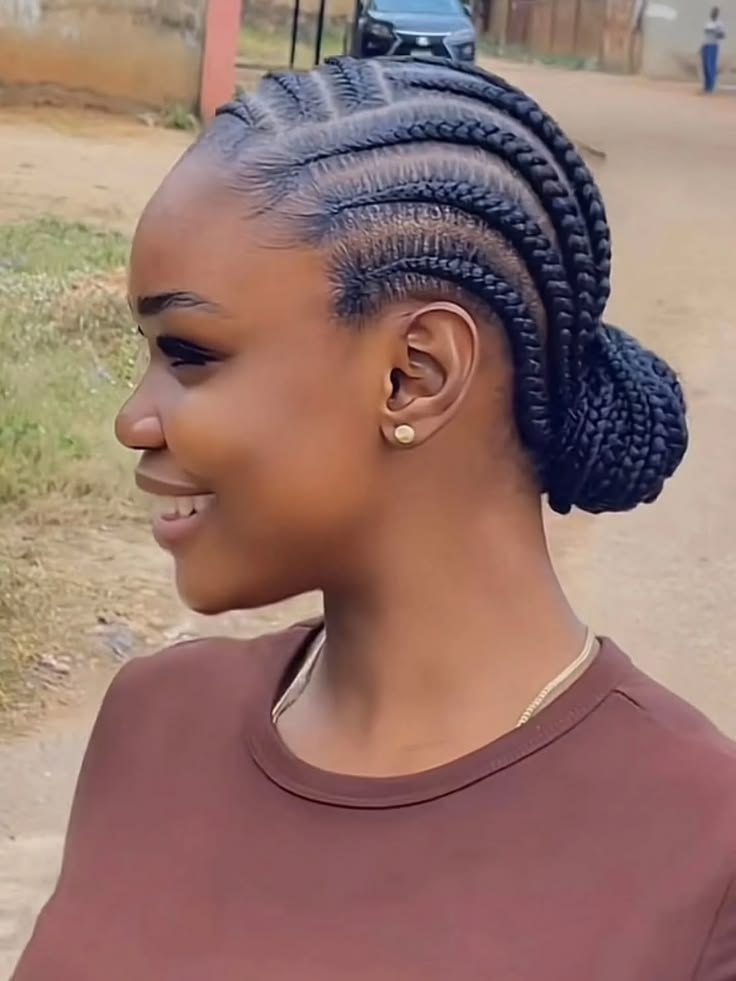
Feed in braids are a specific cornrow installation technique. The extension hair is gradually added into the braid in small pieces.
This happens as the braid progresses from the front hairline toward the back.
Unlike regular cornrows with extensions, all the extension hair is not tied in at the beginning. Feed in braids build the extension hair in slowly. This happens throughout the length of the braid.
This means the braid starts very thin and small right at the hairline. Only your natural hair is used in the first few passes.
Then small pieces of extension hair are added one at a time. This continues as the braid moves toward the back.
The result is a braid that looks incredibly natural because it mirrors how hair actually grows. It starts thin at the root. Then it gets thicker and fuller as it progresses away from the scalp.
This gradual build is exactly what makes feed in braids much gentler on your edges than traditional cornrows.
There is no heavy knot of extension hair sitting right at your delicate hairline. This is true from the very start.
For a detailed comparison of traditional box braids versus knotless braids, which share some of the same principles as feed in braids, read Box Braids vs Knotless Braids: Which Is Better?
Why Feed In Braids Protect Your Edges Better
The edges are the most fragile part of your hairline. The follicles along your hairline are naturally shallower. They are also more delicate than the follicles on the rest of your scalp.
When heavy extension hair is knotted directly at the hairline, it creates immediate and sustained tension.
This tension affects those delicate follicles from the beginning of the braid. Over weeks, the tension weakens the follicle. It also weakens the hair growing from it.
This repeated stress over multiple braid installs causes progressive edge thinning. The follicle gets weaker each time. Eventually, it stops producing hair altogether in that area.
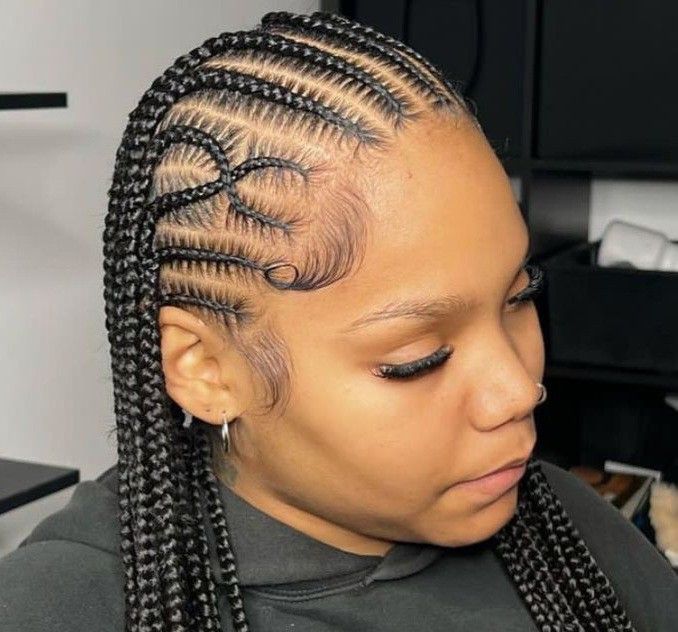
Feed in braids solve this problem at the source. They start the braid with just your natural hair at the hairline.
Extension hair is added gradually as the braid moves away from the scalp. This keeps the most vulnerable part of your hairline under very little weight or tension.
The weight of the extension hair is distributed across the length of the braid. It does not sit entirely on the most delicate point of your head from the beginning.
This is the single most important reason feed in braids are consistently recommended.
They are ideal for people whose edges are thinning, sensitive, or recovering from previous tension damage caused by other braid styles.
To understand more about why your scalp health directly affects your edge health, read The Ultimate Beginner’s Guide to Afro Hair Care. It explains the connection between scalp care and healthy hair growth clearly.
How to Prepare Your Hair Before Feed In Braids
Preparation before installation is just as important as the installation itself. Getting this right sets your hair up for the best possible experience throughout the entire wear period.
Wash and Deep Condition First
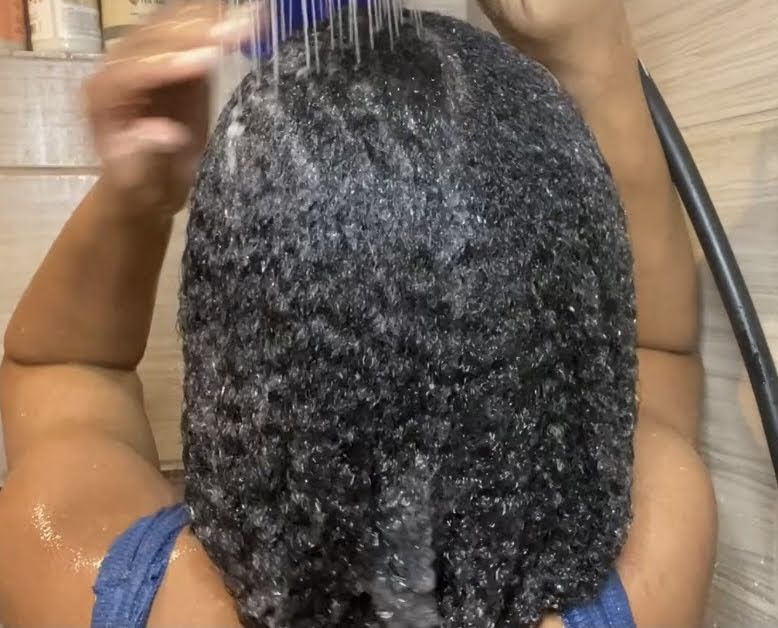
Always start with freshly washed and deeply conditioned hair before any protective style installation. Never sit in a braiding chair with dirty, dry, or neglected hair under any circumstances.
Washing removes product buildup, sweat, and excess oil from the scalp. This happens before everything gets trapped under braids for several weeks.
Deep conditioning restores moisture and strength to the hair. It prepares your hair for a long-term protective style.
Use a moisturizing deep conditioner. Leave it on for at least thirty minutes under a plastic cap before rinsing.
Apply a leave in conditioner to damp hair immediately after rinsing. Do this before heading to your appointment.
For a full step by step wash day guide to follow before your feed in braid installation, read The Complete Wash Day Routine for Afro Hair.
Following this routine properly makes a real difference. It affects how your hair comes out after the braids are removed.
Detangle Completely
Your hair must be completely free of tangles and knots before the braider begins.
Any tangles that exist before installation will stay locked inside the braids for weeks. They will also cause damage during takedown.
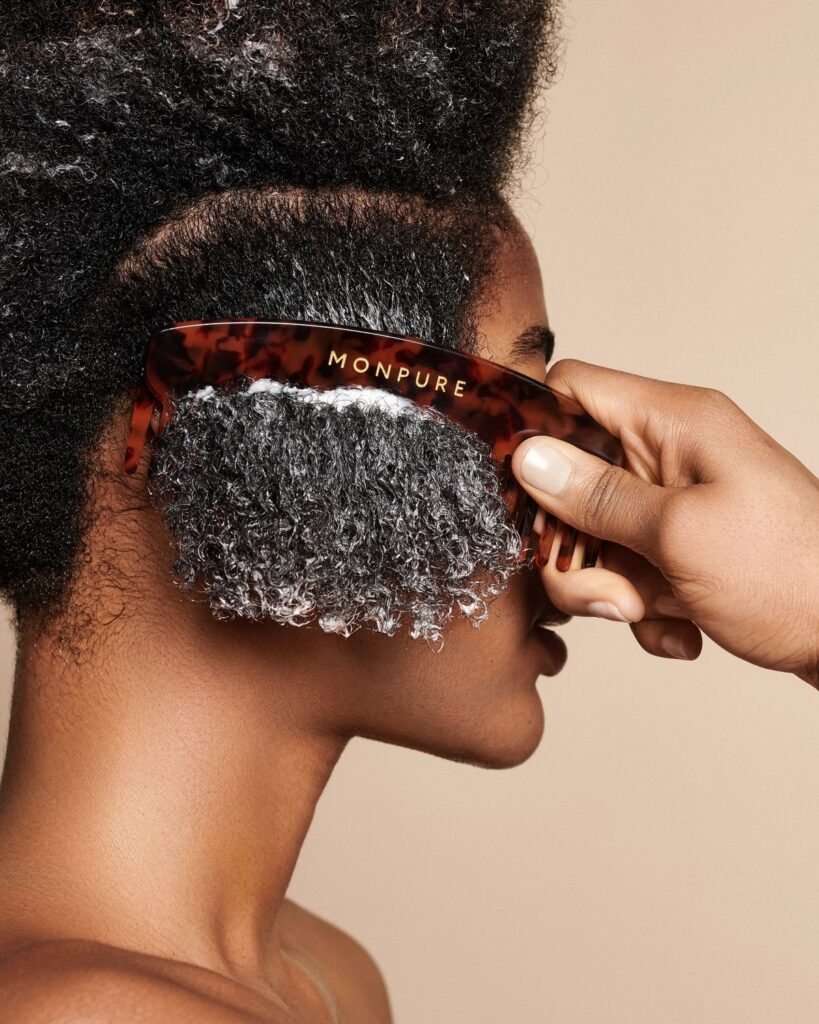
Work through your entire head section by section using a wide tooth comb. Apply a generous amount of leave in conditioner first to add slip.
Take your time and be thorough before leaving for your appointment.
Arriving with fully detangled hair also makes the braiding process faster. It also makes the process more comfortable for both you and your braider. This applies from the first section to the last.
Stretch Your Hair
Lightly stretching your hair before installation helps your natural hair blend more smoothly with the extension hair. Use the banding method or African threading for the best results.
Stretched hair gives the braider more to work with at the hairline. This helps during the initial natural hair passes.
It happens before the extension hair starts being added. The result is a neater and more secure start to each row.
If time doesn’t allow for stretching at home, your braider can lightly blow out your hair before beginning the install.
This step is optional. However, it makes a noticeable difference to the neatness of the finished result.
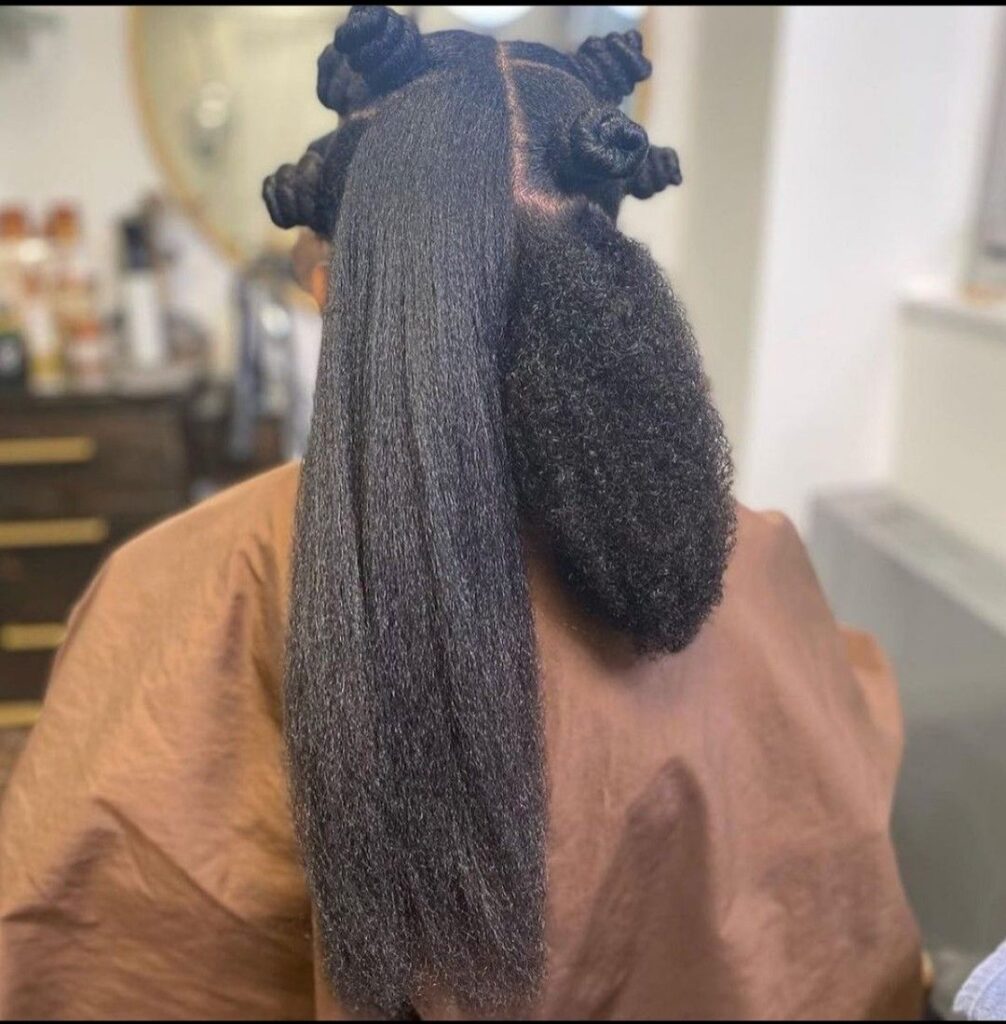
Worth a look: 25 Afro Puff Styles You Will Like
Choosing the Right Extension Hair
The extension hair you use for feed in braids matters enormously. The wrong choice can undo all the protective benefits of the gradual feed in technique.
This happens regardless of how carefully the installation is done.
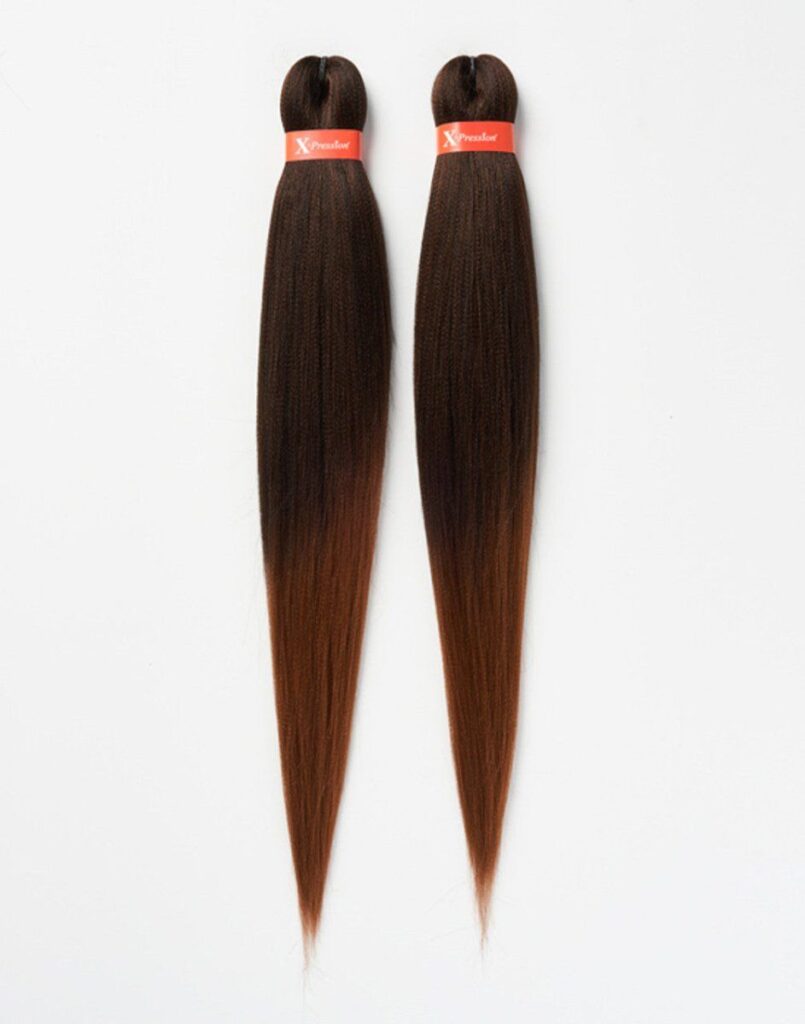
Use Pre Stretched Braiding Hair
Pre stretched braiding hair is the most recommended extension hair for feed in braids. It comes already stretched to a uniform length and taper.
This makes it easier to add in small pieces during the feed in process.
Pre stretched hair is also significantly lighter than regular braiding hair. This matters a lot for feed in braids specifically. The weight should remain manageable throughout the entire wear period.
Choose pre stretched hair in a length that suits your head and body size. Very long, heavy extension hair puts unnecessary strain on the scalp.
This happens over the weeks the style is worn. It can happen even without a tight root knot.
Avoid Overly Thick Extension Hair
One of the most common feed in braid mistakes is using extension hair that is too thick. Even with the gradual feed in technique, heavy extension hair eventually pulls on the scalp over time.
Use thinner, more manageable pieces of extension hair. Add more pieces gradually instead of using fewer, thicker pieces.
This keeps the weight distribution even and comfortable throughout the entire braid.
Ask your braider about the thickness of the pieces they plan to use. Speak up if the finished braids begin to feel too heavy. Do this during the installation process.
Choose Good Quality Hair
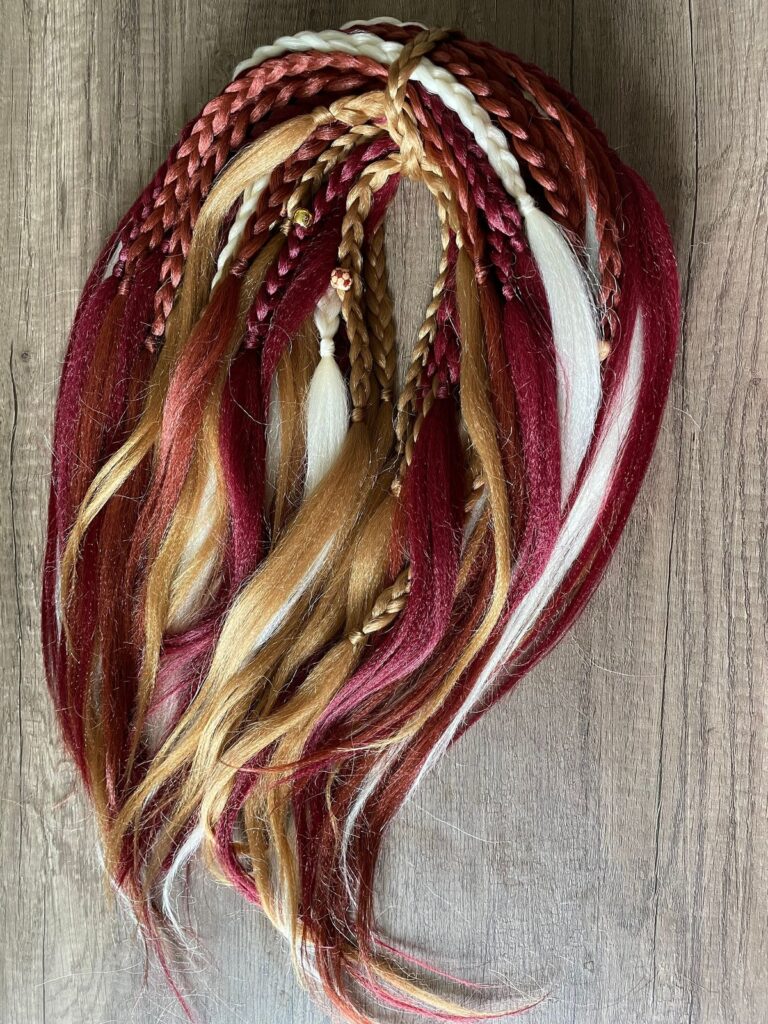
Lower quality synthetic hair tends to tangle and mat around itself during the wear period. This creates buildup inside the braid. It makes takedown much harder and more damaging than necessary.
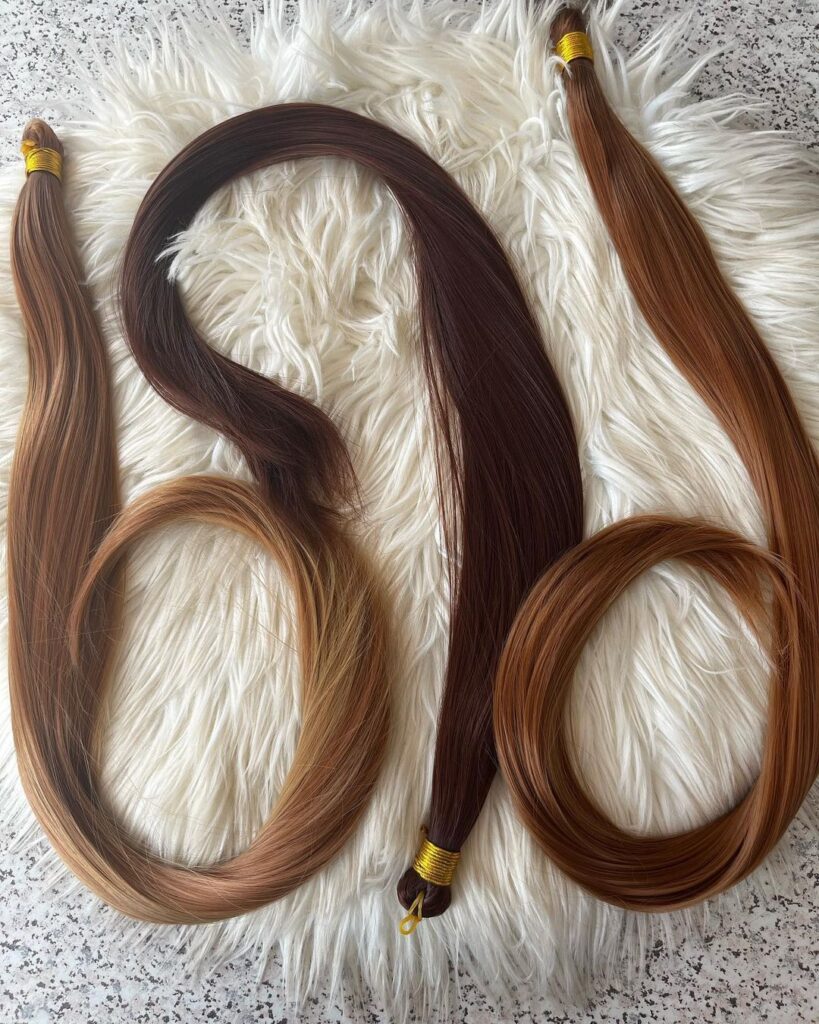
Invest in good quality braiding hair from a reputable brand. The small additional cost is worth it. You get a better wear experience and an easier, less damaging takedown.
For more on the best protective styles for Afro hair and how to choose between them, read 27 Best Protective Styles for Afro Hair. It gives a helpful overview of all the options available to you beyond feed in braids.
What to Expect During Installation
Understanding the installation process helps you know what is normal. It also helps you recognize warning signs when something isn’t right.
This knowledge helps you advocate for your hair while sitting in the braiding chair.
How Long It Takes
Feed in braid installation takes longer than regular cornrows with extensions. This is because extension hair is added gradually in small pieces throughout each row.
The total time depends on how many rows you’re getting. It also depends on the row thickness and the extension hair length. Most installs take between three and six hours.
Plan your appointment on a day without time pressure. Stay as long as the installation needs. Rushing the final stages often results in the last rows being less carefully done.
How the Tension Should Feel
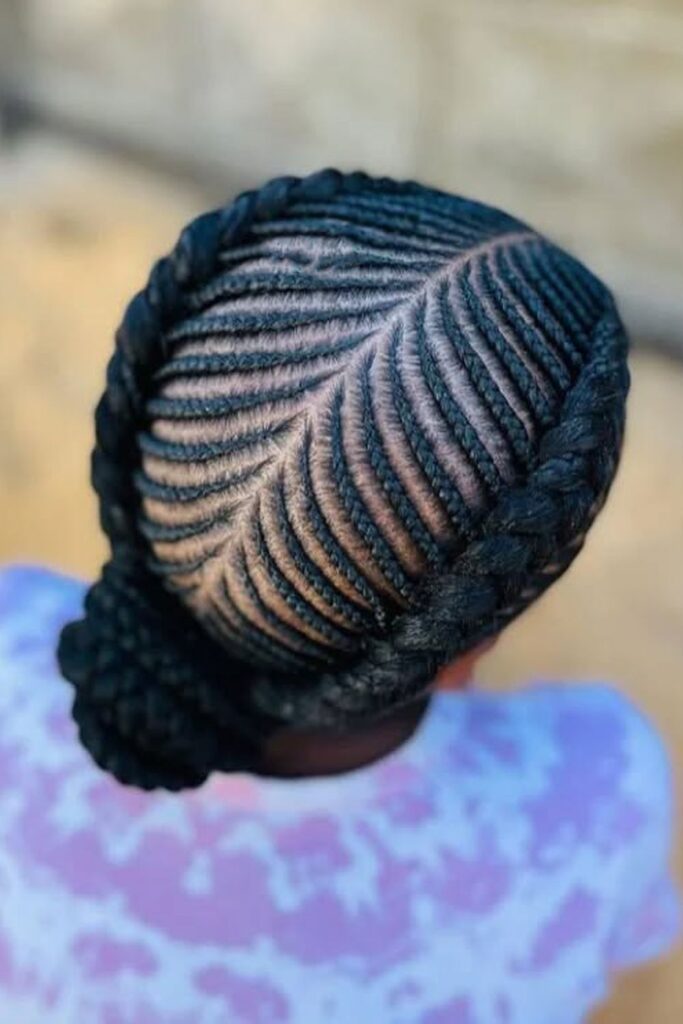
Feed in braids should feel noticeably lighter and more comfortable than traditional cornrows with extensions. This is especially true along the hairline. The braid starts with only your natural hair.
If any section along your hairline feels tight or painful during installation, speak up immediately. Do not wait until the end of the appointment. By then, the tension is already locked in. It becomes much harder to fix.
A skilled braider will adjust the tension without making you feel difficult. Your hairline health is always more important than the braider’s speed or comfort during installation.
What the Finished Style Should Feel Like
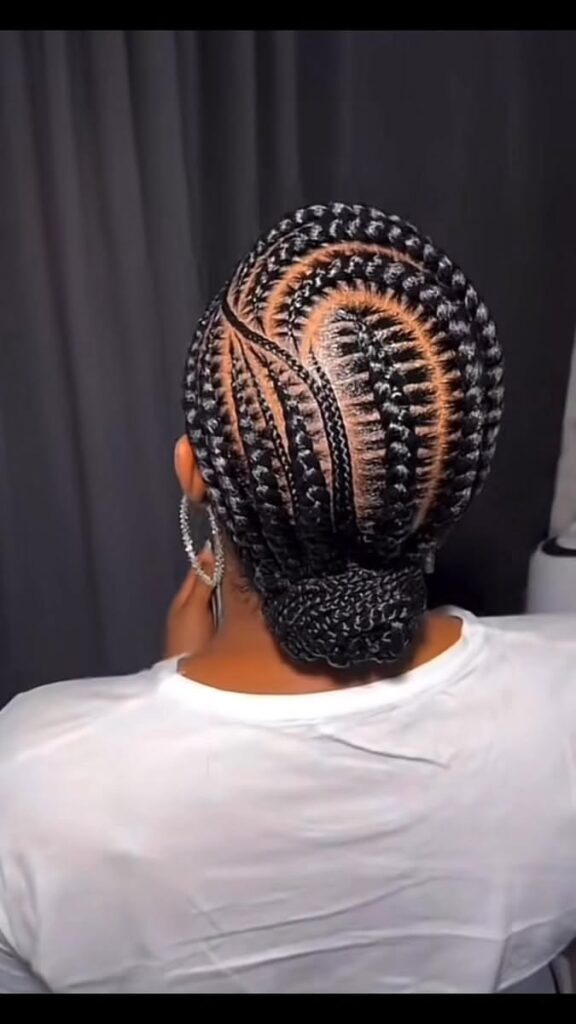
When the installation is complete, your feed in braids should feel secure and comfortable. They should not cause pulling, tightness, or pain anywhere on your scalp.
You should not experience a headache or significant scalp soreness after the installation is finished. Mild tenderness during the first twelve to twenty four hours can be normal.
This happens as the scalp adjusts to the braids.
Visible bumps along the hairline, scalp redness, or persistent pain are signs of excessive tension. These areas should be adjusted or removed before they cause damage.
For quick styles to wear on the days your hair needs a break between protective style installs, read 31 Quick Natural Hairstyles for Busy Mornings. These are fast, gentle options. They keep your hair looking good while it rests.
How to Style Feed In Braids
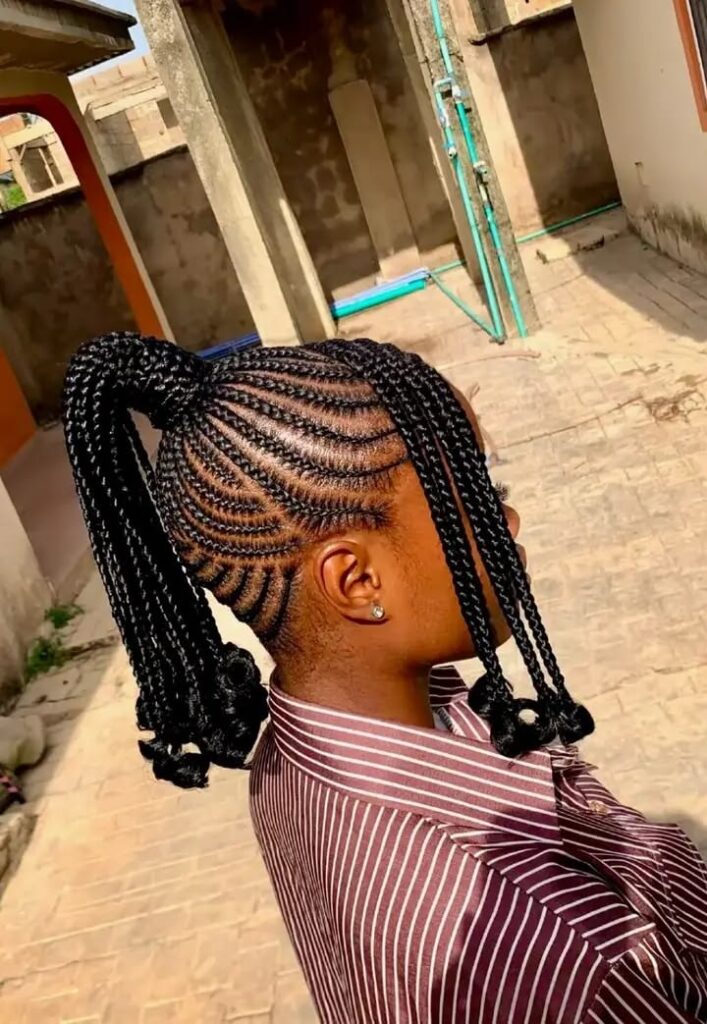
One of the great advantages of feed in braids is their versatility. The same install can give you many different looks throughout the wear period.
Wearing Them Loose
The simplest way to wear feed in braids is loose. Let all the rows hang freely down your back or over your shoulders. This creates a clean, effortless look that shows off the braid pattern.
Loose feed in braids work well for casual days, school, and work settings. They give you a polished protective style. They also require no extra styling after leaving the braiding chair.
Gathered Updo Styles
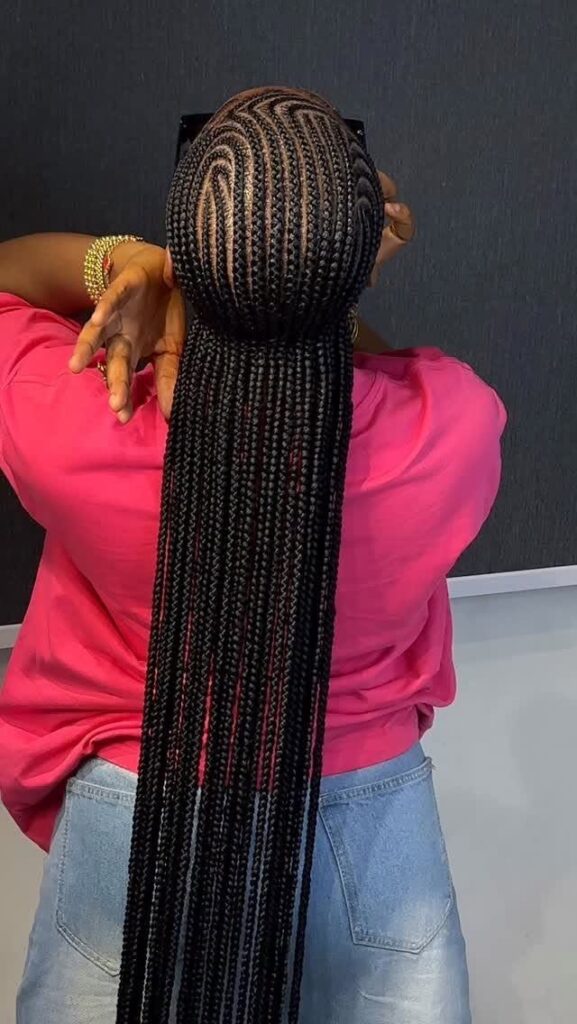
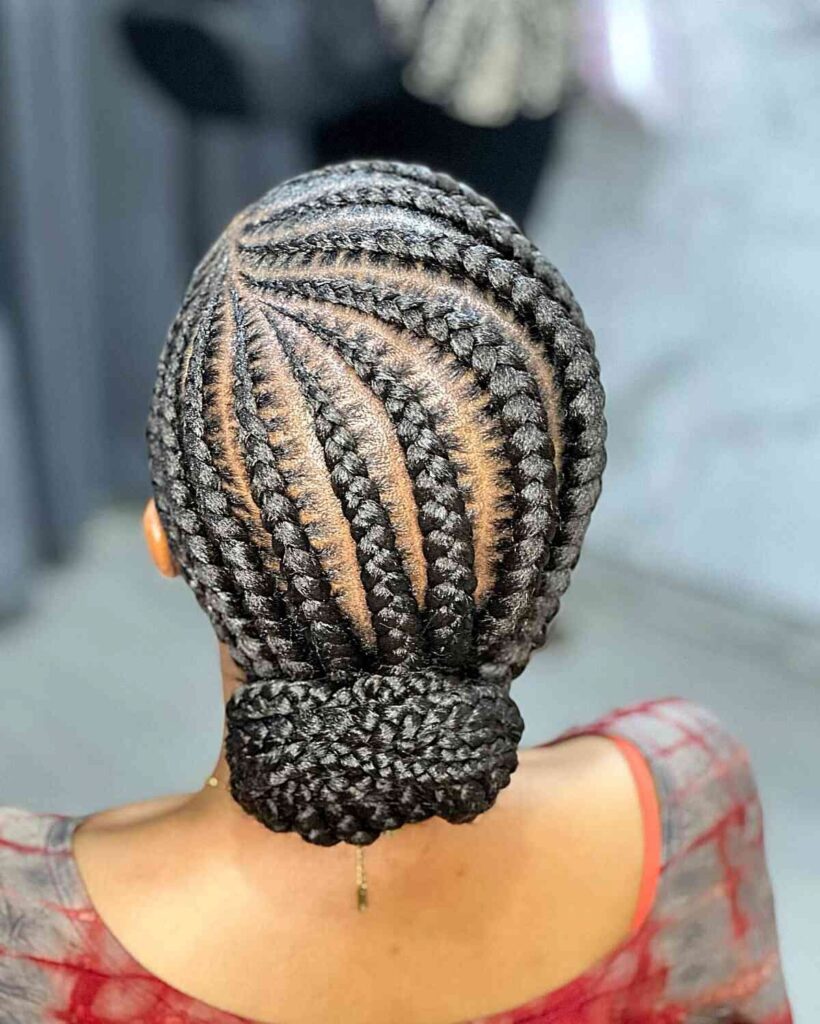
Gather all your braids into a high bun, low bun, or half up half down style. Simply collect the loose ends and secure them with a soft hair tie.
This creates a completely different look from the same install.
This is one of the fastest and most practical ways to style feed in braids. It works especially well when you want your hair completely out of your face. It also suits formal or professional settings.
For even more updo styling ideas to try with your feed in braids throughout the wear period, read 75 Beautiful Afro Hairstyles You’ll Want to Save. It covers many styles that work beautifully on braided hair.
Ponytail Styles
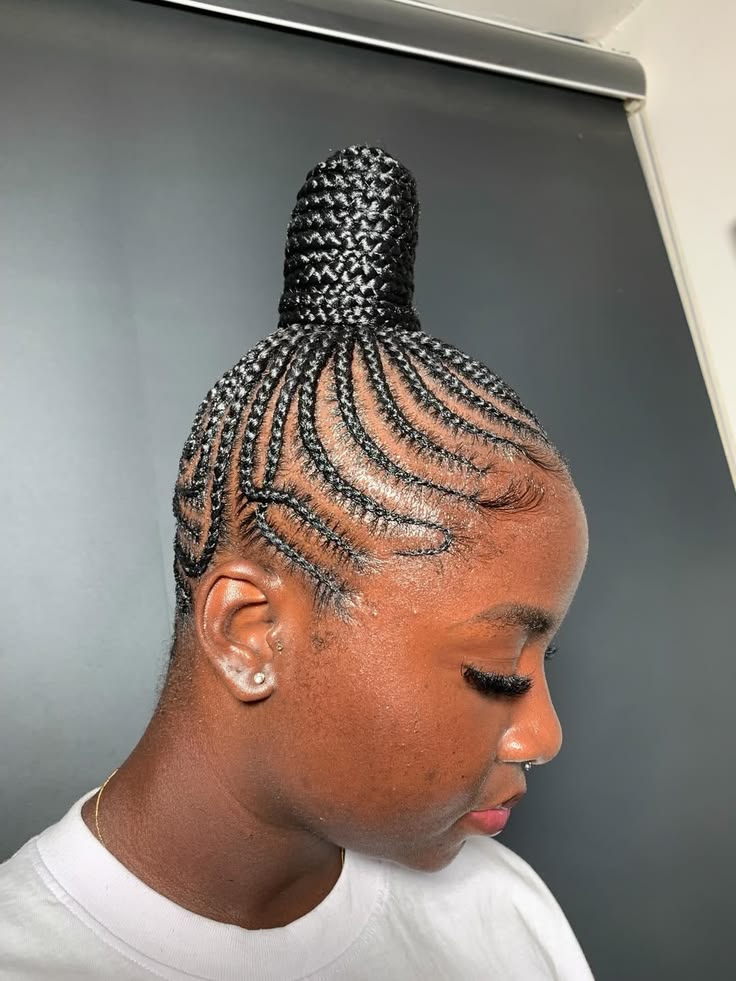
Gather all your braids into a high or low ponytail. Secure them with a hair tie. This creates a clean, athletic, and practical style. It keeps your hair contained throughout a busy day.
A braid ponytail can be sleek and tight for a professional look. It can also be loose and slightly messy for a relaxed appearance. The choice depends on the occasion.
Accessorized Styles
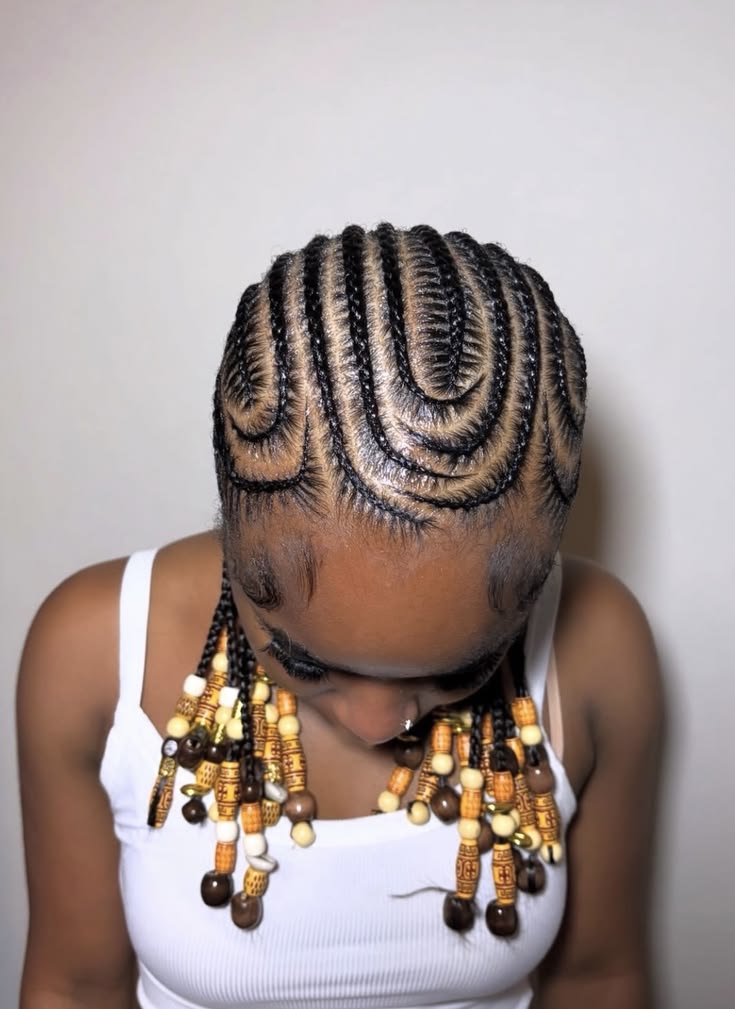
Add gold or silver cuffs to some of your braids. Wrap a colorful scarf around the edges. You can also place small hair jewels along the parts between the rows. These details create a more personal look.
Accessories give your feed in braids a fresh appearance without redoing the style. This is one of the easiest ways to keep your braids looking interesting throughout several weeks of wear.
How to Care for Your Hair While in Feed In Braids
What you do during the wear period determines your results after removal. This is where most people make mistakes with protective styling.
Don’t miss this: Knotless Braids: Complete Beginners Guide
Moisturize Your Scalp Consistently
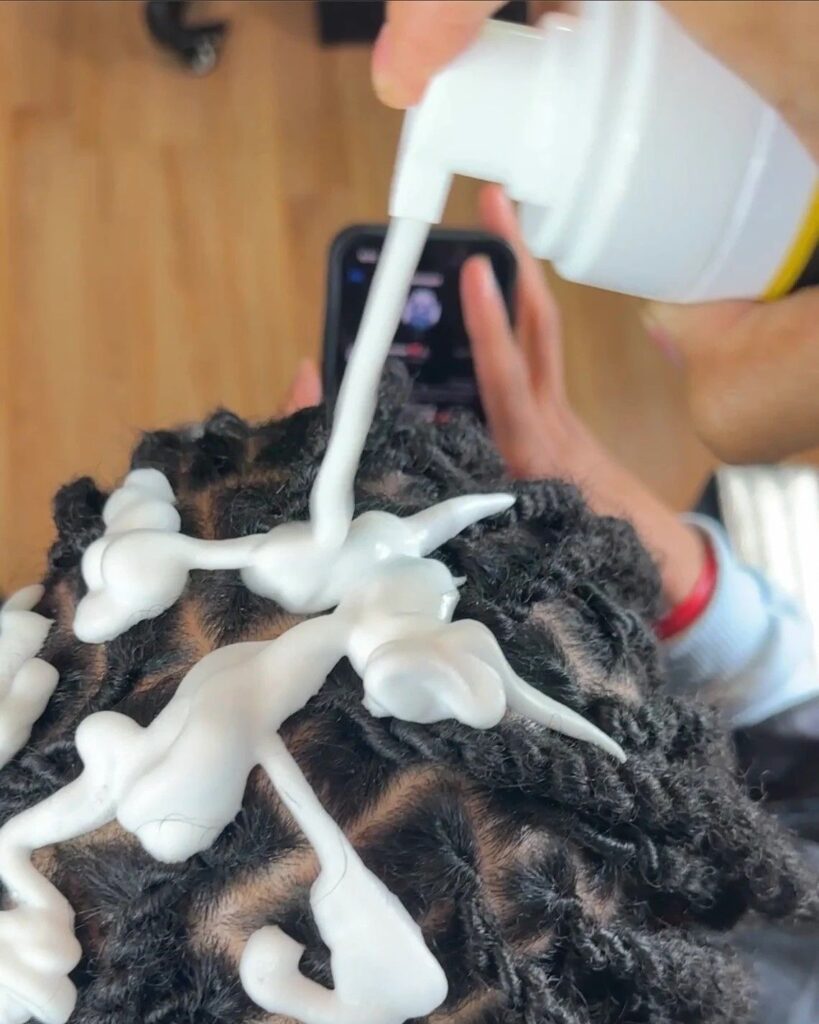
Use a lightweight oil or diluted leave in conditioner in an applicator bottle. Apply it directly to your scalp through the parts between your braids.
Do this every two to three days throughout the wear period.
Focus especially on your hairline and edges. These are the areas feed in braids are designed to protect. Keeping them moisturized supports healthy growth while the braids are installed.
Do not saturate the braids with too much product. Focus on the scalp parts instead. Use a light touch to avoid buildup. Heavy buildup makes the braids look dull and feel heavy.

Clean Your Scalp Regularly
Sweat, product buildup, and natural oils still collect while your braids are in. They should be removed regularly. Do not allow them to build up for weeks.
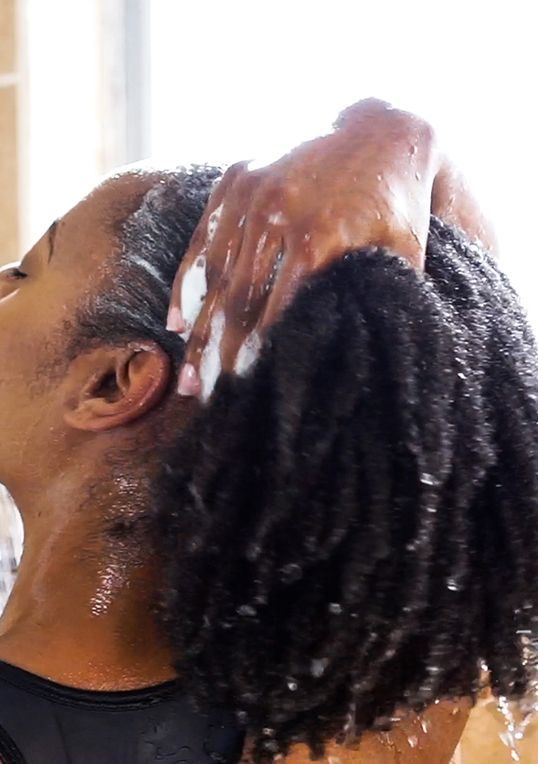
Use diluted shampoo in an applicator bottle. Apply it directly to your scalp through the braid parts. Massage gently. Then rinse thoroughly with water directed at the scalp.
Gently squeeze the braids from root to tip after rinsing. This removes excess water. Do not wring or rub them. Allow them to air dry completely before sleeping or covering them overnight.
Aim to wash your scalp at least once every two to three weeks while the braids are in. Regular cleaning prevents buildup. It also reduces itching, discomfort, and slow growth under the style.
For guidance on how wash frequency should work specifically for Afro hair under protective styles, read How Often Should You Wash Afro Hair?.
This helps you build the right washing schedule. It should match your specific scalp throughout the wear period.
Protect Your Braids at Night
Sleep with a large satin bonnet or on a satin pillowcase every night. Never skip this step. It protects your braids from frizz. It also protects your edges from overnight friction.
Satin protection also extends the life of your style. It prevents cotton friction from making the extension hair frizzy. This keeps the braids looking fresh much longer.
If your braids are too long for a regular bonnet, gather them into a loose pineapple first. Then put the bonnet on. This keeps everything contained without crushing the braid pattern.

Keep Checking Your Edges
Check your edges every few days. Gently feel along your hairline and examine the skin around the front of your braids.
Your hairline should never feel sore, tender, inflamed, or noticeably different from normal.
If your edges start looking thinner, become sore, or develop small bumps along the hairline, remove the braids immediately.
Removing feed in braids one or two weeks earlier than planned is always the right decision. This applies when your edges show signs of stress.
Protecting your follicles is always more important than keeping any hairstyle longer.
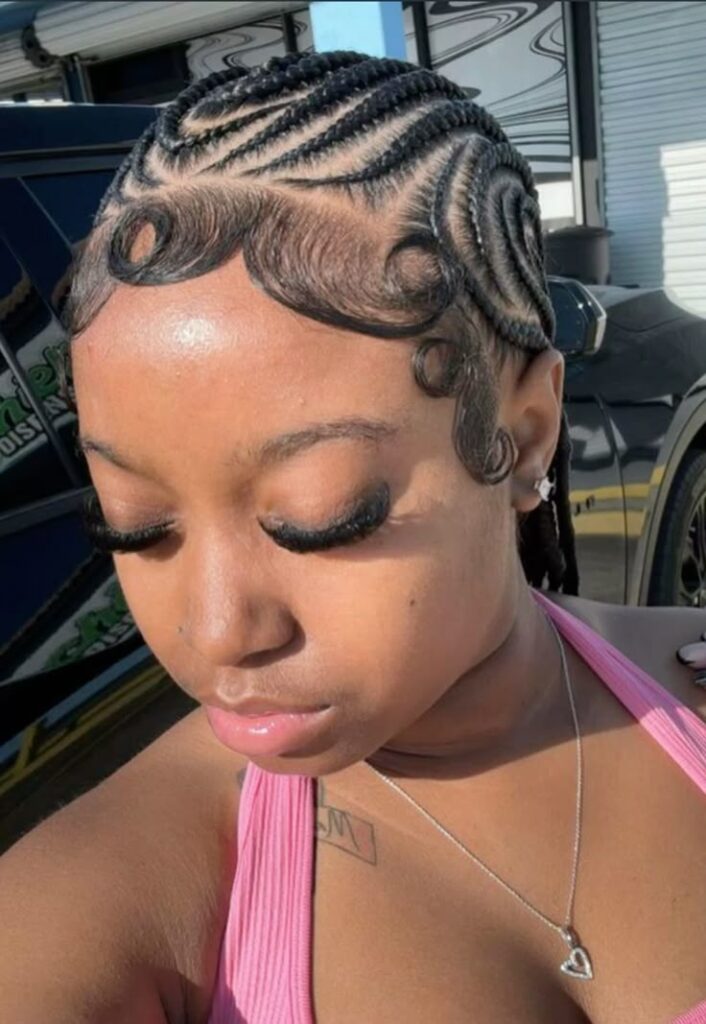
How Long Feed In Braids Should Stay In
The recommended maximum wear time for feed in braids is six weeks. Going beyond six weeks increases the risk of new growth matting against the braided sections.
It also makes takedown much more difficult and damaging.
The ideal wear period for most people is four to five weeks. The style usually still looks neat. New growth along the hairline also remains manageable during removal.
Going beyond the recommended wear time does not benefit your hair. The inside of the braids can mat and tangle quietly. This happens even when the outside still looks fine.
For more on how daily habits directly support your hair health between every protective style install, read Daily Habits That Keep Afro Hair Healthy.
These habits make a measurable difference. They affect how your hair comes out after every protective style.
How to Take Down Feed In Braids
The takedown is one of the most important parts of the entire feed in braid experience. Rushing this step causes most of the breakage people wrongly blame on the style itself.
What You Need Before You Start
Gather a generous amount of detangling conditioner or oil. Also get a wide tooth comb, a spray bottle with water, and scissors if any sections are severely matted.
Make sure you have enough time to finish without rushing.
Set aside at least half a day for the takedown. This depends on how many rows you have and the length of the extension hair.
Longer and more numerous braids always take more time to remove safely.
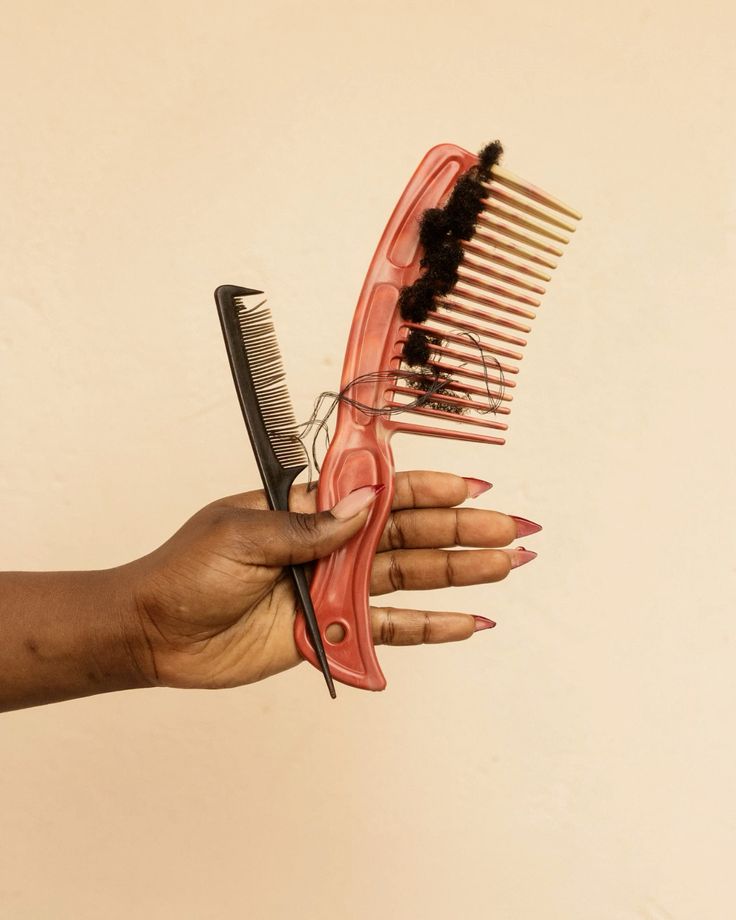
How to Take Them Down
Start from the very bottom of each braid. Unravel upward toward the scalp instead of pulling from the root downward.
Pulling from the root causes the extension hair to tangle badly around your natural hair.
Apply detangling oil generously to each section before unraveling it. The oil softens both your natural hair and the extension hair. This significantly reduces friction and snagging during removal.
Once the extension hair is fully removed, gently work through your natural hair with your fingers first. Only then should you use a comb.
Never force a comb through freshly unbraided natural hair before finger detangling.
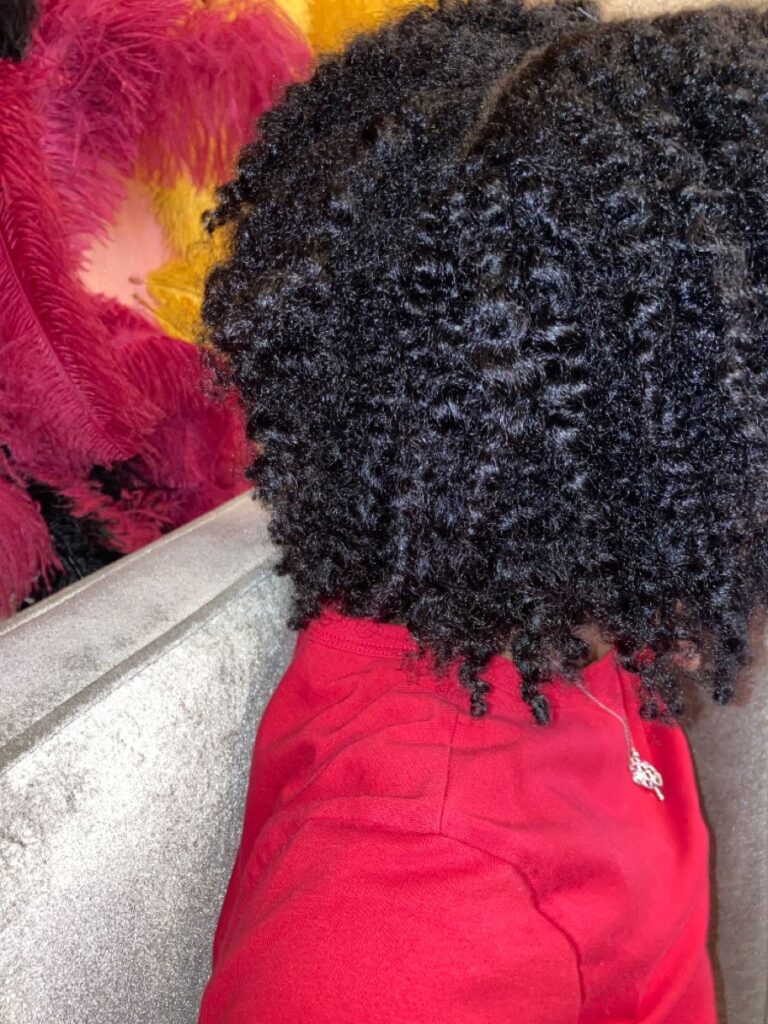
After the Takedown
Once all the braids are removed, complete a full wash day before installing another hairstyle. Your hair needs deep cleaning and deep conditioning first.
Shampoo your scalp thoroughly to remove buildup from the weeks spent in braids. Deep condition for at least thirty minutes. This restores moisture and strength.
Assess your edges honestly after your wash day. Take photos and compare them with pictures from before the installation.
This helps you determine whether the style worked well for your hair and hairline.
For all the wash day steps to follow immediately after removing your feed in braids, read How to Build the Perfect Afro Hair Care Routine.
This ensures your hair gets the right care. It also helps you recover properly after every protective style removal.
Common Feed In Braid Mistakes to Avoid
Getting braids installed on dirty, dry, or unprepared hair is one of the most damaging mistakes. It is also one of the easiest mistakes to avoid. Always wash and deep condition before installation.
Choosing extension hair that is too thick or too heavy strains the scalp throughout the wear period. This happens even without a tight root knot.
Choose lightweight pre stretched hair. Also use thin pieces throughout the installation.
Ignoring scalp moisturizing and cleaning while wearing braids is a common mistake. It leads to itching, slow growth, and scalp damage.
Your scalp needs care throughout the wear period, not only during takedown.
Going beyond the six week maximum because the braids still look fine is another common mistake. The inside of the braids tells a different story. You usually discover it during takedown.
Rushing the takedown and causing unnecessary breakage is the final avoidable mistake. Give yourself enough uninterrupted time. Remove every braid slowly and carefully.
For beginner friendly styles to try between feed in braid installs while your hair rests and recovers, read 35 Easy Afro Hairstyles for Beginners.
These styles are simple, gentle, and perfect for the rest period between protective styles.
A Few Final Things Worth Knowing
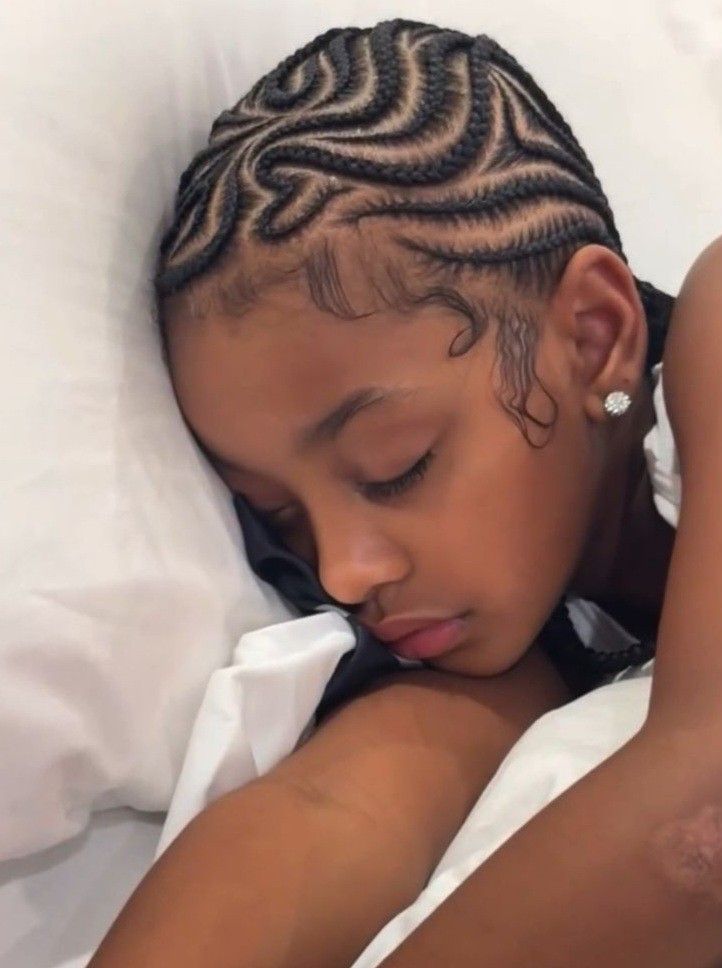
Feed in braids are one of the most edge friendly protective styles for Afro hair.
When installed correctly, maintained properly, and removed gently, they genuinely protect your edges instead of damaging them.
The key difference between people who regrow their edges with feed in braids and those who keep losing them is knowledge and execution.
Now you have the knowledge. The execution is up to you and your braider.
Choose a braider who understands the feed in technique. Choose someone who takes tension seriously throughout the installation.
Your edges are worth the extra effort. Even if it takes longer to find the right braider.
Don’t settle for a braider who rushes, braids too tightly, or dismisses your concerns about tension. Your hair and your edges are too important for that compromise.
Protective styling done correctly is one of the best things you can do for your natural Afro hair journey. Feed in braids are one of the best examples. This is true when they are done properly.