
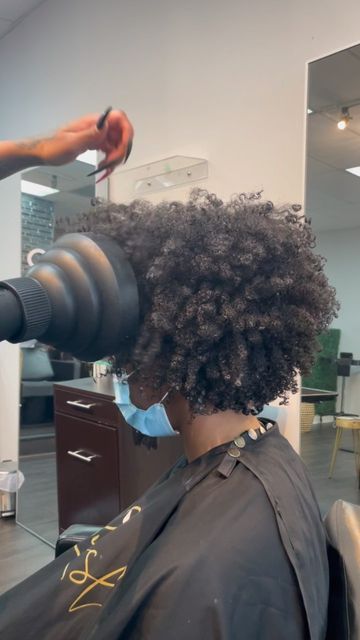
How to Blow Dry Afro Hair Without Damage
Disclosure: Some of the links in this post are affiliate links. This means if you click on the link and purchase an item, I will receive an affiliate commission at no extra cost to you.
What if the biggest threat to your hair isn’t the flat iron at all? What if it’s actually the blow dryer that comes before it? Most people focus all their worry on the final heat pass. They forget about the step that happens first, quietly setting everything up.
That’s a mistake, because a rushed or careless blow dry sets up everything that follows. Bad technique here can undo even the gentlest flat iron work later on. It can also leave your ends dry, your roots frizzy, and your whole style uneven.
If you’ve read the complete beginner’s guide to silk presses, you already know blow drying matters. That guide treats it as step one, not an afterthought to rush through. Getting it right protects your hair no matter what style comes next.
This guide breaks down exactly how to blow dry afro hair safely, from prep to the final pass.
How to Blow Dry Afro Hair Without Damage
Why Blow Drying Technique Matters So Much
Blow drying does more than just remove water from your strands. It stretches coily and curly hair, making it easier to work with later.
Done poorly, it can also cause more damage than the flat iron itself.
Heat from a blow dryer, even without direct contact, still stresses your hair fibers. Poor technique means uneven drying, which leads to patches of frizz and unnecessary heat exposure.
Getting this stage right saves you time, stress, and damage down the road.
Think of blow drying as the foundation of your entire style, not just a warm up. A shaky foundation eventually shows up in the finished result.
Building good habits here pays off every single time you style your hair.
What You Need Before You Start
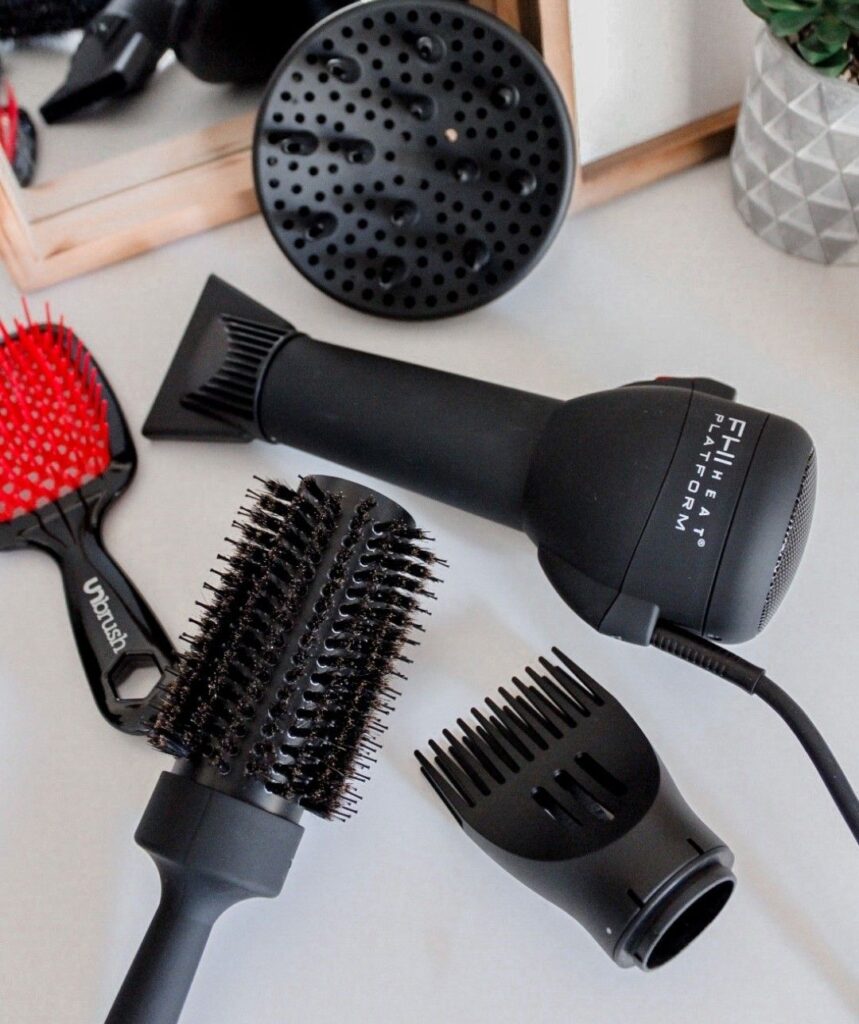
You don’t need a huge collection of tools, just a few reliable basics. A quality blow dryer with adjustable heat settings is the foundation of the whole process.
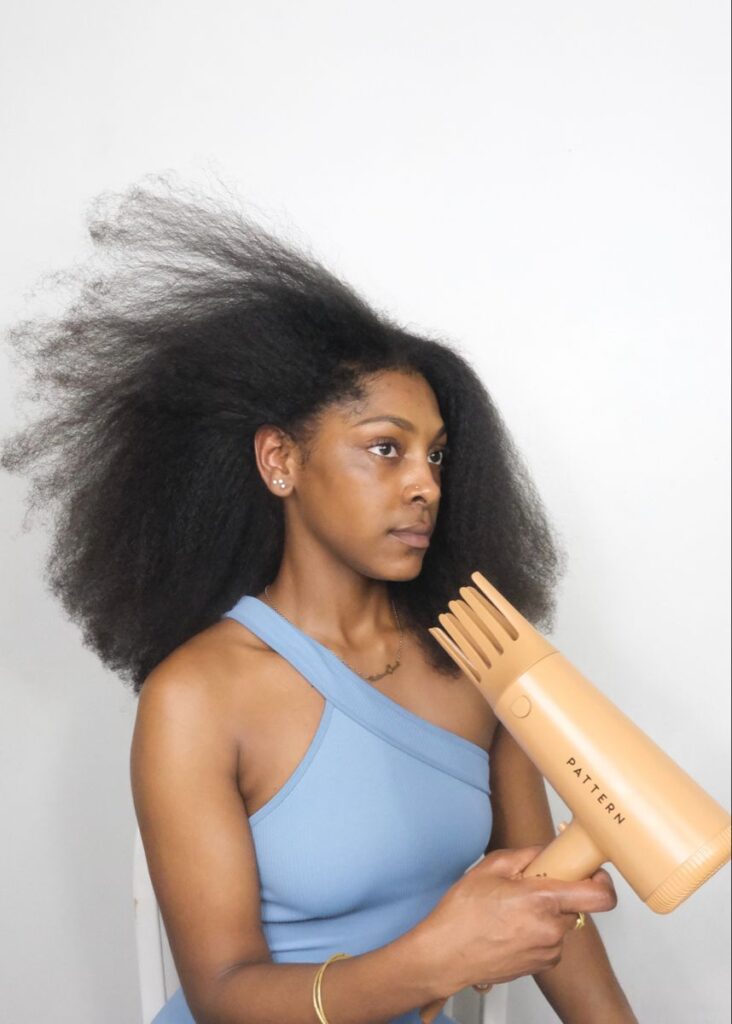
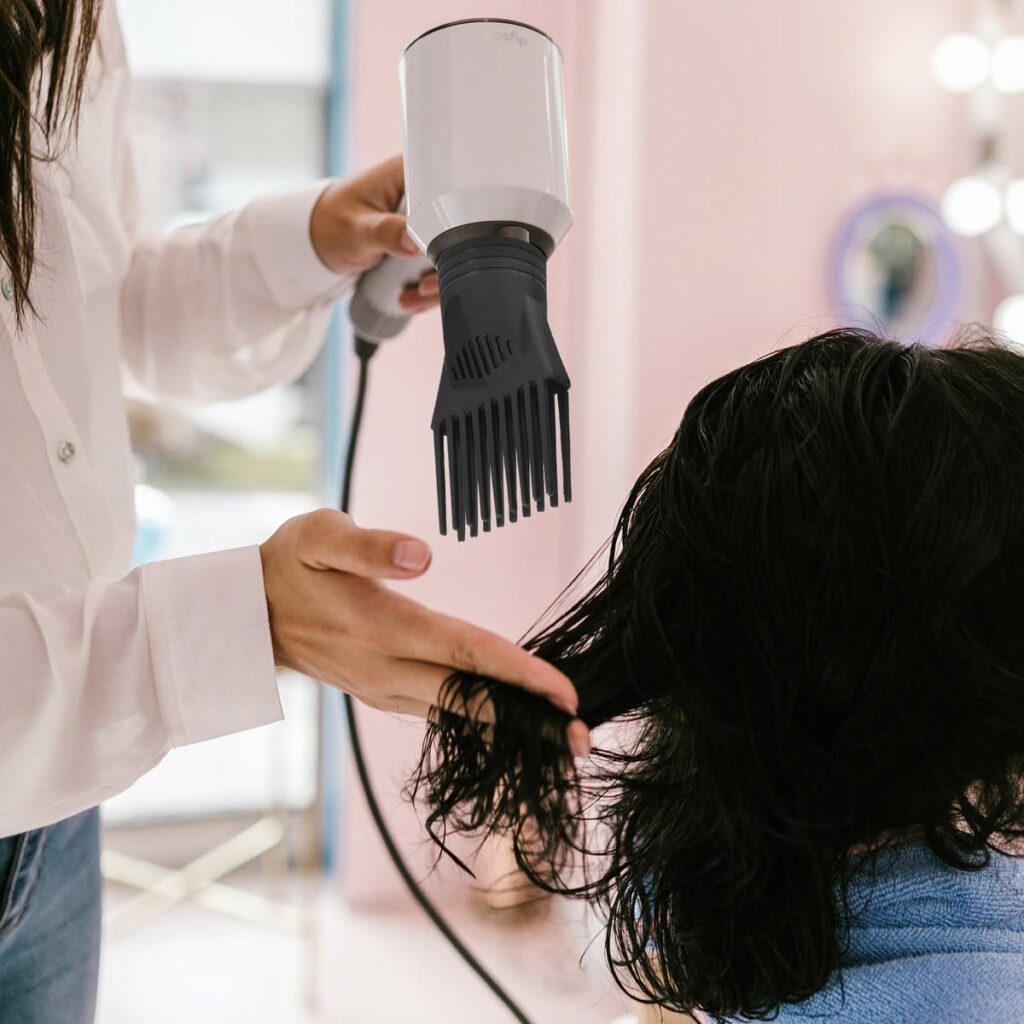
A comb attachment helps stretch hair evenly, section by section, as you dry.
You’ll also want a heat protectant, a wide tooth comb, and hair clips for sectioning. Cheap dryers with only one heat setting make it much harder to protect your strands.
Investing a bit more here pays off in healthier hair over time. A little research before buying can save you money and frustration later.
Keep everything laid out and ready before you start, not scattered around the room. Searching for a clip mid session means leaving heat sitting on one section too long.
A little preparation makes the whole process smoother and safer. Set your tools on a clean towel within easy reach beforehand.
Washing and Prepping Your Hair First
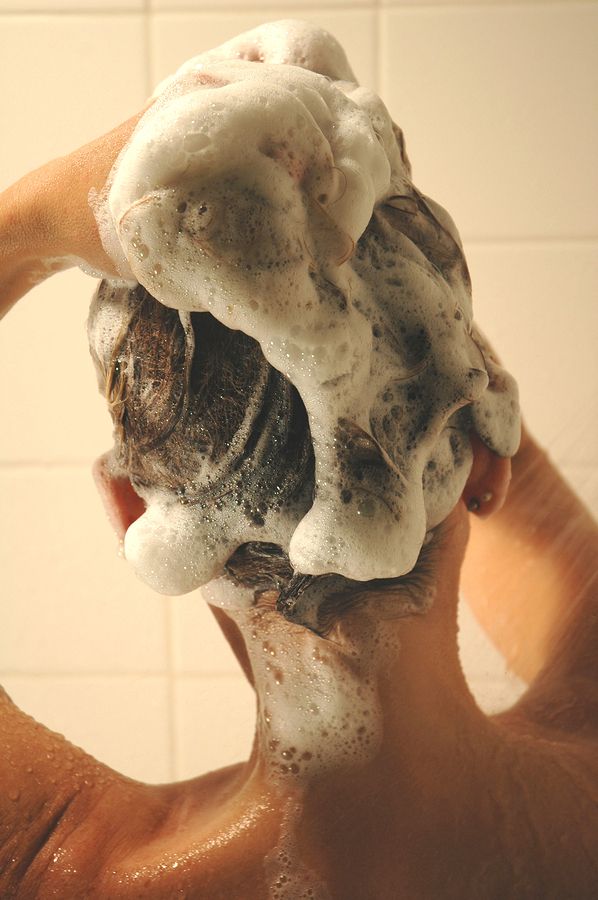
Clean hair blow dries more evenly than hair with leftover product buildup. Buildup blocks moisture and creates uneven texture once heat gets involved.
Start with a gentle, moisturizing shampoo, followed by a deep conditioner if your hair needs it. Give the conditioner time to fully work into your strands.
Rinse thoroughly, since leftover conditioner can weigh your hair down during drying. Squeeze out excess water gently with a microfiber towel instead of rubbing roughly.
Rough towel drying creates frizz before you’ve even touched the blow dryer.
A microfiber towel or old cotton shirt works better than a regular bath towel. Regular towels are rougher and tend to rough up the hair cuticle.
This small swap makes a noticeable difference in how smooth your hair feels afterward. Many people already own a soft cotton shirt they can repurpose for this.
Detangling Before Any Heat Touches Your Hair
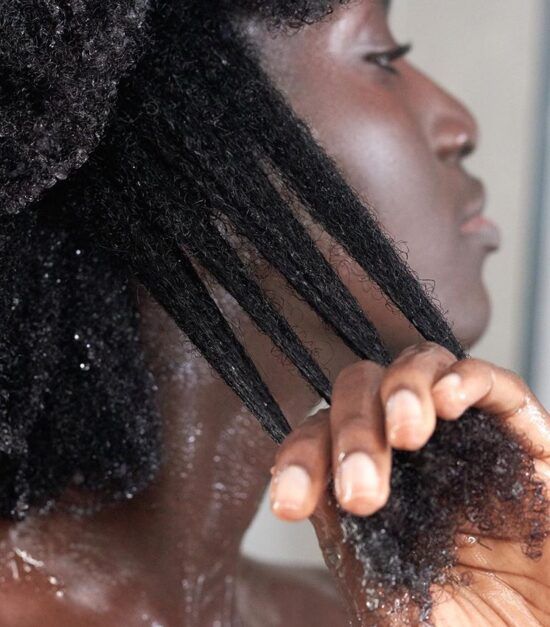
Detangling wet or damp hair is far easier than detangling dry, heat styled hair. Use your fingers first to work through the biggest knots gently.
Follow up with a wide tooth comb, starting at the ends and working upward.
Skipping this step means fighting tangles later, right in the middle of blow drying. That usually means more heat exposure and more unnecessary breakage.
A few extra minutes here saves a lot of frustration once the dryer is on.
Apply a leave in conditioner or detangling spray before you start combing through. Slip from the product helps the comb glide instead of tugging at knots.
Patience during detangling protects the length you’ve worked so hard to grow.
Choosing the Right Heat Protectant
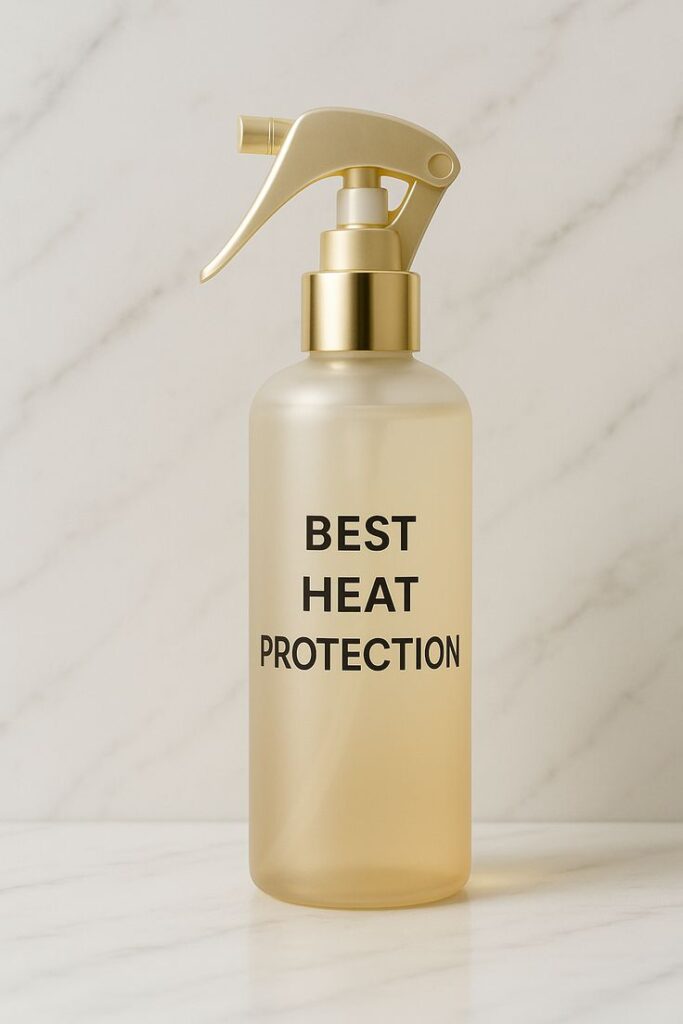
A heat protectant creates a barrier between your strands and the blow dryer’s direct heat. Skip this step, and you’re leaving your hair exposed to unnecessary stress.
Apply it evenly, section by section, right after detangling and before you start drying.
Watch out for common heat protectant mistakes like applying too little or missing sections entirely.
Many people spray once on top and assume that’s enough coverage. Every section deserves its own light, even coating before any heat touches it.
Let the product sit for a moment before you start drying that section. Rushing straight into heat right after spraying doesn’t give the protectant time to absorb.
That brief pause makes a real difference in how well it actually works.
Picking the Right Blow Dryer and Attachments
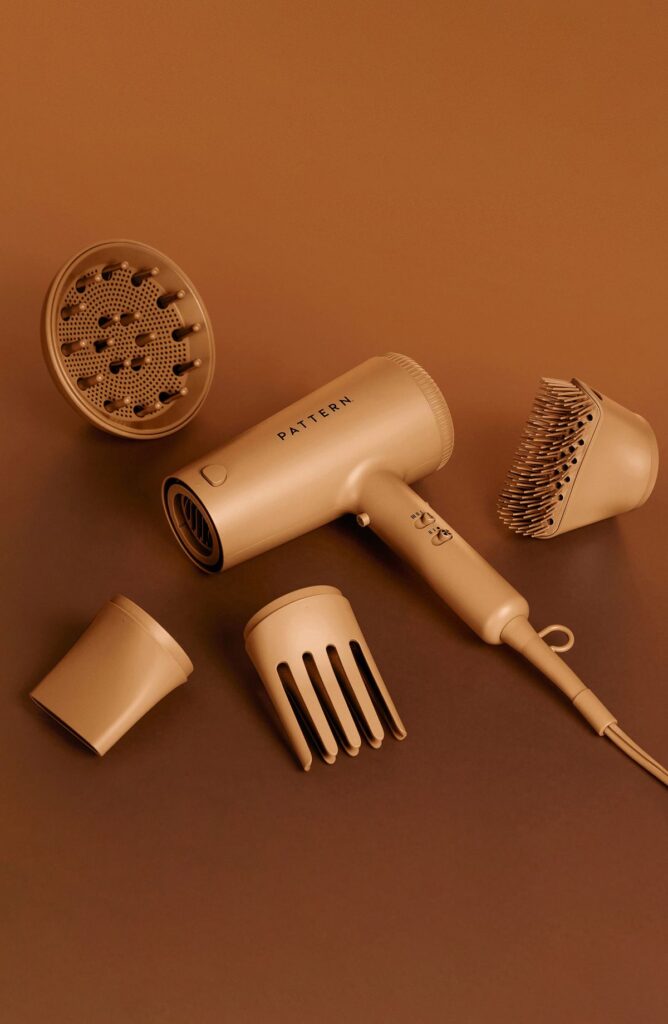
Not every blow dryer works well on thick, coily afro hair. Look for one with multiple heat and speed settings for better control.
A ceramic or tourmaline dryer tends to distribute heat more evenly across your strands.
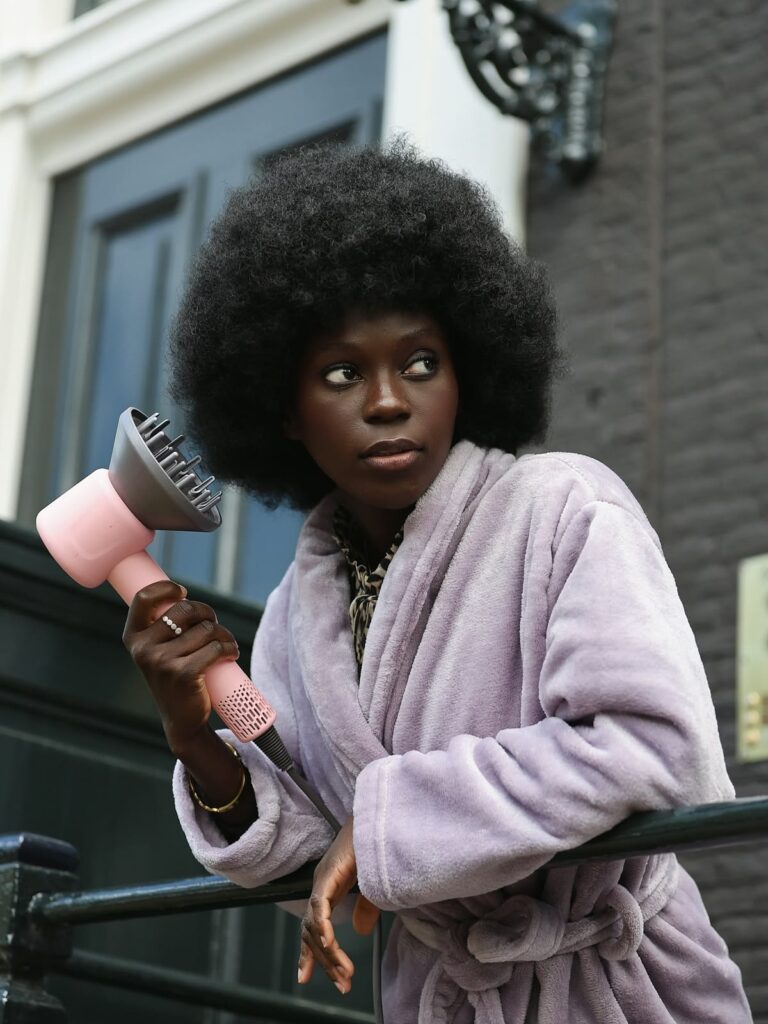
A comb attachment is especially useful for stretching hair as you dry it.
It combines the drying and detangling steps into one smoother, faster motion. Ionic dryers can also help reduce frizz by breaking down water molecules faster.
Check the wattage before buying, since low powered dryers take longer to finish. A longer drying time often means more overall heat exposure for your strands.
A slightly more powerful dryer can actually be gentler in the long run.
Sectioning Your Hair for Even Drying
Small, manageable sections make blow drying faster, safer, and far more even. Trying to dry your whole head at once usually means missed, still damp spots.
Divide your hair into four to eight sections, depending on its thickness.
Clip each section out of the way so you’re only working with one at a time. This keeps your technique consistent from the front of your head to the back.
Rushed, uneven sectioning is one of the most common causes of patchy results.
Work methodically from the back of your head toward the front. This order helps you keep track of which sections are finished.
A clear system prevents you from accidentally missing a spot near your nape. It also keeps your overall session shorter and more efficient.
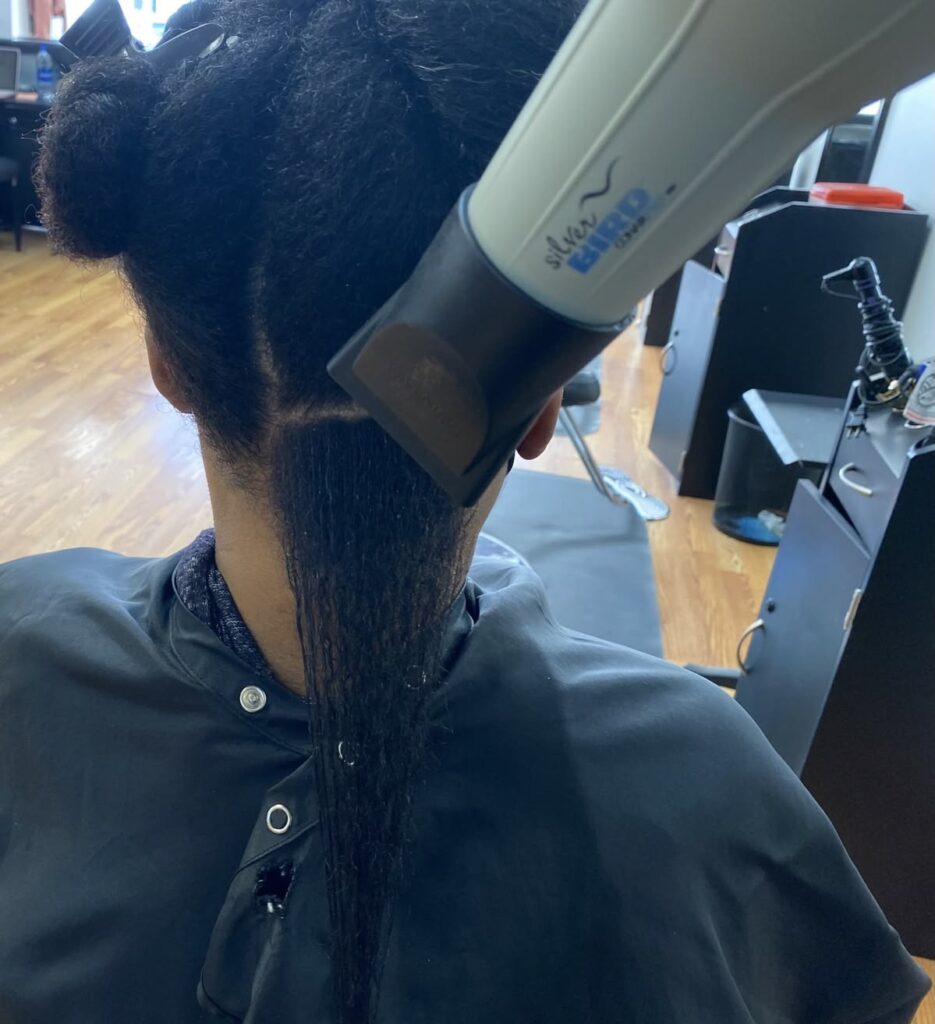
The Right Heat Setting for Your Hair Type
Thicker, coarser hair can generally handle slightly higher heat than finer strands. Still, medium heat is almost always a safer starting point than the highest setting.
High heat dries hair faster, but it also increases the risk of damage significantly.
Test a small section first if you’re unsure what your hair can handle. Watch how your hair responds, and adjust the setting from there.
There’s no universal number that works perfectly for every single head of hair.
Pay attention to how your hair feels, not just how quickly it dries. Hair that feels rough or crunchy is a sign to lower the heat immediately.
Trust what your hands feel over any generic advice about ideal settings.
Every dryer also heats slightly differently, even at the same labeled setting. Get to know your specific tool rather than assuming all dryers behave identically.
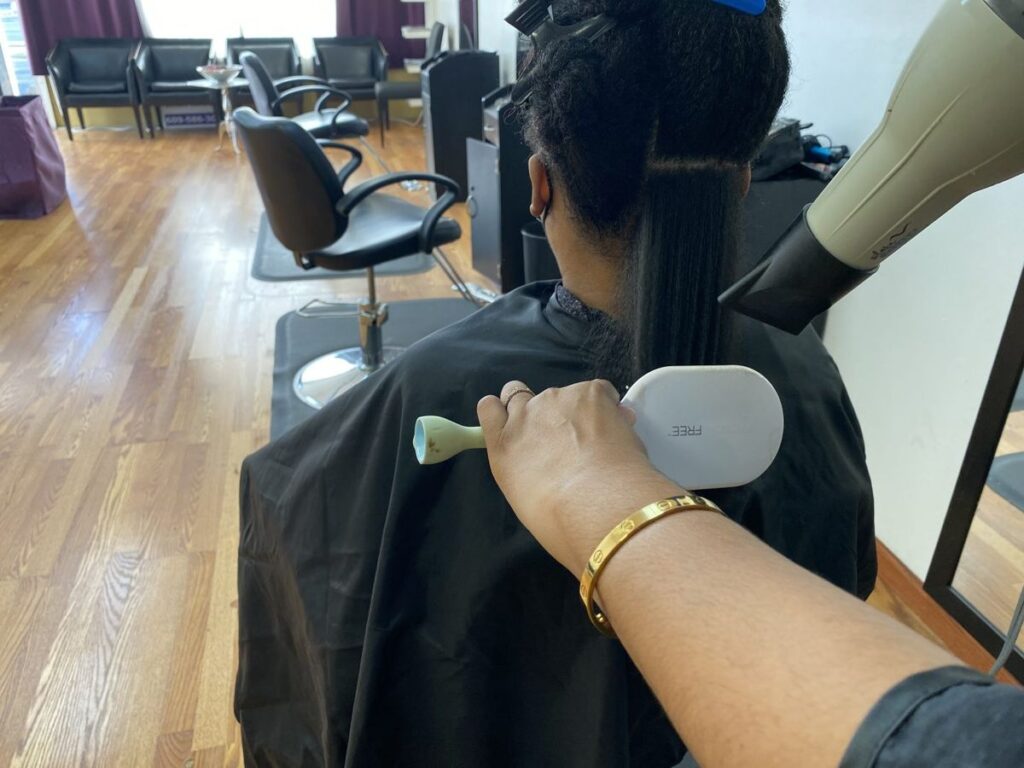
Using the Comb Attachment Correctly
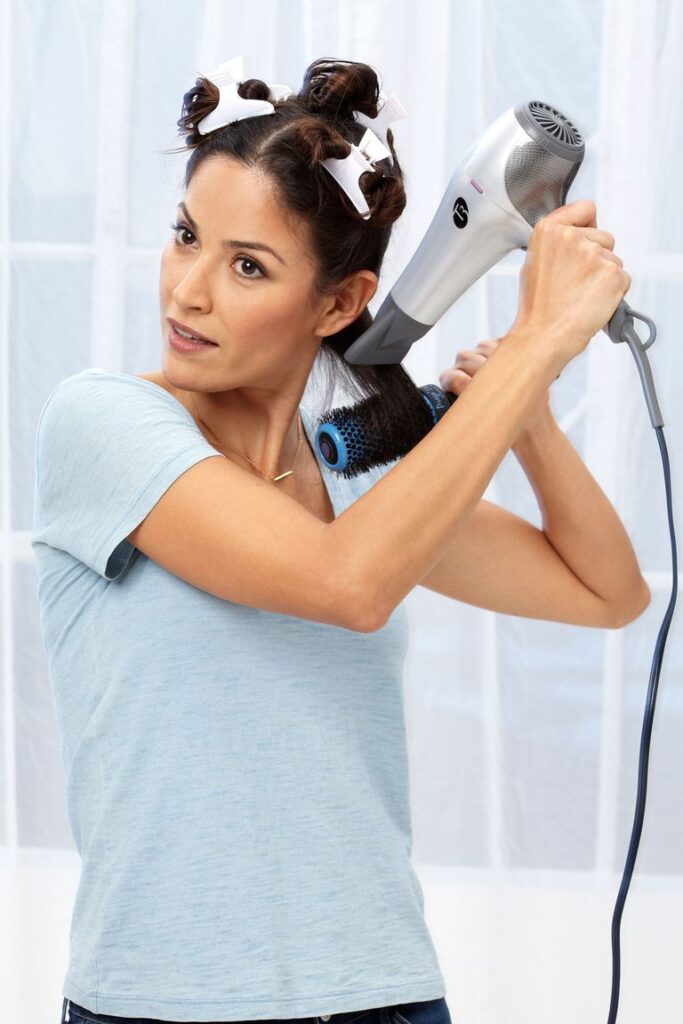
The comb attachment should glide smoothly through each section as you dry it. Start at the roots and pull the comb slowly down toward the ends.
Follow closely behind with the dryer, keeping it moving constantly across the section.
Never let the dryer sit still in one spot for more than a few seconds. Holding heat in place, even briefly, concentrates stress on that part of your strand.
Slow, steady, repeated passes work better than a few long, stationary blasts.
If the comb catches on a knot, stop and gently work it loose by hand. Forcing the comb through resistance can cause unnecessary breakage right at that spot.
A little extra patience here protects the length you’re trying to maintain.
Rotate your grip occasionally so your wrist doesn’t get too tired mid session. A tired hand tends to move faster and less carefully than a fresh one.
Small breaks between sections help maintain good technique throughout the whole process.
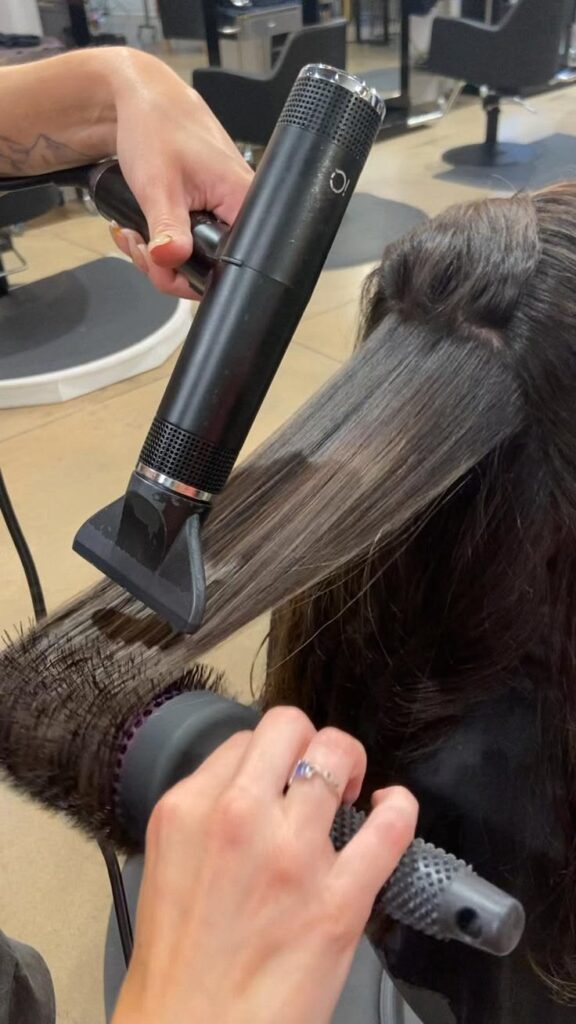
How Far to Hold the Dryer From Your Hair
Keep your blow dryer several inches away from your hair at all times. Holding it too close concentrates heat and increases the risk of scorching your strands.
A distance of about six inches usually offers a good balance of speed and safety.
Move the dryer constantly, rather than aiming it at one fixed point. This spreads the heat more evenly and reduces the chance of localized damage.
Patience here protects your hair far more than rushing through the process quickly.
If you can feel intense heat on your scalp, that’s a sign to pull back. Your scalp shouldn’t feel uncomfortably hot at any point during the process.
Adjust your distance or heat setting immediately if that happens.
A cool shot button, if your dryer has one, can help ease any discomfort. Use it briefly on any spot that feels too warm to the touch.
Common Blow Drying Mistakes to Avoid
Rushing through wet hair with high heat is probably the most common mistake around. Skipping heat protectant entirely is another habit that leads to avoidable damage over time.
Some people also blow dry hair that’s still dripping wet, which is risky.
Watch out for the hidden mistake that’s breaking your hair every single week without realizing it. Small daily habits, repeated often, cause more damage than one big rushed session ever could.
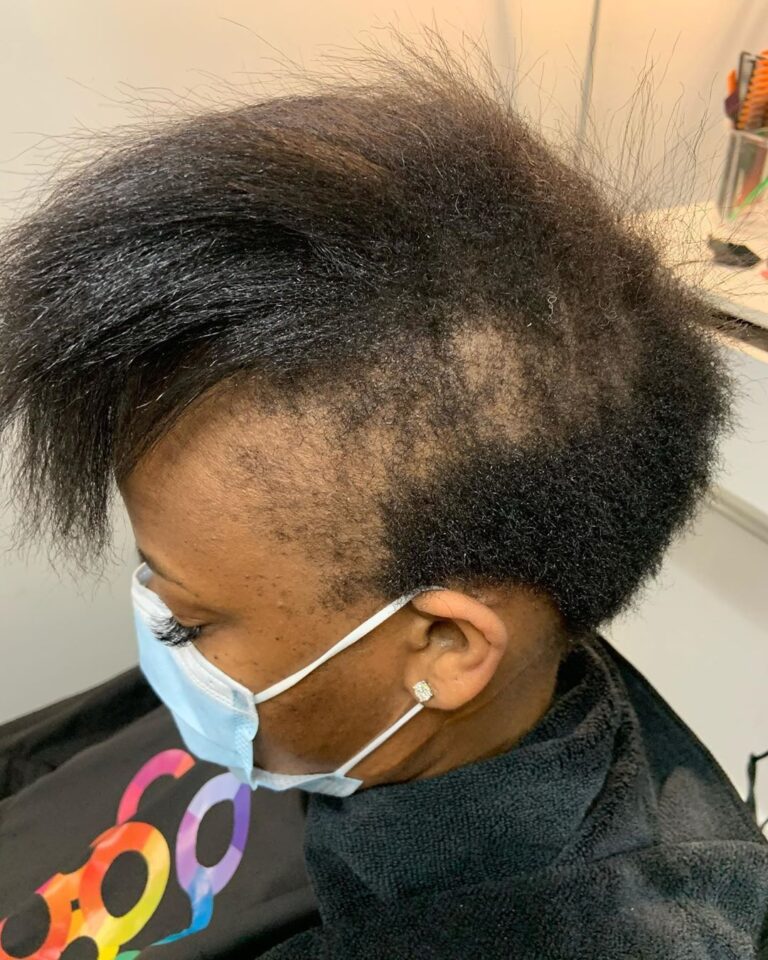
My neighbor’s daughter Zainab used to blast her roots on high heat daily before school. Her edges thinned noticeably within a few months of that habit.
She eventually switched to medium heat and slower, more careful sections. Within a few months, her edges started filling back in noticeably.
Small changes, given enough time, really can reverse a lot of that early damage.
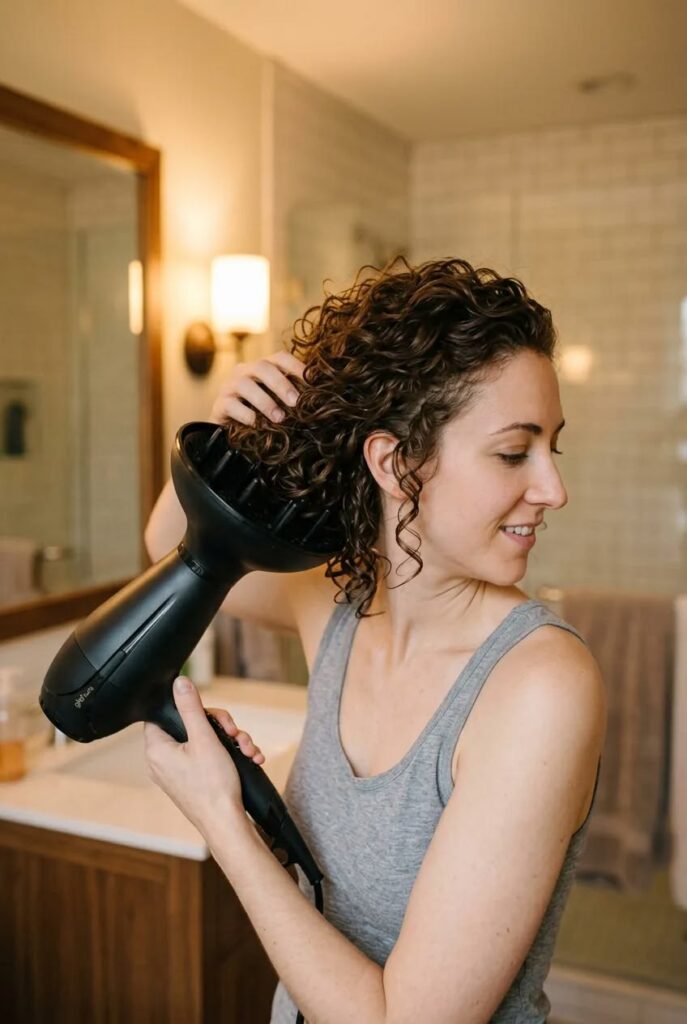
Signs You’re Using Too Much Heat
If your hair feels crunchy or stiff after drying, that’s usually a sign of too much heat. A sizzling sound during drying often means your hair is too wet for that heat level.
Excessive frizz right after drying can also point to heat damage building up.
Sometimes the deeper issue isn’t heat, but dryness that heat only makes worse. Ask yourself if your hair still feels dry after moisturizing, since that points to a different underlying problem.
Catching these signs early makes them much easier to correct.
Snapping strands or unusual shedding during combing are also red flags worth noting. If you notice either one, consider giving your hair a longer break from heat.
Recovery takes time, but ignoring the signs only makes the damage harder to fix.
A quick weekly check in with your hair can catch these signs early. Run your fingers through a section and notice how it feels compared to last week.
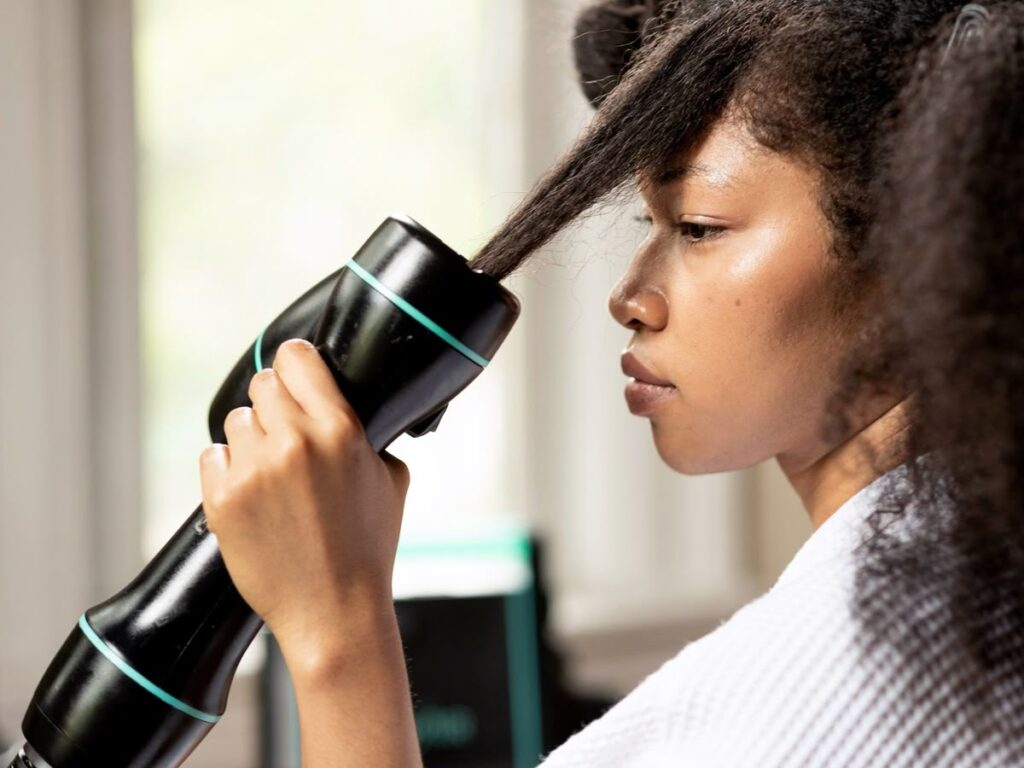
How Long Blow Drying Should Take
A full blow dry for afro hair usually takes between thirty and sixty minutes. Thicker, longer hair naturally takes more time than shorter or finer hair types.
Rushing through in half that time often means skipped sections or incomplete stretching.
Budget enough time so you’re not tempted to speed through with higher heat. Patience during this stage sets up a much safer flat iron pass later.
Treat blow drying as its own important step, not just a quick warm up.
If you’re always rushing this step, consider setting aside a specific day for it. A calmer, unhurried session almost always produces better, safer results.
Your future self will appreciate the extra planning on busy weeks.
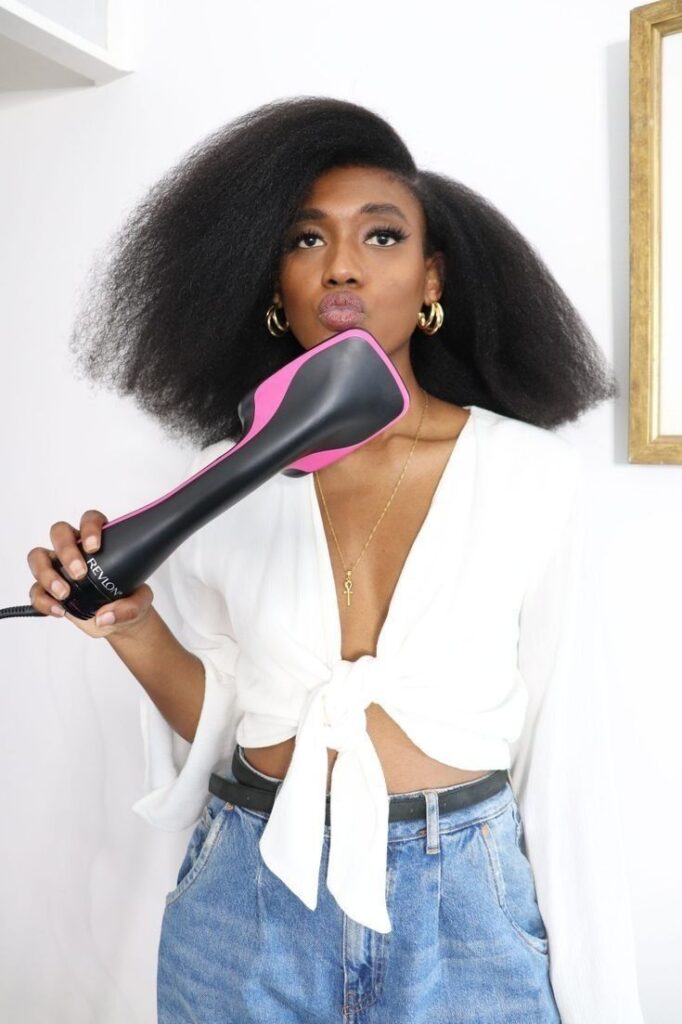
Blow Drying Before a Silk Press vs Just Blow Drying Alone
Blow drying alone, without a flat iron, still leaves some natural texture and volume.
This connects closely to the differences covered in silk press vs blowout, since technique overlaps between the two.
If you’re heading straight into a silk press, your blow dry needs to be extra thorough.
Any leftover dampness or unstretched sections will show up clearly once the flat iron comes out.
Learning how to keep a silk press looking fresh longer actually starts here, at the blow drying stage. A great silk press is built on a great blow dry underneath it.
If you’re only blow drying without a flat iron, you can afford slightly less precision. Some natural volume and movement is actually the goal in that case.
Adjust your expectations and technique based on what comes after this step.
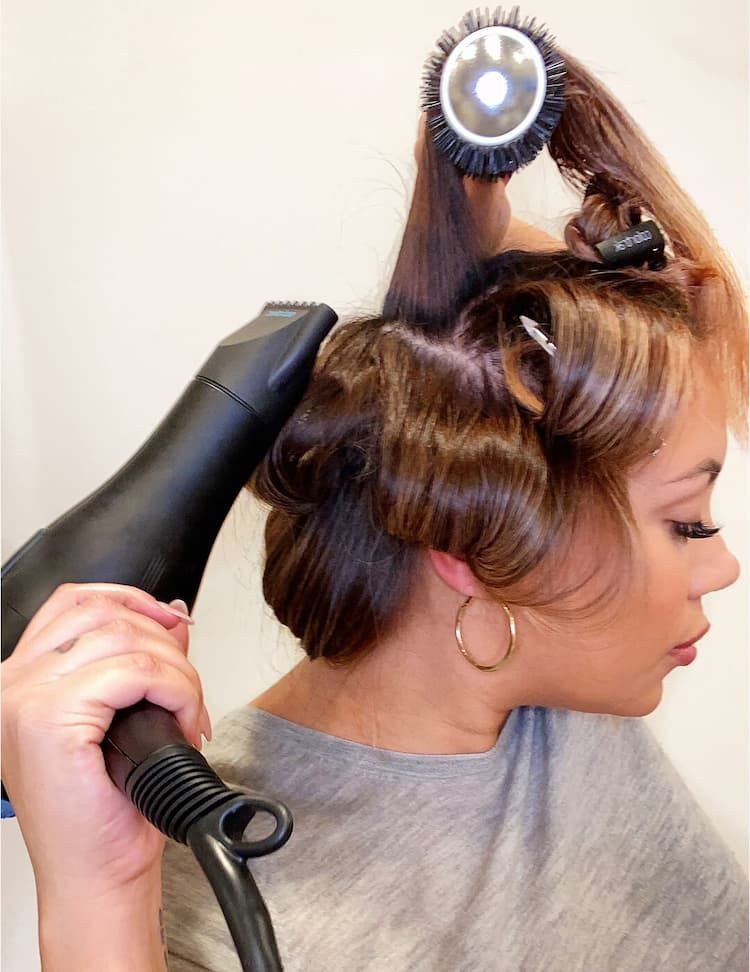
Blow Drying Before Installing a Wig
Even under a wig, your natural hair deserves a proper, gentle blow dry. Stretched, smooth hair lays flatter and more comfortably under a wig cap.
This connects to advice in a beginner’s guide to wigs for natural hair, which many people skip past too quickly.
Following how to prep your hair before installing a wig means starting with hair that’s dry, detangled, and properly stretched.
Skipping this step often leads to discomfort and unnecessary tension once the wig goes on. A little extra care here protects your hair for the entire time you wear the wig.
Damp hair trapped under a wig cap can lead to buildup and unpleasant odor. It also creates a warm, humid environment that isn’t great for your scalp.
Fully dry hair before installation prevents most of these avoidable issues.
How Often You Should Blow Dry With Heat
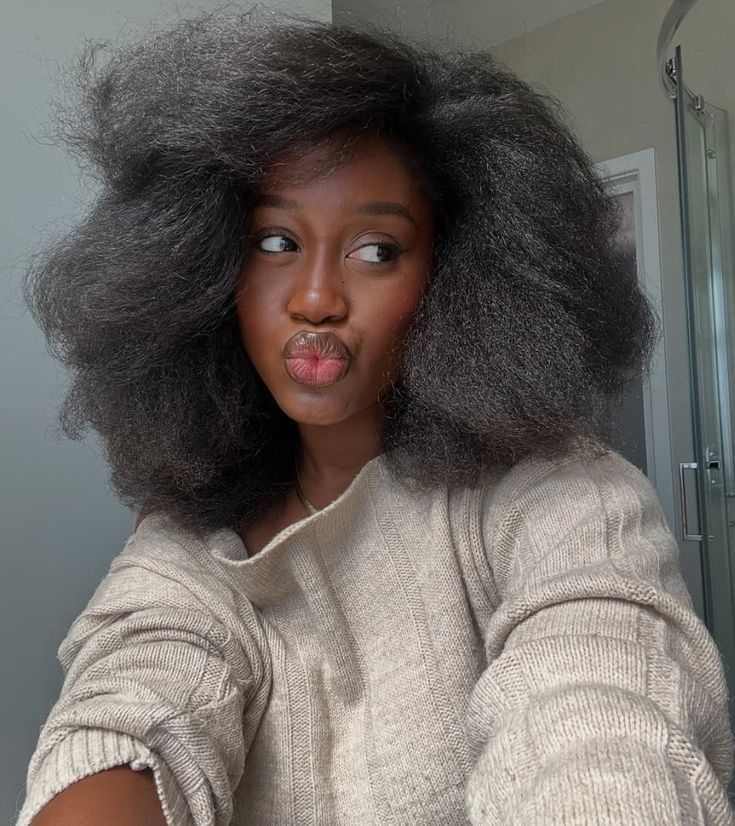
Blow drying with heat doesn’t need to happen every single wash day. Air drying occasionally gives your hair a real break from heat exposure.
If you notice more shedding than usual, it’s worth investigating further before continuing your usual routine.
Sometimes the deeper issue is tied to bigger questions, like why your afro hair isn’t growing the way you’d expect.
Heat alone isn’t always the cause, so look at your whole routine honestly. Balancing heat styling with heat free days protects your hair’s long term health.
Try alternating between heat styled looks and simple protective styles some weeks. This rotation gives your hair regular breaks without sacrificing variety in your looks.
Your hair will usually respond well to that kind of balanced approach.
Protecting Your Ends During Blow Drying
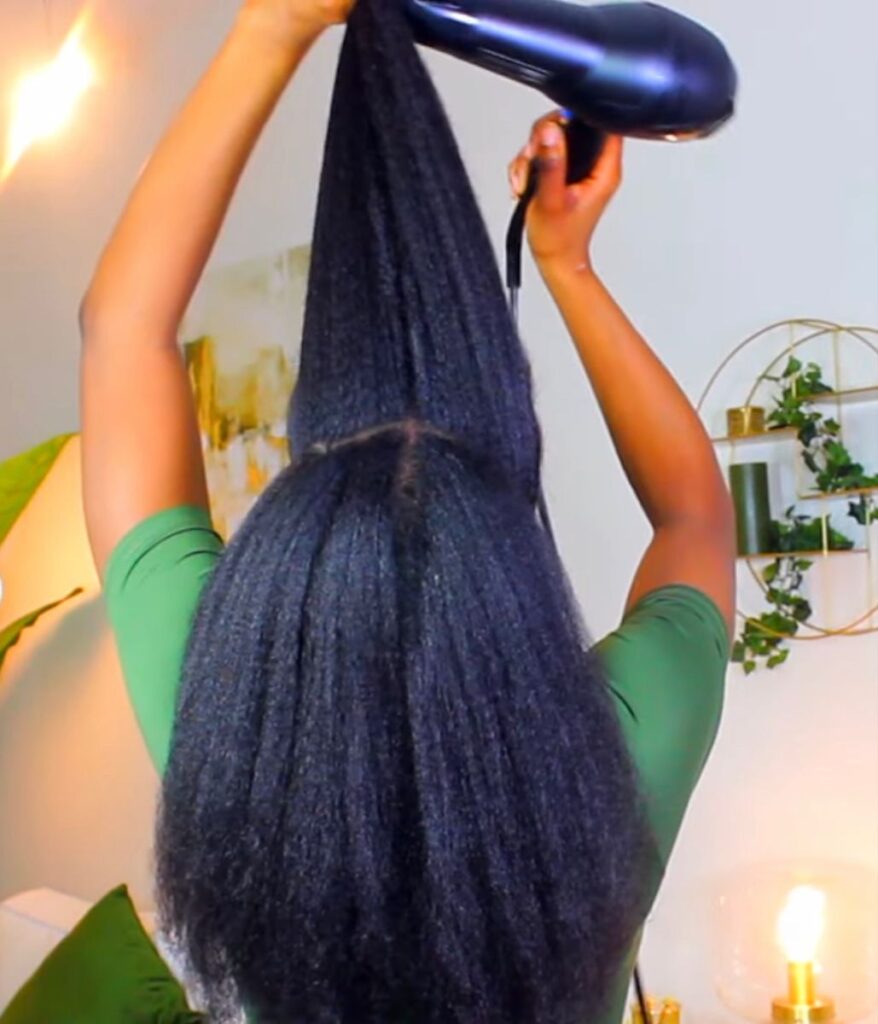
Your ends are the oldest, most fragile part of your hair, and they deserve extra care. Spend less direct heat time on your ends compared to your roots and mid lengths.
A light touch here goes a long way toward preventing split ends.
Some styles put more stress on your ends than others do. It’s worth asking whether your favorite hairstyle is damaging your hairline or your ends more than you realize.
Trimming regularly also helps keep already damaged ends from traveling further up the strand.
Consider wrapping your ends in extra protectant before starting the blow dry. That small extra layer offers a bit more cushion during the drying process.
Healthy ends make your whole style look fuller and more polished overall.
Aftercare Once You’re Done
Once your hair is fully dry and stretched, let it cool before styling further. Cooling helps set the stretch and reduces additional stress on your strands.
Apply a light serum if your ends feel dry after all that heat exposure.
If you’re moving into a protective style next, aftercare matters even more. Learning how to care for afro hair under a wig helps you finish the job properly.
Good aftercare habits protect the results of your blow dry for days afterward. Don’t skip this step just because the hardest part already feels done.
Give your hair a few minutes to fully cool before touching it further. Styling hair that’s still warm can undo some of the stretch you just achieved. That small pause is worth the extra patience it takes.
Blow Drying Mistakes That Carry Over Into Wig Wear
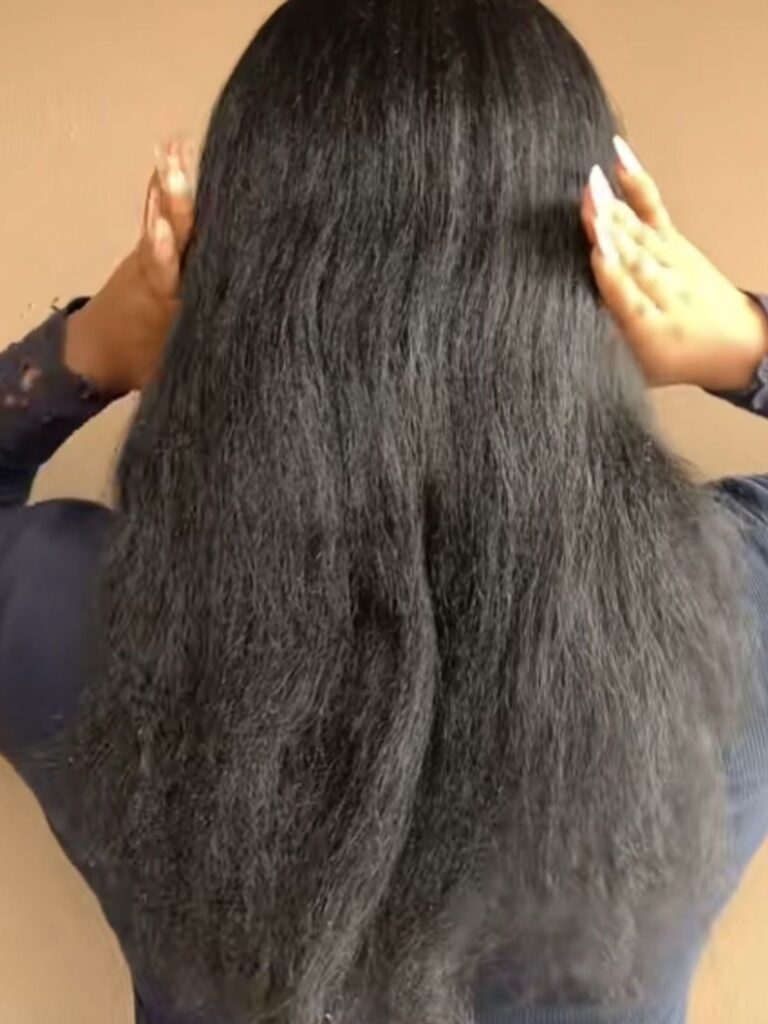
A poor blow dry doesn’t just affect your immediate style, it follows you into whatever comes next. Rushed drying under a wig cap can trap moisture and cause buildup underneath.
Watch out for the biggest wig mistakes that damage your hair, since many actually start at this earlier stage.
Give your scalp time to breathe between wig installs, especially after heat styling sessions. Learning how long you should wear a wig continuously helps you plan smarter breaks.
Those breaks protect both your blow dry and your scalp underneath. Small adjustments here prevent bigger problems from building up over time.
Think of this whole process as connected steps, not separate, unrelated tasks. Each stage affects the ones that follow it, for better or worse.
Treating them as one continuous routine leads to noticeably healthier results.
Final Tips for Damage-Free Blow Drying
Blow drying afro hair safely really comes down to patience and consistent technique. Protect your strands with heat protectant, use medium heat, and keep the dryer moving. Small, careful sections beat rushing through big chunks of hair every single time.
Technique matters here just as much as it does with curly styles. It’s a bit like why your twist-out never looks like everyone else’s, since small habits change everything. Small habits, repeated consistently, make the biggest difference over time. With practice, a safe, damage-free blow dry becomes second nature rather than a chore.
Your hands get faster and more confident the more often you practice. Give yourself the same grace you’d give anyone learning a new skill. Every head of hair responds a little differently to these steps.
Pay attention to what works for yours, and adjust as you go along. Consistent, gentle habits will always beat rushed, careless ones over the long run. Healthy hair really is built one careful blow dry at a time.

6 Comments