
DIY Deep Conditioning Treatments for Afro Hair
Disclosure: Some of the links in this post are affiliate links. This means if you click on the link and purchase an item, I will receive an affiliate commission at no extra cost to you.
Afro hair loses moisture faster than most other hair types, simply because of its curl pattern. Natural oils from your scalp have a harder time traveling down each twist and turn. That’s exactly why deep conditioning isn’t optional for natural hair. It’s genuinely foundational to keeping strands strong and consistently healthy.
The good news is that some of the most effective treatments are already sitting in your kitchen. This guide walks through why deep conditioning matters and how to spot the signs. It also covers several DIY recipes worth trying at home. Application technique, timing, and common mistakes are also covered in detail.
If you want ready-made styling ideas once your hair feels its healthiest, take a look. These 70 gorgeous afro hairstyles you’ll want to try this year are worth bookmarking for later. Let’s start with why this step matters so much in the first place.
DIY Deep Conditioning Treatments for Afro Hair
Why Deep Conditioning Matters for Afro Hair
Afro hair has more cuticle layers to lift through with every bend and coil. This structural difference is part of what makes natural hair uniquely beautiful and uniquely demanding.
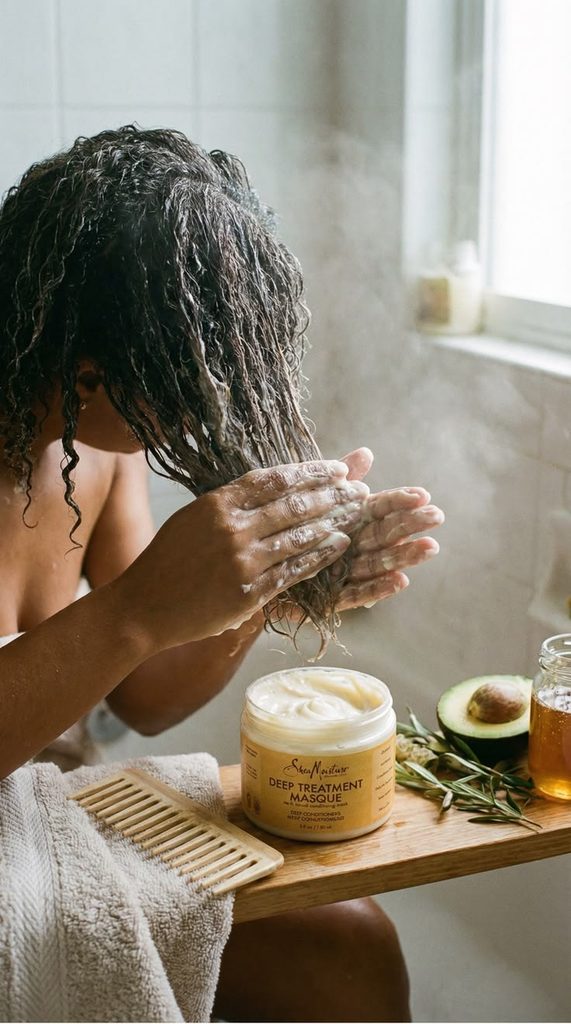
Each curl and coil creates a natural weak point where moisture can escape easily. Regular conditioner sits on the surface, while deep conditioner actually penetrates the hair shaft.
This distinction is the main reason the two products aren’t interchangeable.
This deeper penetration strengthens strands from the inside rather than just smoothing the outside. Over time, consistent deep conditioning reduces breakage and improves overall elasticity.
It also makes styling easier, since well-moisturized curls hold shape more predictably. Hair that bends without snapping is simply easier to work with day to day.
Skipping this step regularly is one of the most common causes of stalled hair growth. Hair that breaks off as fast as it grows never gets the chance to gain length.
Deep conditioning helps close that gap by keeping strands intact for longer.
Many people chase length through products or techniques while overlooking this simple, foundational step.
Retention, not growth speed, is usually the real bottleneck for most natural hair journeys. Consistent deep conditioning quietly supports that retention in the background over time.
Hair that’s well cared for from the inside out simply survives everyday manipulation better. This is the quiet, unglamorous work that produces visible results months down the line.
It rarely gets the same attention as a fresh style, but it matters just as much.
Signs Your Hair Needs a Deep Conditioning Treatment
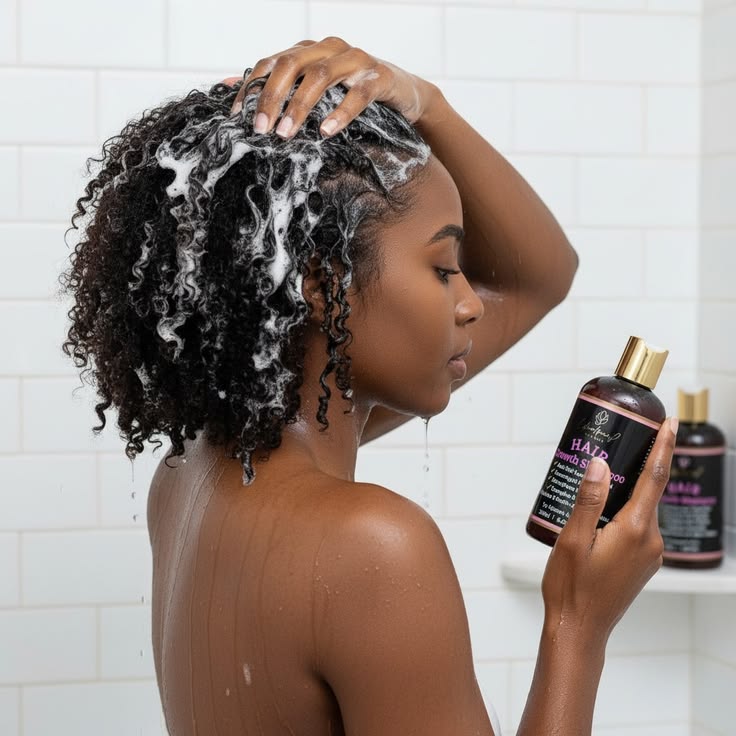
Dry, brittle strands that snap easily are usually the clearest warning sign of a problem. Dull, lifeless-looking curls that lack their usual bounce also point to a moisture deficit.
Tangling more than usual during detangling sessions is another common red flag worth noticing.
If your hair feels rough or straw-like even right after washing, it needs more attention. Regular rinse-out conditioner alone often isn’t enough to fix this kind of dryness.
Excessive shedding, though normal in small amounts, can also increase when hair is dehydrated. Noticing these patterns early prevents small dryness from turning into ongoing breakage.
Paying attention to these signals helps you catch dryness before it turns into real damage. A gentler starting point might be these homemade hair masks for dry type 4 hair.
Small, regular check-ins with your hair make a much bigger difference over time.
Running your fingers through a small section of dry hair is often enough to gauge condition. If it feels rough or catches easily, that’s usually your cue to schedule a treatment soon.
Doing this quick check before every wash day builds awareness of your hair’s natural rhythm. Over time, you’ll start noticing patterns tied to weather, stress, or seasonal changes.
Hair often needs more moisture during winter months or periods of high stress.
What Makes DIY Treatments Different From Store-Bought Ones
Store-bought deep conditioners often include preservatives, fragrance, and filler ingredients you don’t actually need.
Reading ingredient labels closely often reveals just how little active moisture some products contain. DIY treatments let you control exactly what touches your scalp and strands.
Kitchen staples like avocado, honey, and coconut oil are naturally rich in beneficial fatty acids. These same ingredients show up again and again across natural hair care traditions worldwide.
These ingredients aren’t diluted the way many commercial products tend to be. DIY treatments are also significantly cheaper, since most ingredients are things you already have at home.
The tradeoff is that homemade treatments require a bit more prep time and effort upfront. For many people, that extra effort is a worthwhile trade for better results.
There’s also something satisfying about knowing exactly what went into a treatment you made yourself.
Many people also enjoy the ritual aspect of mixing their own treatments at home. This shift in mindset can make consistency feel less like a chore.
A kitchen counter full of natural ingredients also feels less intimidating than a shelf of unfamiliar products. This accessibility is part of why DIY treatments have stayed popular for so long.
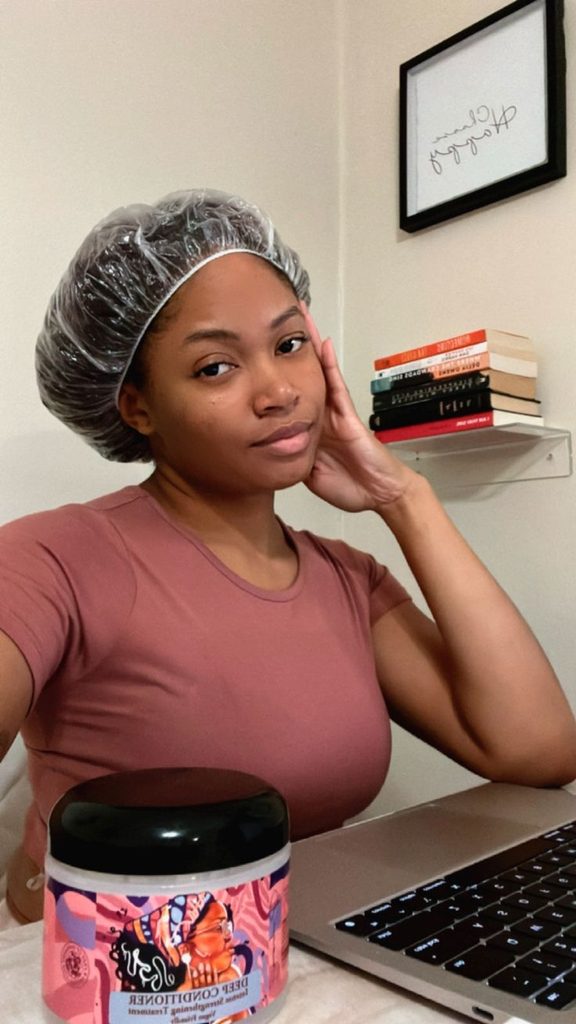
Banana and Olive Oil Deep Conditioner
Mash one ripe banana until completely smooth, with no lumps remaining in the mixture. Mix in two tablespoons of olive oil until everything becomes creamy and well combined.
Bananas are rich in potassium and natural oils that soften brittle strands effectively. Overripe bananas actually work best, since they mash more smoothly into the mixture.
Using a blender instead of a fork helps eliminate any stubborn lumps completely.
Olive oil adds slip, which makes detangling noticeably easier during the application process.
Apply the mixture section by section, focusing especially on your driest ends. Leave it on for twenty to thirty minutes under a shower cap before rinsing.
This treatment works especially well before installing a longer-term style, since healthy strands hold up better. It’s worth trying ahead of these 60 protective styles that actually help with length retention.
This recipe is also one of the most beginner-friendly treatments to start with. The ingredients are simple, affordable, and easy to find in almost any kitchen.
It’s a great first DIY treatment for anyone new to homemade hair care.
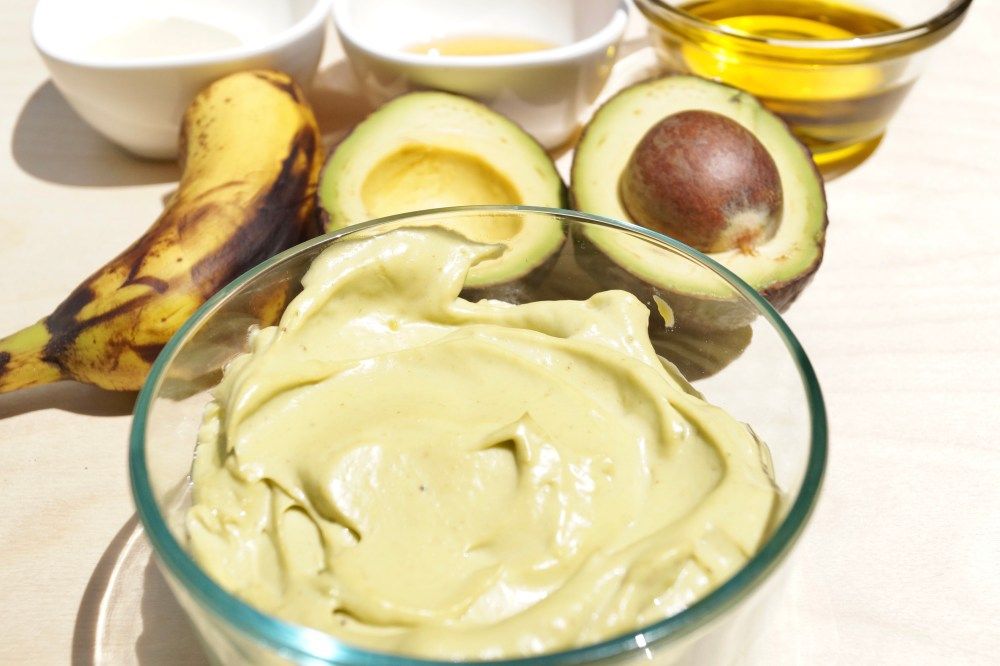
Avocado and Honey Deep Conditioner
Mash half a ripe avocado until it reaches a smooth, spreadable consistency throughout. Stir in two tablespoons of raw honey until fully combined into one mixture.
Avocado is packed with healthy fats that mimic your scalp’s own natural oils. Choosing a very ripe avocado makes the mashing process noticeably easier and smoother.
Save the other half for a snack, since this recipe only needs a small amount.
Honey acts as a humectant, drawing moisture into the hair shaft as it sits. This combination works especially well for very dry or color-treated natural hair.
Apply generously from roots to ends, then cover with a plastic cap for processing.
While the treatment sits, this is a good stretch of time to keep hair covered and out of the way. Save this for wash day: 50 cute headwrap styles for bad hair days work well for long processing time.
Rinse with cool water afterward to help seal the hair cuticle shut properly. Many people notice softer curls immediately after just one application.
Pairing it with a satin bonnet overnight can extend the softening effects even further.
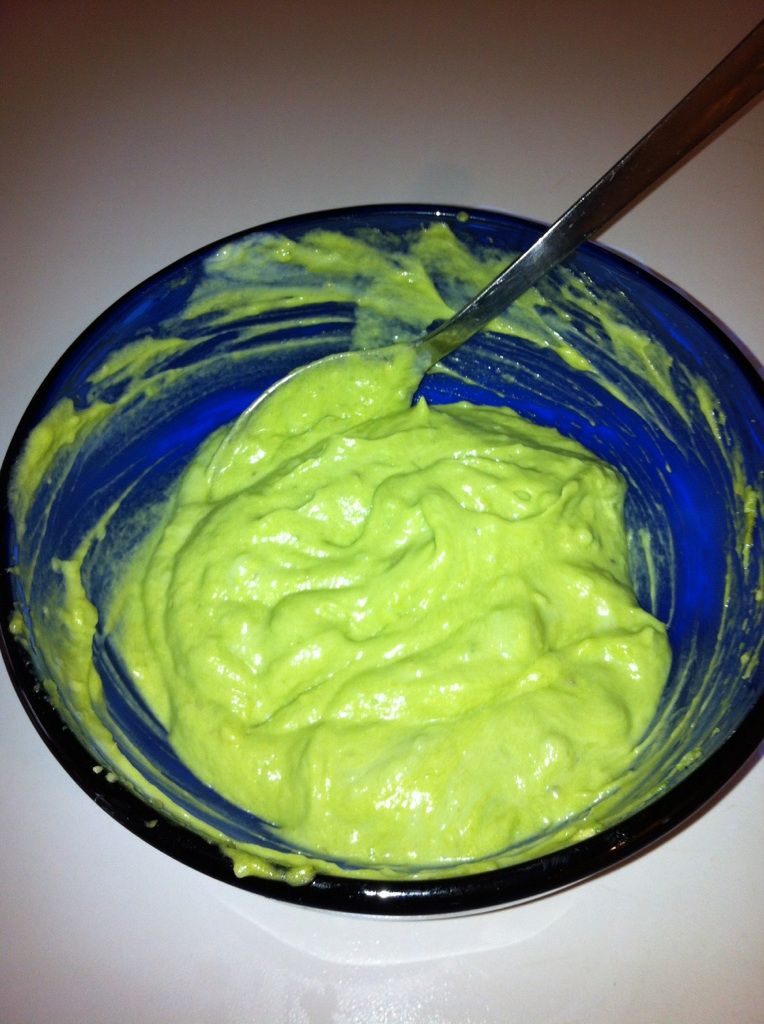
Egg and Yogurt Protein-Rich Mask
Whisk one egg together with two tablespoons of plain, unsweetened yogurt until smooth. Eggs are rich in protein, which helps rebuild and strengthen weakened strands over time.
Yogurt adds mild acidity, which can help smooth the hair cuticle slightly during processing. Room temperature ingredients tend to blend more smoothly than cold ones straight from the fridge.
This mask works best for hair that feels limp or overly stretchy when wet. Those symptoms often signal too much moisture and not enough protein in your regimen.
Apply evenly and leave on for fifteen to twenty minutes, no longer than that.
Always rinse with cool water, since hot water can cook the egg right in your hair. A quick temperature check before rinsing saves you from an awkward cleanup.
This small precaution matters more with this recipe than with most others here.
This treatment works especially well once every few weeks rather than as a weekly staple.
Overusing protein treatments can leave hair feeling stiff or overly rigid over time. Balance is key when working protein-based recipes into a regular routine.
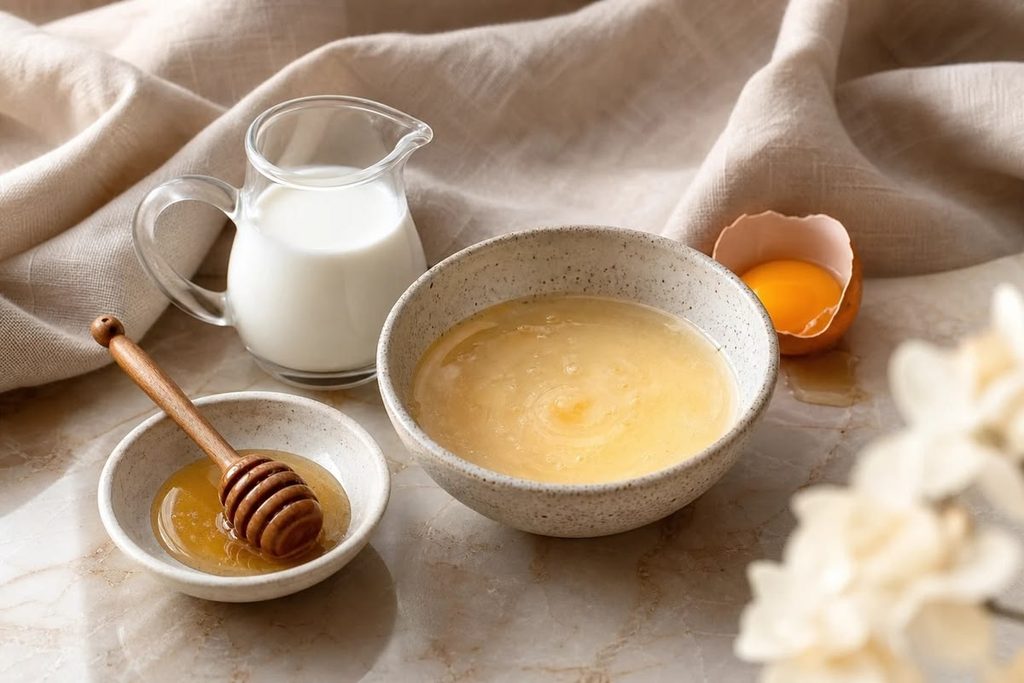
Coconut Milk and Honey Treatment
Combine half a cup of full-fat coconut milk with one tablespoon of honey. Coconut milk penetrates the hair shaft more easily than many other oils available.
This treatment works especially well for low porosity hair that resists absorbing moisture. The lighter texture makes it a good match for hair prone to product buildup.
Apply generously from root to tip, then cover with a plastic cap afterward. Leave the treatment on for thirty minutes, ideally with a little gentle heat involved.
A hair dryer on a low setting over the cap can help absorption.
This recipe also travels well if you want to prep it ahead of a busy week or a trip. Keeping the mixture chilled preserves both texture and effectiveness for a couple of days.
It also pairs nicely with any of these 50 vacation hairstyles that protect your natural hair once you land.
This combination also smells wonderful, which makes the whole process feel a little more indulgent.
It’s a nice way to turn a chore into something closer to self-care. Many people look forward to this particular treatment for that reason alone.
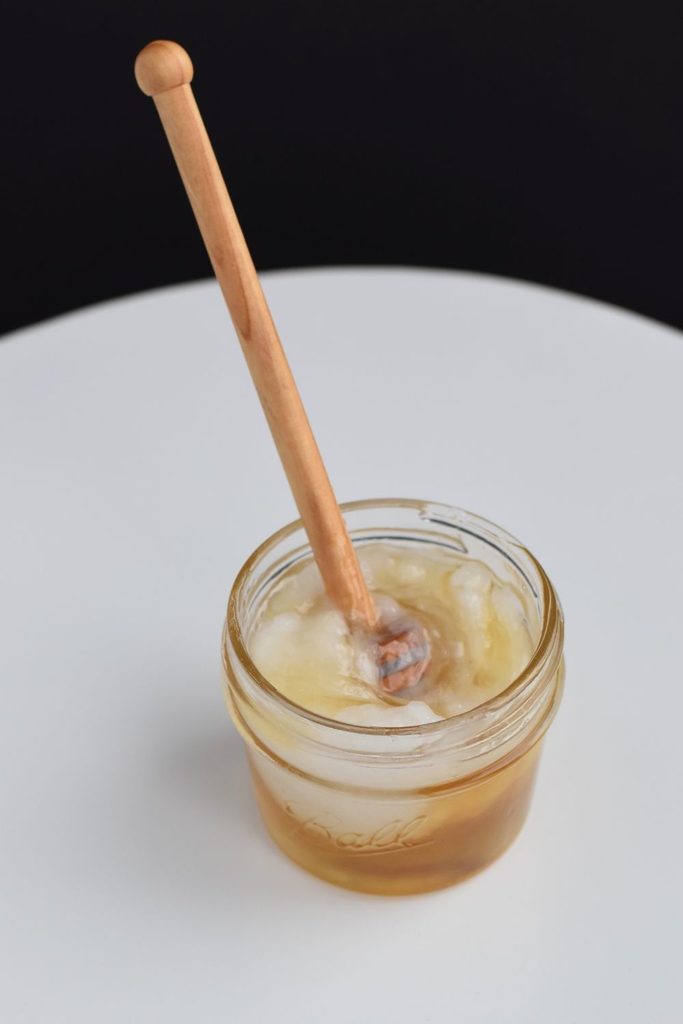
Shea Butter and Olive Oil Treatment
Melt two tablespoons of raw shea butter with one tablespoon of olive oil together. Shea butter is deeply moisturizing and works especially well for very coarse, dry hair.
Olive oil helps the shea butter spread more evenly through each section of hair. Warming the mixture slightly beforehand also makes it easier to apply evenly.
This combination feels heavier, so it works best for hair that needs intense hydration. Focus application mainly on the ends, where dryness tends to concentrate the most.
Rinse thoroughly with a clarifying shampoo afterward to avoid any greasy residue. This step matters more with richer treatments like this one than with lighter recipes.
This richer treatment also pairs well with a protective style installed shortly afterward. Once your hair is rinsed and dry, try showing it off.
These 45 braid-out styles you’ll want to screenshot show exactly how soft the treatment left curls.
Skipping the clarifying step can leave hair feeling weighed down for days afterward. This treatment is best saved for hair going through a particularly dry stretch.
A proper rinse ensures you get the benefits without any of the heavy aftermath.
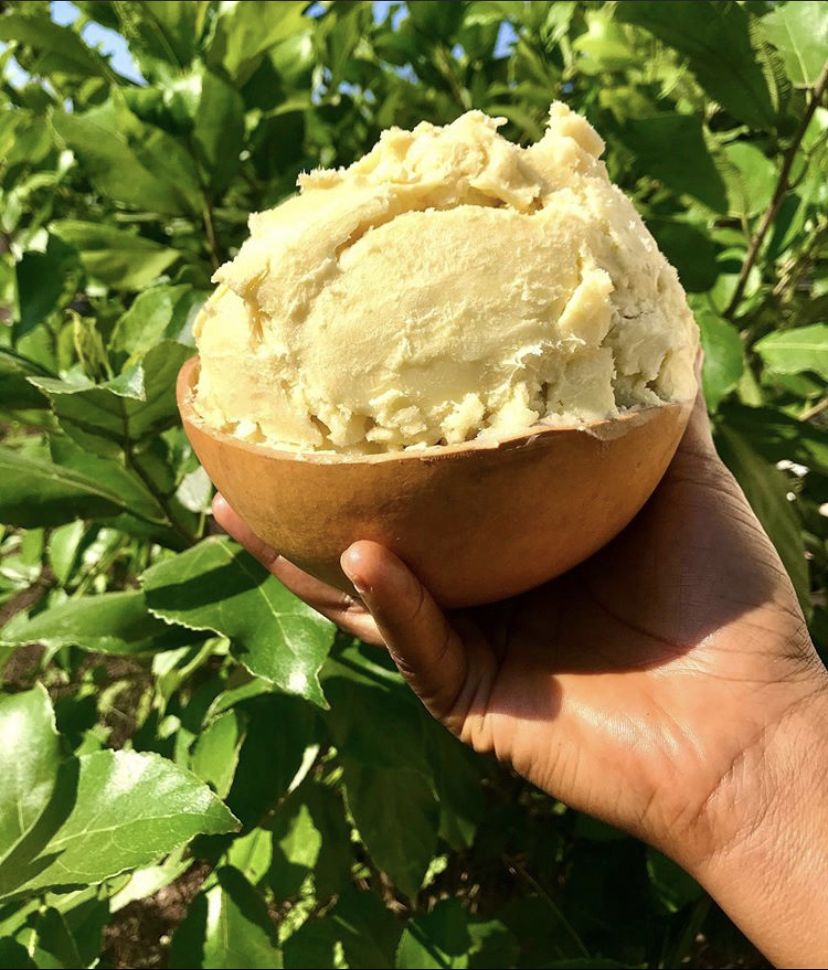
Aloe Vera and Coconut Oil Treatment
Mix two tablespoons of fresh aloe vera gel with one tablespoon of coconut oil. Aloe vera soothes the scalp while also adding lightweight moisture to each strand.
Coconut oil helps reduce protein loss during the washing and detangling process. Fresh aloe straight from the plant tends to work better than bottled versions.
This combination works well for anyone with a sensitive or easily irritated scalp. Apply from scalp to ends, then leave on for twenty minutes before rinsing thoroughly.
Maria, a natural hair blogger in Atlanta, calls this her go-to during dry winter months.
If your hair leans more toward needing strength than moisture, try alternating treatments. A diy protein treatments for natural hair session works well in place of this one some weeks.
This combination also works well for anyone managing scalp conditions like mild eczema or psoriasis. Always patch test new ingredients if you have known sensitivities.
This treatment also feels notably lighter than many of the oil-heavy options on this list.
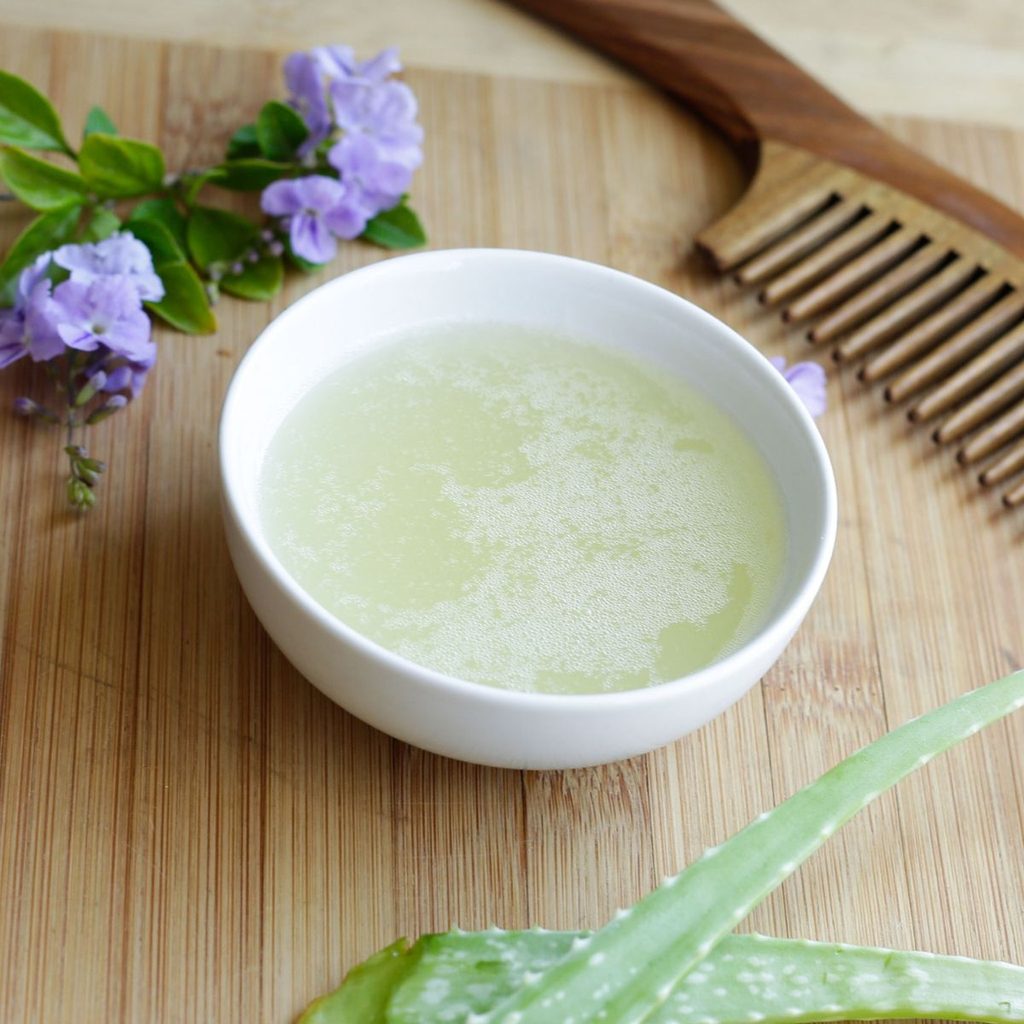
Mayonnaise Deep Conditioning Treatment
Apply a generous amount of full-fat mayonnaise directly onto dry or damp hair. Mayonnaise contains eggs, oil, and vinegar, all of which support hair strength and shine.
This old-school treatment has been a natural hair community favorite for decades now. Older generations often relied on this recipe before commercial deep conditioners were widely available.
It works especially well for anyone lacking more specialized ingredients at home. Cover with a shower cap and leave on for thirty minutes before rinsing well.
A clarifying shampoo afterward helps remove any lingering smell or residue completely.
Some people are hesitant to try this one at first because of the smell. Once your hair is soft and dry, try a defined twist-out. These 50 twist-out ideas for every hair length are worth exploring next.
Adding a few drops of essential oil to the mixture can help mask the scent further. It’s worth trying once before ruling this classic recipe out entirely.
Most find that a thorough shampoo afterward eliminates any lingering concerns completely.
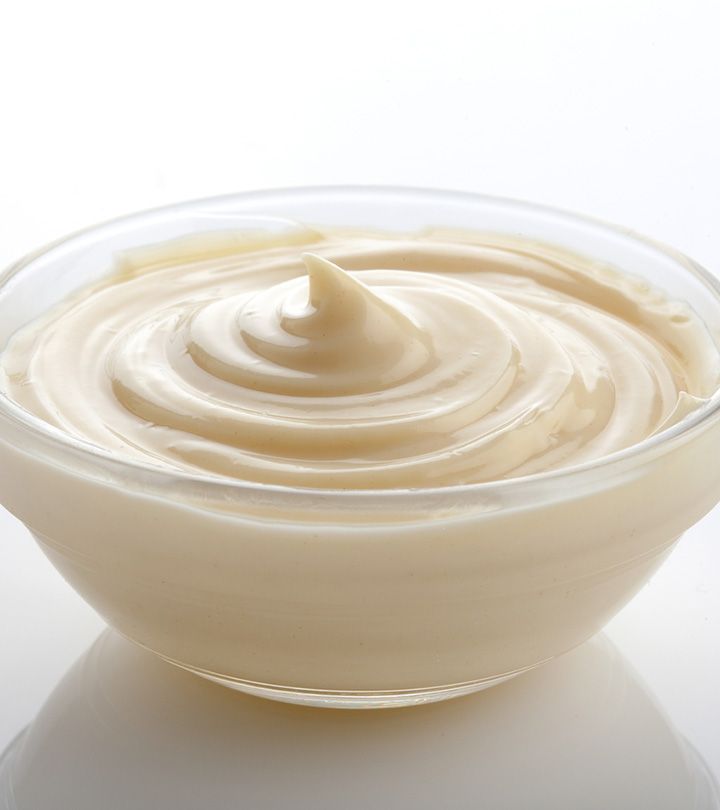
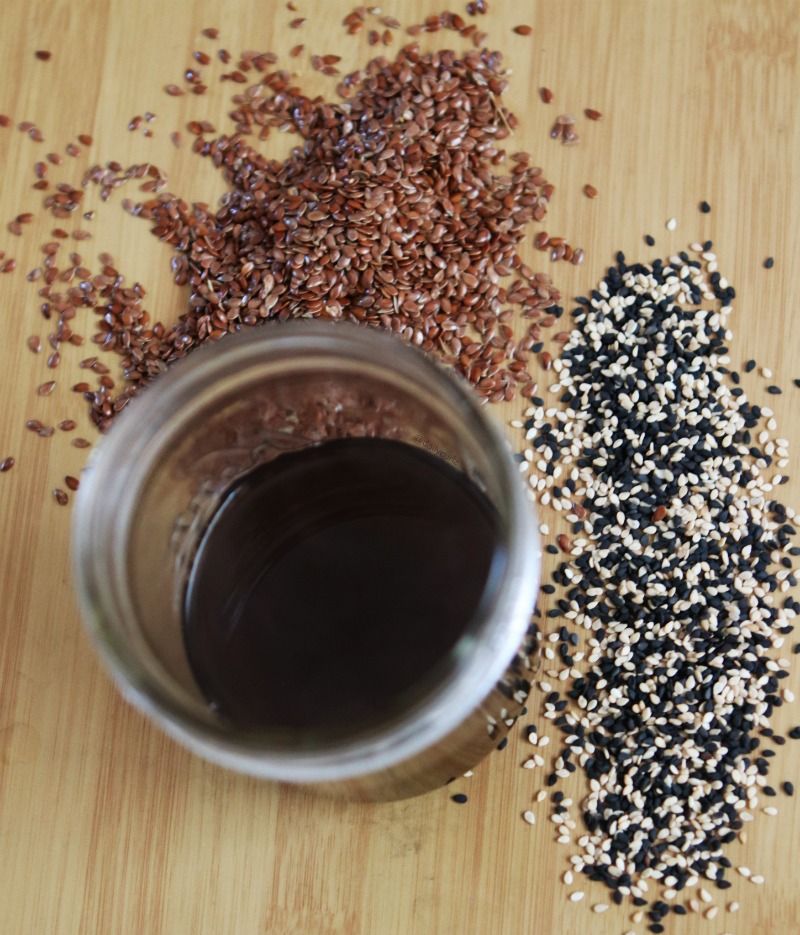
Flaxseed Gel Deep Conditioner
Simmer two tablespoons of flaxseeds in two cups of water until it thickens slightly. Strain the resulting gel through a cloth or fine mesh strainer afterward.
Flaxseed gel is rich in omega fatty acids that support healthy curl definition. The straining process takes patience, but the resulting gel is worth the wait.
This treatment works beautifully for anyone wanting moisture without heavy oils weighing curls down.
Apply generously and leave on for fifteen to twenty minutes before rinsing thoroughly. This treatment also doubles nicely as a light styling gel once rinsed.
That dual purpose makes it handy for a puff right after rinsing. These 40 elegant puff hairstyles for natural hair offer more ideas to try.
Adding a few drops of aloe vera gel to the mixture boosts its moisturizing properties further. Experimenting with ratios helps you find the perfect consistency for your hair.
This combination also works especially well for anyone with wavy or looser curl patterns.
Rice Water Deep Conditioning Rinse
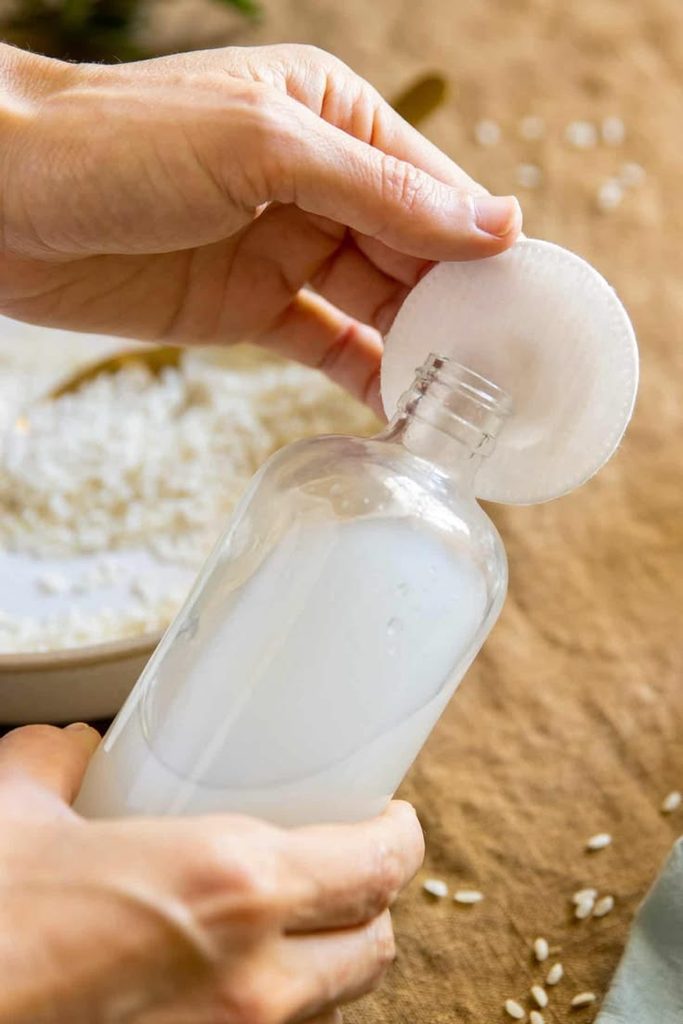
Soak half a cup of uncooked rice in two cups of water for thirty minutes. Strain the water into a separate bowl once it turns cloudy and slightly starchy.
Rice water is rich in amino acids that can strengthen and smooth the hair shaft. This traditional treatment has roots in several natural hair care traditions across cultures.
Pour the rice water over clean, damp hair after shampooing as normal. Leave it in for ten to fifteen minutes before rinsing with cool water.
This treatment works especially well when alternated with a diy hot oil treatments that actually work session throughout the month.
Using rice water too often can sometimes lead to protein overload in sensitive hair types.
Once or twice a month is usually plenty for most people to see benefits. Pay attention to how your curls respond and adjust from there.
Fermenting the rice water for a day before use can increase its potency even further. Start with the basic version before experimenting with fermentation techniques.
How to Apply a Treatment and Use Heat Effectively
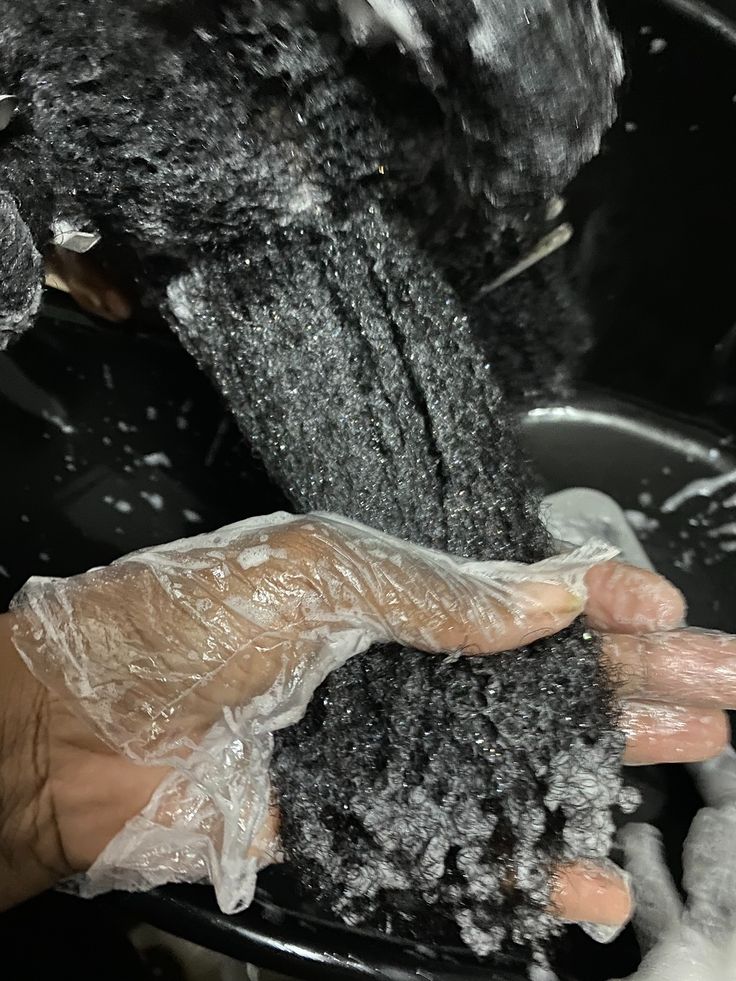
Always start with clean, freshly shampooed hair before applying any deep conditioning treatment. Detangle gently first, since tangled hair prevents even product distribution throughout each section.
Apply the treatment in small sections rather than all at once on dry hair. Working section by section ensures even coverage from roots to ends.
Focus extra product on your ends, since they’re typically the oldest and driest part. Cover your hair with a plastic cap to trap heat and moisture during processing.
Gentle heat helps open the hair cuticle so treatments can penetrate more deeply.
A hooded dryer works well if you have access to one at home. A warm, damp towel wrapped around a plastic cap also works as an alternative.
Avoid direct heat tools like flat irons or blow dryers during this process, since too much heat can cause damage. Rinse thoroughly afterward, since leftover residue can weigh curls down over time.
Sitting under a warm towel while reading or relaxing makes the wait feel much shorter. Setting a timer helps ensure you don’t accidentally leave the treatment on too long.
How Often You Should Deep Condition
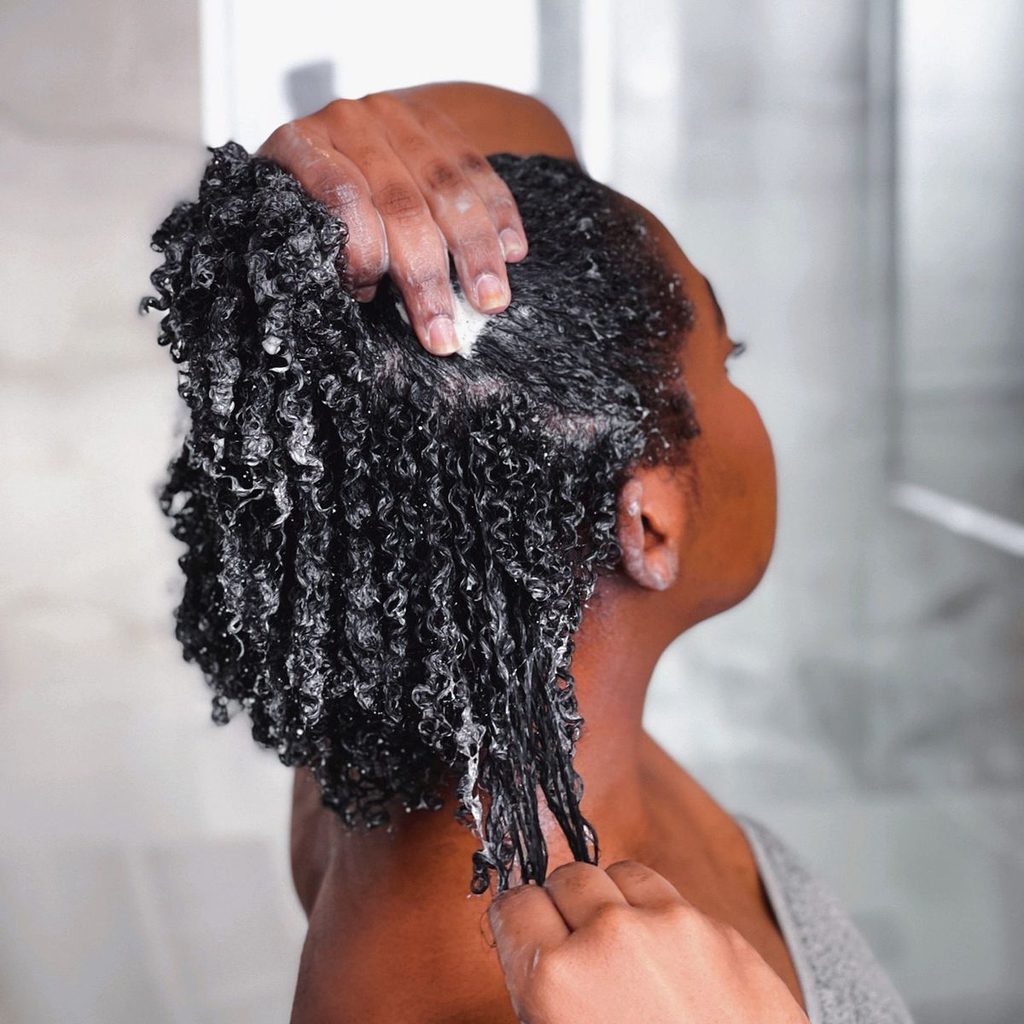
Most natural hair benefits from deep conditioning once every one to two weeks. Very dry or damaged hair may benefit from weekly treatments until moisture levels improve.
Protective styles like braids or twists may only need treatment every few weeks instead.
Pay attention to how your hair responds and adjust the frequency from there. Over-conditioning can sometimes leave hair feeling limp or overly soft without enough structure.
Finding the right rhythm usually takes a few weeks of paying close attention. Most people settle into a comfortable pattern within a month or two.
Treatment days don’t have to disrupt your week if you plan around them. A neat, low-effort style from these 40 professional hairstyles for the office works well while you settle on a schedule.
Keeping a simple log of when you treat your hair can help track patterns. Over a few months, clear patterns usually start to emerge from this simple record.
Noting how your curls respond after each session makes future adjustments much easier.
Common Mistakes and Storage Tips
Applying deep conditioner to dirty, unwashed hair reduces how well it can actually absorb. Skipping the detangling step beforehand often leads to uneven, patchy results throughout your hair.
Leaving treatments on for far longer than recommended doesn’t necessarily improve the outcome.
Rinsing with water that’s too hot can strip away the very moisture you just added. Using too little product, especially on longer or thicker hair, leaves sections under-treated.
Avoiding these small mistakes makes a noticeable difference in how well treatments actually work. Even experienced naturalistas benefit from revisiting these basics every so often.
Most DIY treatments made with fresh ingredients should be used within a day or two. Refrigerating leftovers can extend usability by a few extra days at most.
Treatments containing egg or dairy spoil faster and should never sit at room temperature.
Labeling containers with the date made helps avoid accidentally using an expired treatment. A little organization goes a long way in a consistent DIY hair care routine.
This small habit prevents any unpleasant surprises during your next wash day.
Signs the Treatment Is Working
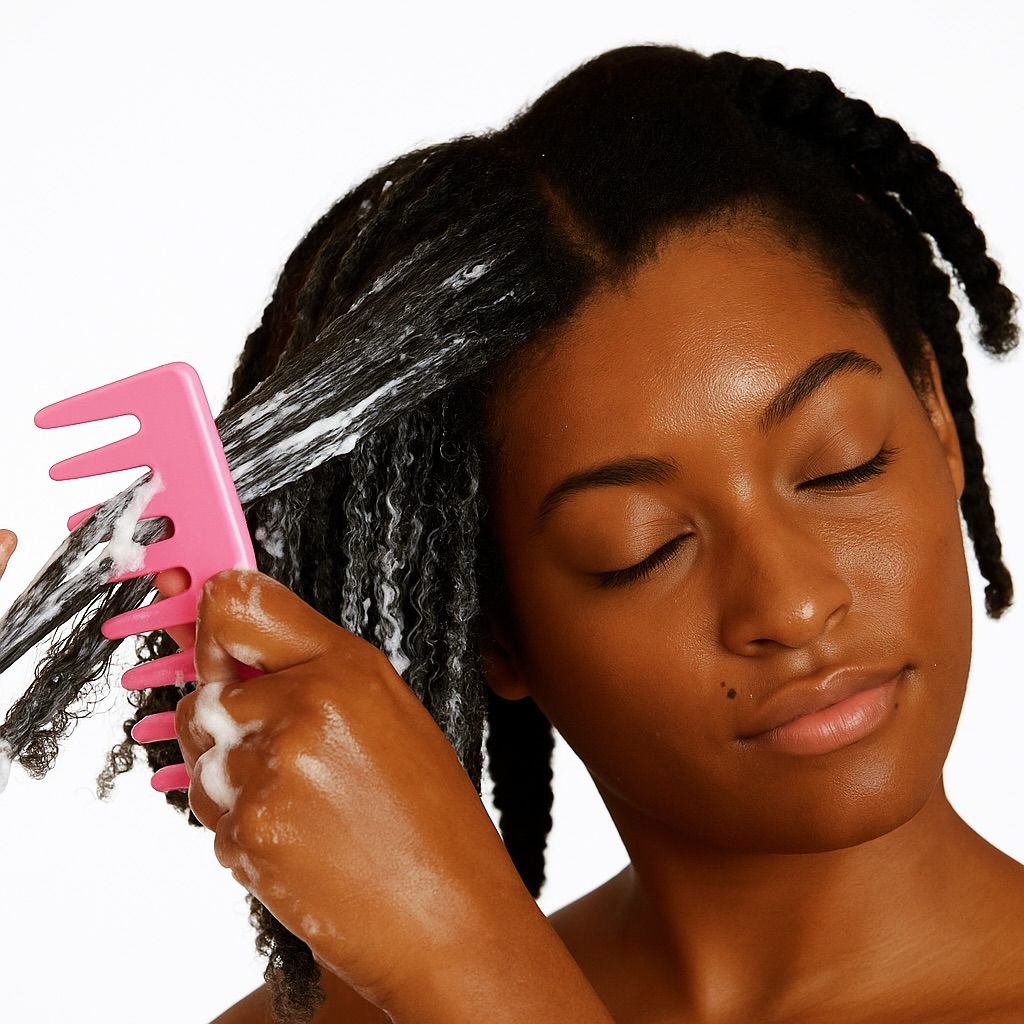
Softer, more pliable strands immediately after rinsing are usually the first noticeable sign.
Reduced tangling during your next detangling session also indicates improved moisture levels overall. Curls that bounce back more readily after stretching show better elasticity throughout.
Less breakage in your comb or on your pillow points to stronger, healthier strands. Shinier, more defined curls after styling also suggest the treatment is doing its job.
These improvements often build gradually with consistent, regular treatments over several weeks.
Healthy, well-treated hair also tends to hold styling better overall. That matters if you’re heading into any of these 35 date night hairstyles for afro hair soon.
Strong, moisturized strands simply perform better under any styling technique.
Patience matters here, since dramatic overnight changes are rare with natural, gentle methods. Most people notice a meaningful difference after three to four consistent treatment sessions.
Adjusting Recipes for Low Porosity vs High Porosity Hair
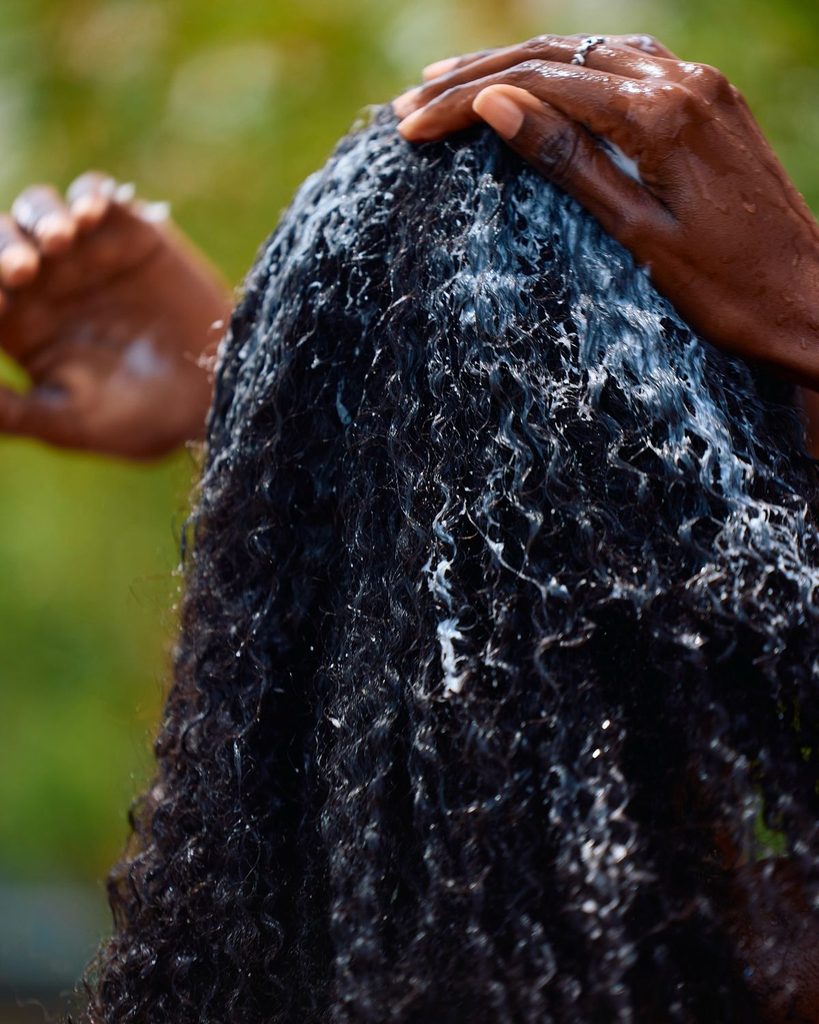
Low porosity hair benefits most from lighter ingredients paired with gentle heat during processing.
Heavier oils can sit on top of low porosity strands without ever really absorbing. High porosity hair, by contrast, often benefits from protein-rich treatments like egg or yogurt.
This hair type tends to lose moisture quickly, so sealing oils afterward matters more. Knowing your hair’s porosity helps you choose recipes that actually work rather than guessing blindly.
A simple water test at home can help determine which category best describes your hair.
Drop a clean strand of hair into a glass of water and watch what happens. Hair that floats tends toward low porosity, while hair that sinks quickly suggests high porosity.
This quick test takes just a few minutes and guides future recipe choices.
This is worth knowing well before a big event, since porosity affects how hair takes to styling. If an 35 afro wedding hairstyles that turn heads look is coming up, plan treatments around porosity beforehand.
Medium porosity hair, which sinks slowly, tends to respond well to most standard recipes. This middle ground offers the most flexibility when experimenting with different treatments.
Building Deep Conditioning Into a Complete Hair Routine
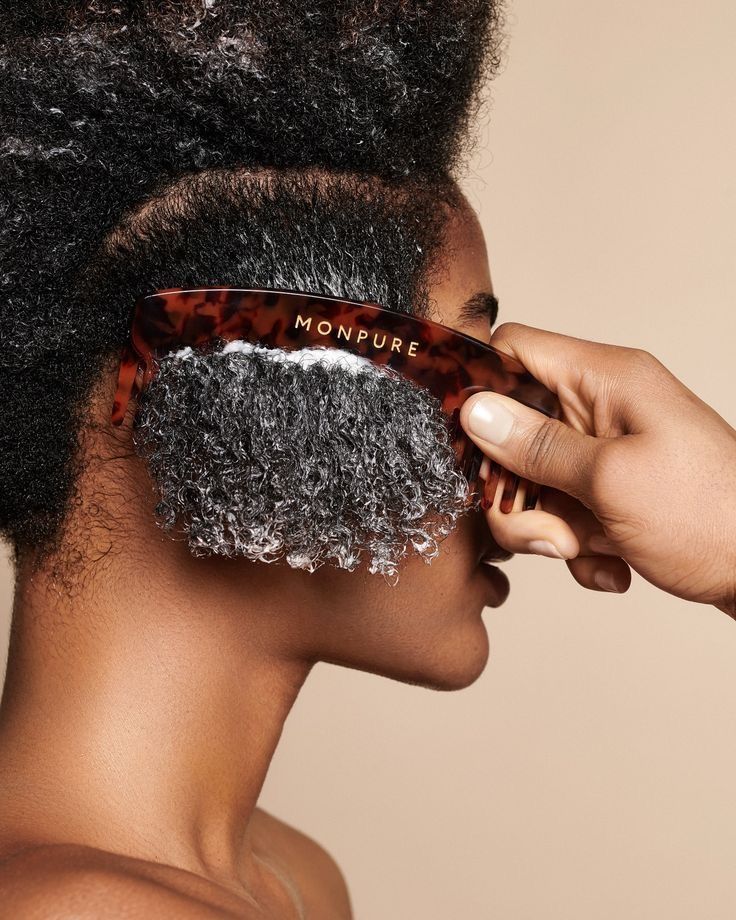
Deep conditioning works best as part of a consistent, well-rounded hair care routine rather than a one-off fix.
It pairs naturally with other steps like protein treatments, hot oil sessions, and regular moisture upkeep between wash days.
Many people pair treatment day with quiet activities like reading or watching a show. Others use the processing time to plan their week or catch up on messages.
Some set a recurring calendar reminder so treatment day doesn’t get skipped.
Finish styling with a light mist of aloe vera hair spray for afro hair between full wash days. This small habit helps stretch the benefits of your deep conditioning further into the week.
Building this habit into your routine, rather than treating it as optional, makes the biggest long-term difference.
Small, consistent efforts add up to real change over the following months. A routine you actually stick with beats a perfect routine you abandon after two weeks.
Some weeks call for a lighter touch, and that’s perfectly fine too. Life gets busy, and a missed treatment here and there won’t undo months of consistent care.
The goal is a sustainable rhythm, not a rigid schedule that adds stress to your week.
Final Thoughts
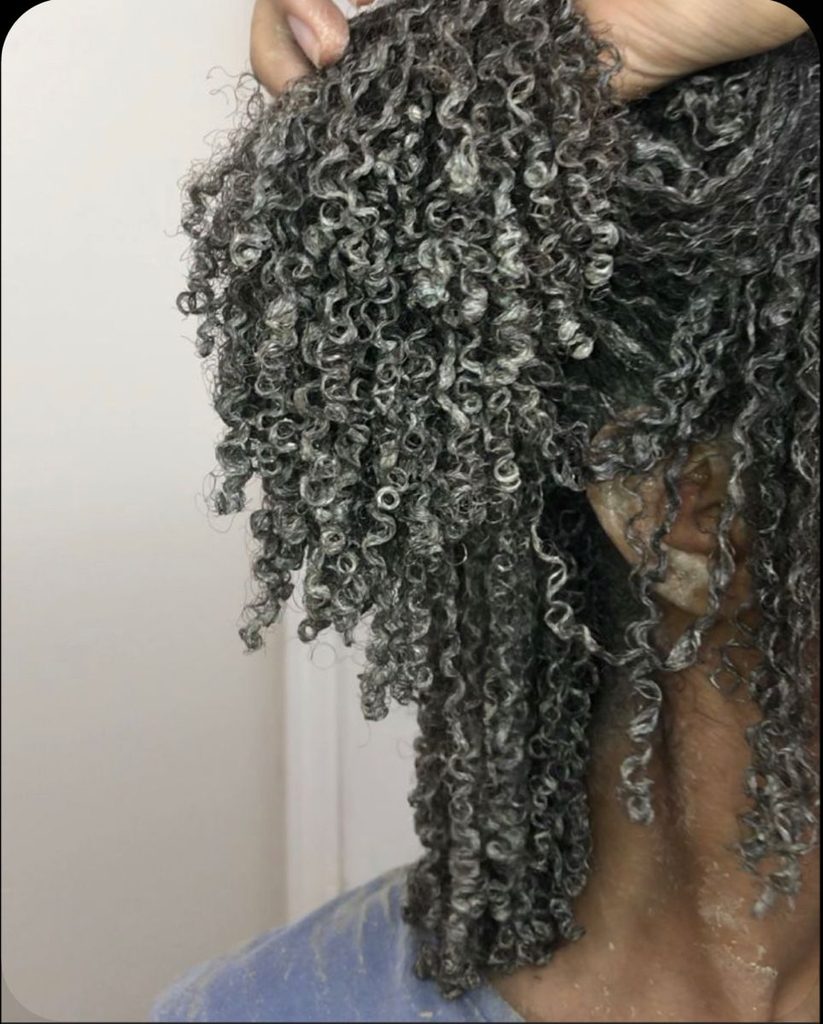
Deep conditioning is one of the simplest, most effective things you can do for afro hair. The right treatment depends on your hair’s specific needs, porosity, and current condition.
DIY recipes give you full control over ingredients while saving money compared to store-bought options.
Consistency matters more than finding one perfect recipe that works for everyone. Pay attention to how your hair responds, and adjust your approach as you learn.
Over time, this simple habit builds toward stronger, healthier, more resilient natural hair. This is a long-term investment, not a quick fix for an isolated bad hair day.
Give your hair the care it deserves, and the results will speak for themselves. Start with just one recipe from this list and build from there at your own pace.
One consistent habit, done well, beats a dozen habits done halfheartedly. There’s no need to overhaul your entire routine overnight to see meaningful change.
The recipes in this guide are starting points, not rigid rules carved in stone. Feel free to adjust ratios, swap ingredients, or combine elements from different treatments.
Your hair’s response is the best feedback you’ll ever get. Trust that feedback more than any single recipe, including the ones listed here.

10 Comments