
How to Prep Your Hair Before Installing a Wig
Disclosure: Some of the links in this post are affiliate links. This means if you click on the link and purchase an item, I will receive an affiliate commission at no extra cost to you.
A proper hair prep before installing a wig will save you from future regrets. Because a rushed prep job is the fastest way to ruin weeks of wig wear. That sounds dramatic, but ask anyone who’s dealt with itchy, tangled hair under a cap.
Good prep isn’t the exciting part of wig wearing, so people tend to rush through it. That’s exactly the mistake that turns a comfortable install into a miserable one. It’s the unglamorous work that nobody ever posts about online.
If you’ve read the beginner’s guide to wigs for natural hair, you already know prep gets mentioned briefly there. This post goes much deeper, covering every step your natural hair actually needs first.
Skipping even one of these steps can mean discomfort, buildup, or worse, real damage underneath. The good news is, proper prep takes time, but not much skill or expensive tools. Let’s walk through exactly what your hair needs before any wig goes on.

How to Prep Your Hair Before Installing a Wig
Why Prep Matters More Than People Think
Prep isn’t just about comfort, though comfort matters a lot on a long day. It’s really about protecting your natural hair for the entire time it’s covered.
Poor prep traps moisture, creates tension, and sets your hair up for problems.
Think of prep as the foundation of your entire wig wearing experience. A shaky foundation eventually shows up as discomfort, itching, or worse.
Getting this stage right makes everything that follows so much easier.
Most people notice the visible parts of a wig install, like the styling or the fit. Few people think about the invisible groundwork happening underneath the surface.
That invisible work is exactly what determines how the next few weeks will actually feel.

Start With a Clean Scalp and Clean Strands
Never install a wig over dirty hair, no matter how tempting the shortcut feels. Product buildup and oil trapped under a cap create the perfect environment for irritation.
A clean scalp also absorbs moisture and treatments far more effectively.
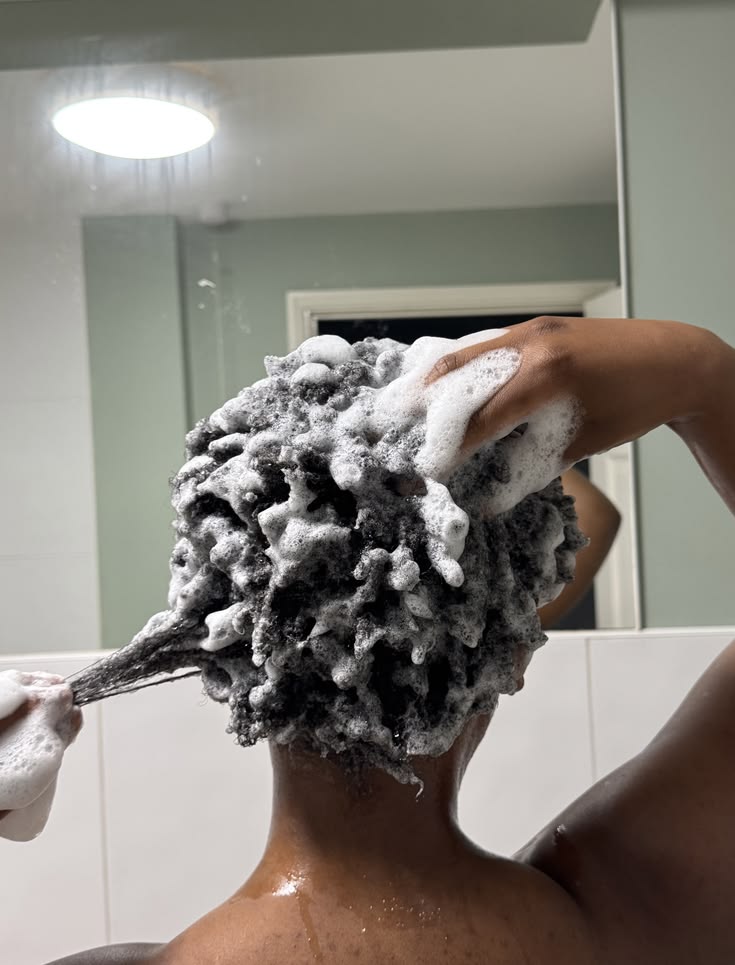
Wash with a gentle, clarifying shampoo the day of or the day before installing. Follow with a lightweight conditioner that won’t leave heavy residue behind.
Clean, breathable hair underneath makes the entire wig wearing experience more comfortable.
Skipping this step to save time almost always backfires within the first few days. Trapped oil and product residue tend to cause itching that’s hard to ignore. A thorough wash upfront saves you from that frustration later.
Pay extra attention to your scalp during this wash, not just your strands. A clean scalp is just as important as clean hair for overall comfort.
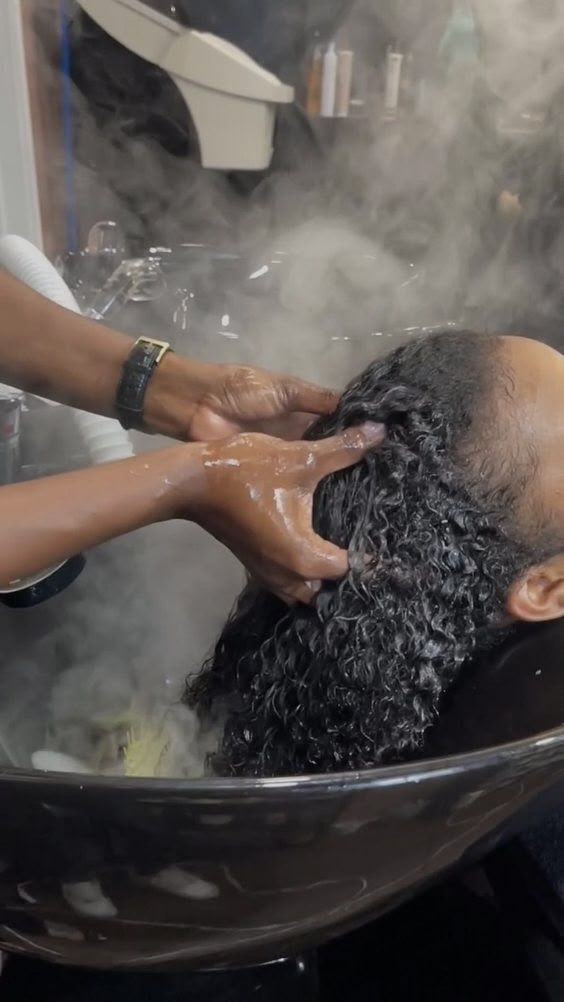
Deep Conditioning Before Wig Install
Since your hair will be covered for days or weeks, moisture matters even more than usual. A deep conditioning treatment before install gives your strands a head start.
Sit under a steamer or hooded dryer for at least twenty minutes for best results.
Look for a conditioner rich in real moisturizing ingredients, not just fragrance. This single step can make a noticeable difference in how your hair feels at removal.
Skipping it is one of the easiest ways to end up with dry, brittle strands.
Consider a protein treatment too, if your hair has been through a lot of styling lately. Balance is key, since too much protein without enough moisture creates its own problems.
A thoughtful, tailored approach beats a one size fits all routine.
Give the treatment time to actually work, rather than rinsing it out too quickly. Reading the product instructions carefully helps you get the full benefit from each application.

Detangling Thoroughly Before You Start
Any tangles left in your hair will only get worse under a wig cap. Work through knots gently with your fingers first, then follow with a wide tooth comb.
Start from the ends and work your way up toward the roots. Working this way reduces breakage far more than starting at the roots.
Rushing this step means fighting tangles later, once everything is already sealed away. That usually leads to more breakage when you finally take the wig out.
A few extra minutes here saves real frustration down the road.
Use a leave in conditioner or detangling spray to add slip during this process. The extra slip helps the comb glide instead of tugging at stubborn knots.
Patience during detangling protects the length you’ve worked hard to maintain.
Work in small sections rather than trying to detangle your whole head at once. Smaller sections are easier to manage and lead to fewer missed tangles.

Blow Drying and Stretching Your Hair
Stretched, smooth hair lays flatter and more comfortably under a wig cap. This connects to the same technique covered in how to blow dry afro hair without damage.
Gentle handling matters here too, not just with your final style. Damp hair trapped under a cap can lead to odor and buildup.
Take your time stretching each section fully before moving to the next. Any leftover dampness will show up as discomfort once the wig goes on.
A properly dried foundation makes the rest of your prep routine much smoother.
Check the roots and nape especially carefully, since those areas dry more slowly. A quick touch test before moving on helps you catch any missed spots.
Thorough drying now prevents problems that are much harder to fix later.

Choosing the Right Protective Base Style
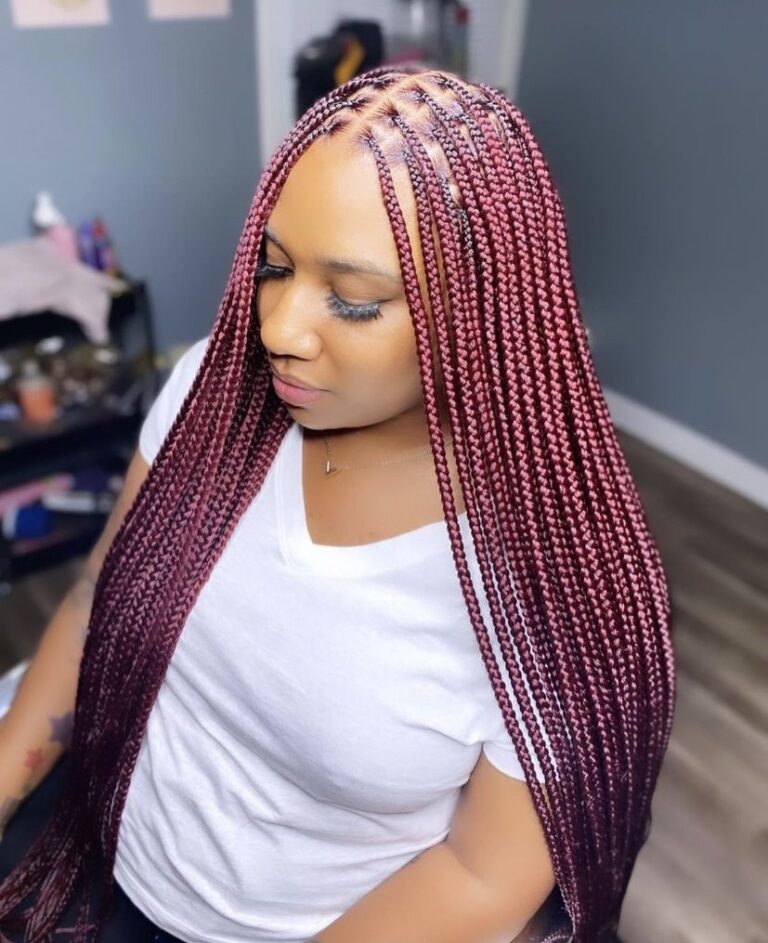
Your hair needs some kind of protective base before a wig sits on top. Cornrows, flat twists, and braid outs are all common, effective options.
The right choice depends on how long you plan to wear the wig and your hair’s needs.
Simpler bases work well for shorter wear times, while intricate ones suit longer installs. Talk to your stylist about what makes sense for your specific plans.
There’s no single correct choice, only what fits your hair and your schedule.
Consider your hair’s texture and density when choosing between these options too. Thicker hair might need a sturdier base, while finer hair often does well with something gentler.
A little experimentation helps you find your personal preference over time.
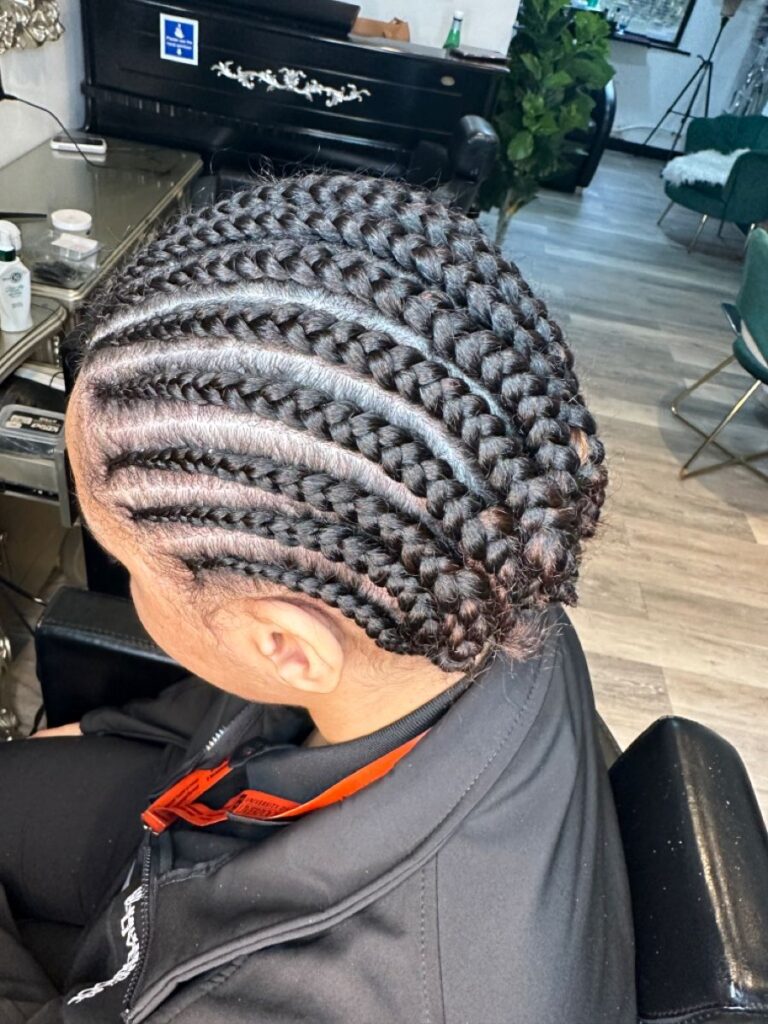
Cornrows vs Flat Twists vs Braid Outs
Cornrows offer a flat, secure base that holds up well for longer wear. Flat twists are gentler on the scalp but may need more frequent redoing.
Braid outs give texture and volume, which some people prefer under certain wig styles.
Consider your hair’s health and your own comfort level with each option. Try different bases over time to find what genuinely works best for you.
Ask your stylist which option they’d recommend based on your hair’s current condition. Their experience with a range of hair types can guide you toward a better fit.
There’s no shame in changing your approach after trying something that didn’t quite work.
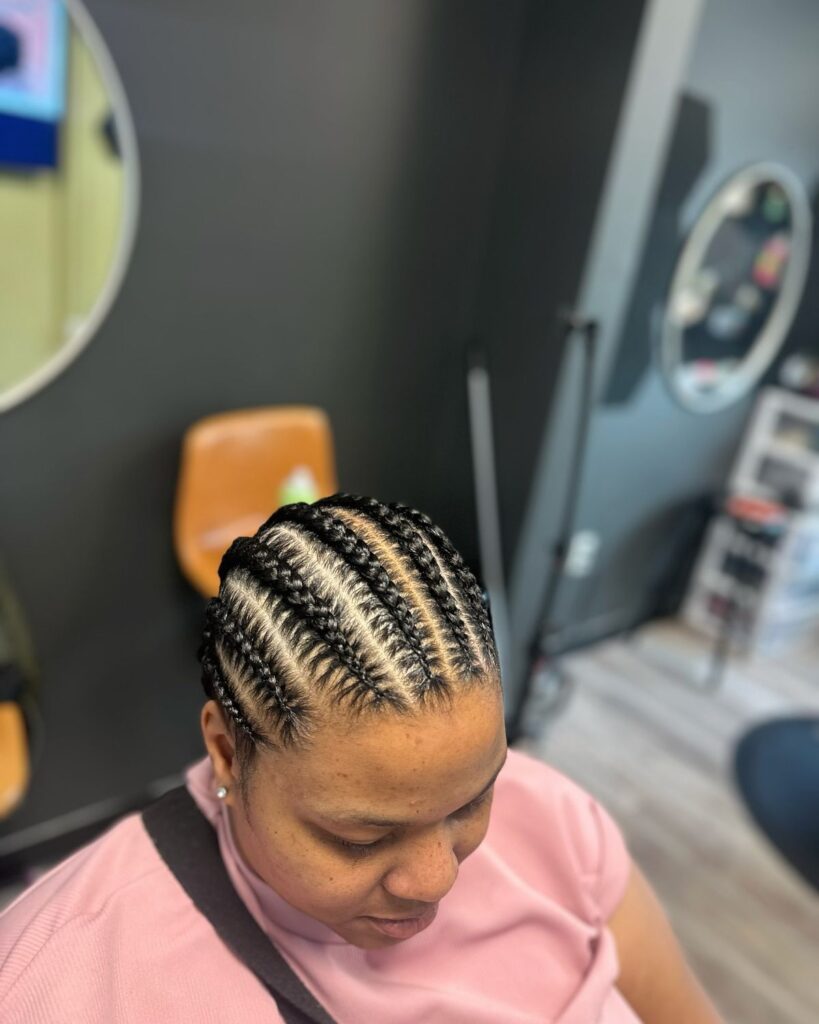
How Tight Is Too Tight When Braiding
Tension headaches and visible pulling at the hairline are signs your braids are too tight. A good base should feel secure, not painfully stretched or uncomfortable.
If your scalp feels sore hours later, that’s worth addressing before your next install.
Communicate clearly with your stylist about your comfort level throughout the process. A stylist who dismisses tension complaints isn’t looking out for your hair’s health.
Your comfort matters just as much as how neat the base looks.
Trust your instincts if something feels wrong during the styling process. Speaking up early is easier than dealing with damage after the fact.
A good stylist will always adjust when you raise a genuine concern.
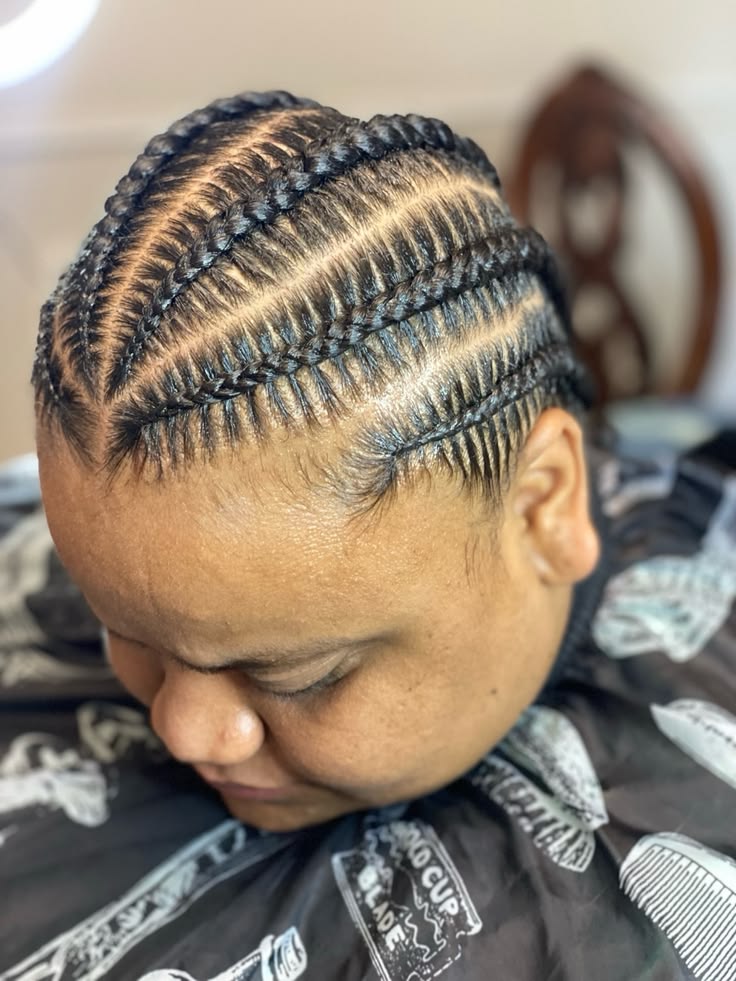
Protecting Your Edges During Prep
Your edges are especially vulnerable during the prep stage, before the wig even goes on. Avoid pulling them into tight braids or twists as part of your base.
This connects to a bigger question, like whether your favorite hairstyle is damaging your hairline more than you realize.
Leave your edges looser or use edge control instead of tight braiding near the hairline. Healthy edges matter more than a perfectly uniform, tight base underneath.
A little extra care here protects a part of your hair that’s slow to regrow.
Once edges thin out, they can take a long time to fully recover. Prevention is always easier than trying to rebuild damaged edges later.
A gentle approach now saves you frustration and disappointment down the road.
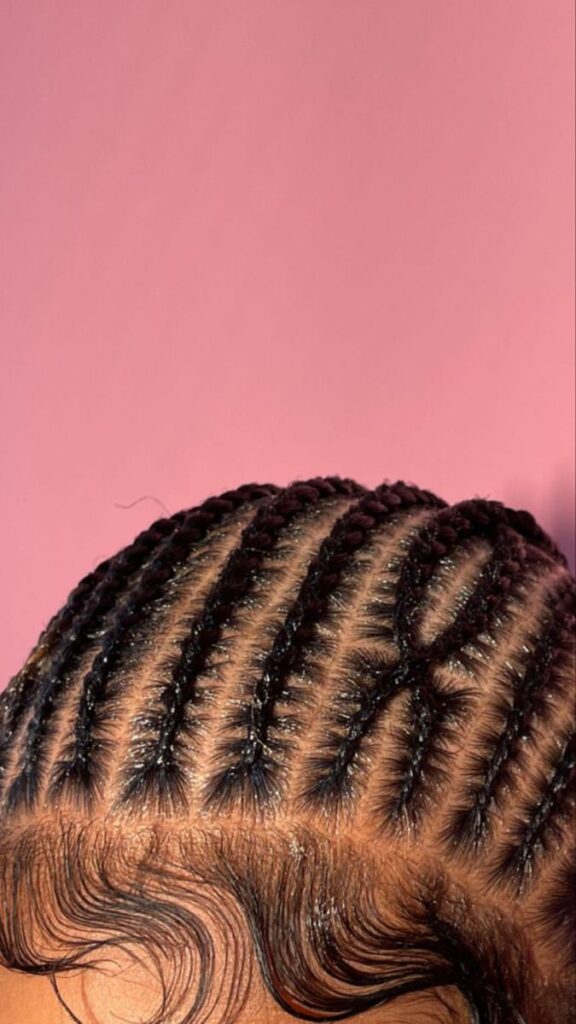
Moisturizing Your Hair Before Sealing It Away
Once your wig is on, your hair won’t get daily moisture the way it usually does. Apply a light leave in conditioner or oil before sealing your hair under the base.
This helps prevent your strands from drying out while they’re covered.
Sometimes hair still feels tight or rough despite this step. Ask yourself if your hair still feels dry after moisturizing, since that points to a different issue.
Getting this step right upfront saves you from surprises once the wig comes off.
Focus extra attention on your ends, since they’re usually the driest part. A light sealant can help lock in moisture for the duration of your wear.
This small habit makes a noticeable difference in how your hair feels at removal.

Using a Wig Cap Correctly
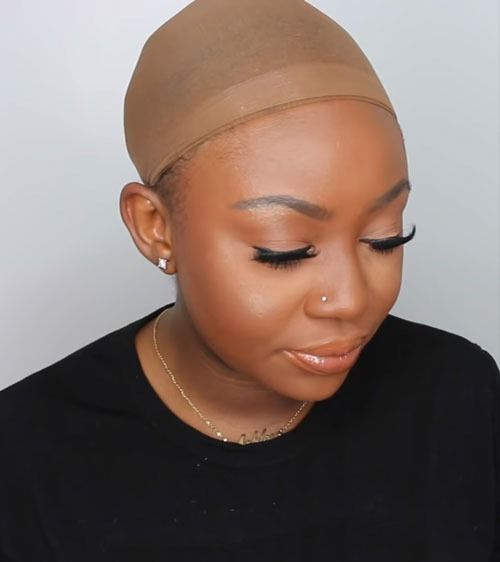
A wig cap keeps your natural hair fully contained and creates a smooth base. Choose a breathable material, especially if you live somewhere warm or humid.
Position it snugly, but not so tight that it causes discomfort or headaches.
Some people skip the cap entirely, but it offers real protection and a cleaner finish. It also makes the wig itself easier to clean, since it stays separate from your scalp’s natural oils.
A properly fitted cap is a small step that makes a real difference.
Consider having a couple of caps on hand, so you always have a clean one ready. Washing your cap regularly prevents buildup that could otherwise transfer to your scalp.
This small habit keeps your whole setup fresher for longer.
Replace your caps periodically, since even good quality ones wear out with repeated washing.
A worn out cap loses some of its stretch and breathability over time. A fresh cap every few months is a small cost worth paying.
Common Prep Mistakes That Damage Hair
Rushing through detangling is one of the most common prep mistakes people make.
Skipping moisture before sealing your hair away is another habit that leads to dryness. Braiding too tightly, thinking it will hold longer, often backfires with real damage.
Watch out for the hidden mistake that’s breaking your hair every single week. Small habits often cause more harm than one big mistake ever could.
Watch out for the biggest wig mistakes that damage your hair too, since many start right at the prep stage. Getting the basics right from the start prevents most of these problems entirely.
Write down what worked and what didn’t after each install, if you tend to forget. A simple note helps you improve your routine with every wig you wear.
Small refinements over time add up to a noticeably better experience.

How Long Prep Should Take
A thorough prep session usually takes one to two hours, depending on your hair.
Rushing through in half that time often means skipped steps or incomplete detangling. Budget enough time so you’re not tempted to cut corners.
Treat prep as its own important appointment, not just a quick step before the real styling.
Patience here sets up a much more comfortable experience for the following weeks. Your future self will thank you for the extra care today.
If you’re doing prep at home alone, expect it to take even longer. Working on the back of your own head is always trickier without help.
Give yourself grace and extra time if you’re managing the whole process solo.
Prepping for a Silk Press Under a Wig
Some people prefer a silk press as their base underneath a wig instead of braids.
If you’ve read the complete beginner’s guide to silk presses, you know the process demands real care and time.
Following how to keep a silk press looking fresh longer principles still applies, even hidden under a wig.
This connects to the differences discussed in silk press vs blowout, where the right base depends on your goals.
A silk press base offers a sleek, flat foundation, though it requires more careful heat protection. Weigh the extra effort against how long you plan to keep the wig on.
A silk press base isn’t necessary for everyone, and that’s completely fine. Braids or twists work just as well for most people’s needs.
Choose based on your hair’s health and your own personal preference, not pressure to do more.
There’s no wrong answer here, only what suits your hair and your schedule best. Trends come and go, but your hair’s health should always come first.
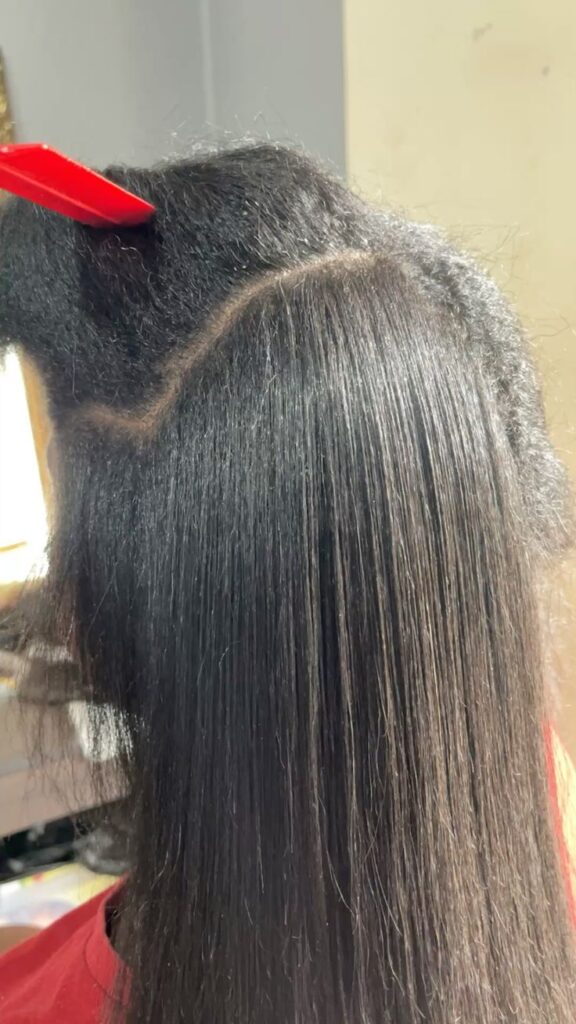
Prepping Natural Hair vs Relaxed Hair
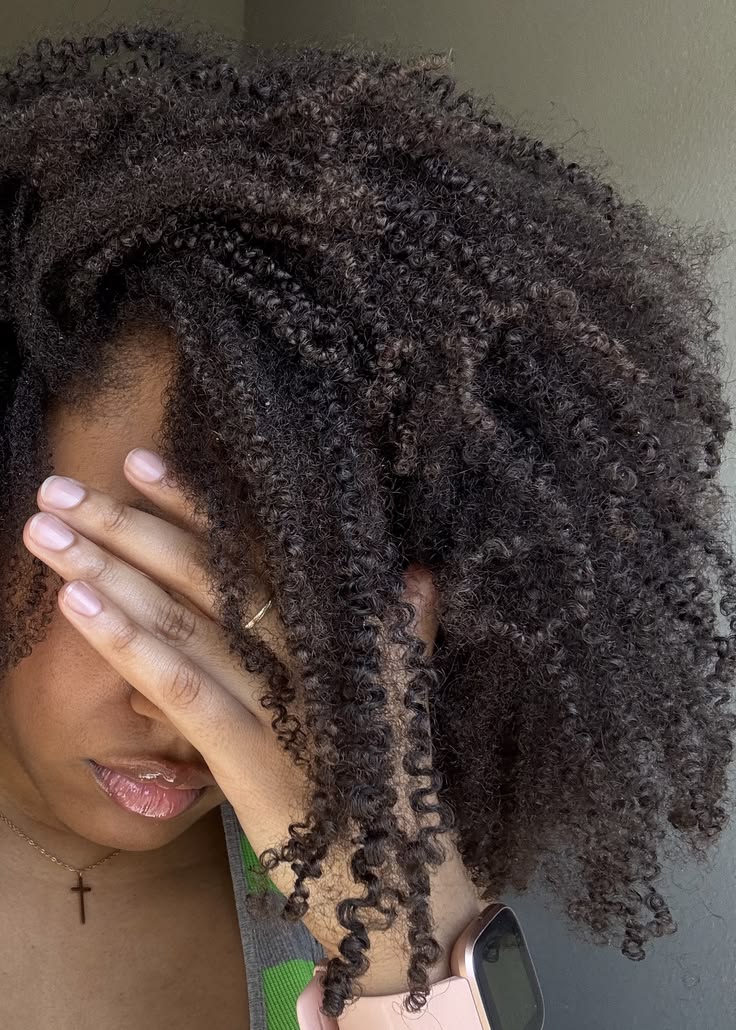
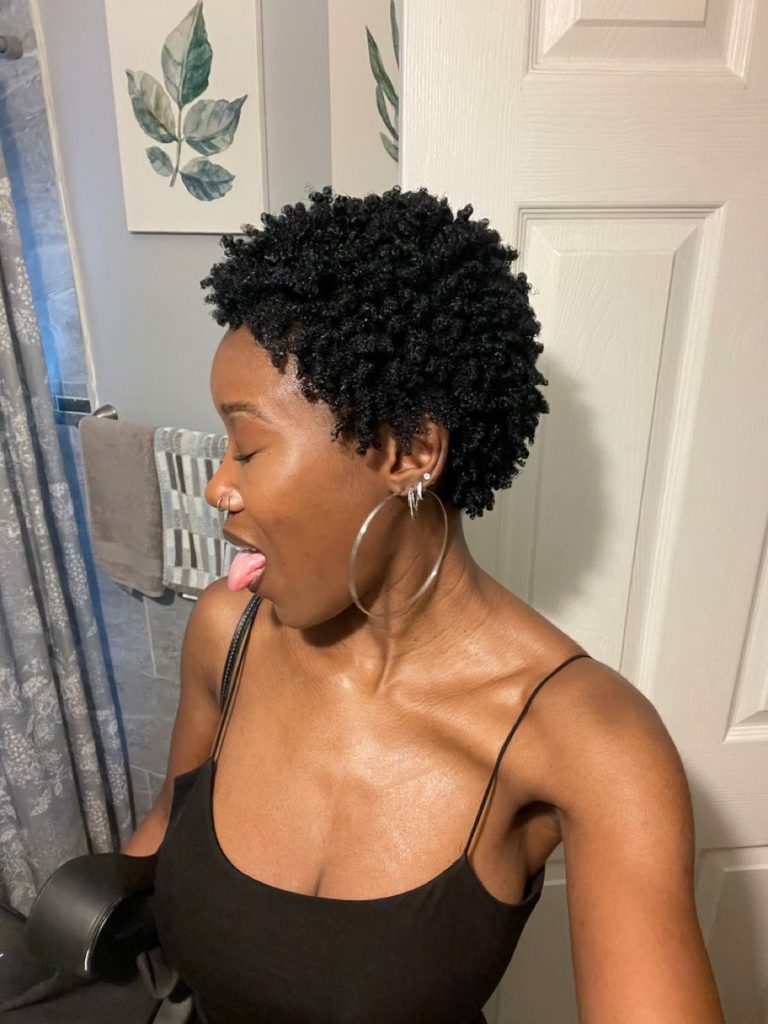
Natural, textured hair often needs more moisture and gentler detangling during prep.
Relaxed hair may be more prone to breakage if handled too roughly. Both hair types benefit from the same core principles, just applied a bit differently.
Pay attention to your hair’s specific needs rather than following a generic routine blindly. What works for a friend’s hair type might not work as well for yours.
Adjusting your approach based on your actual hair leads to better results.
If you’re unsure how your hair type affects your prep routine, ask a trusted stylist. They can point out specific considerations you might not have thought about.
A little guidance early on saves a lot of trial and error later.
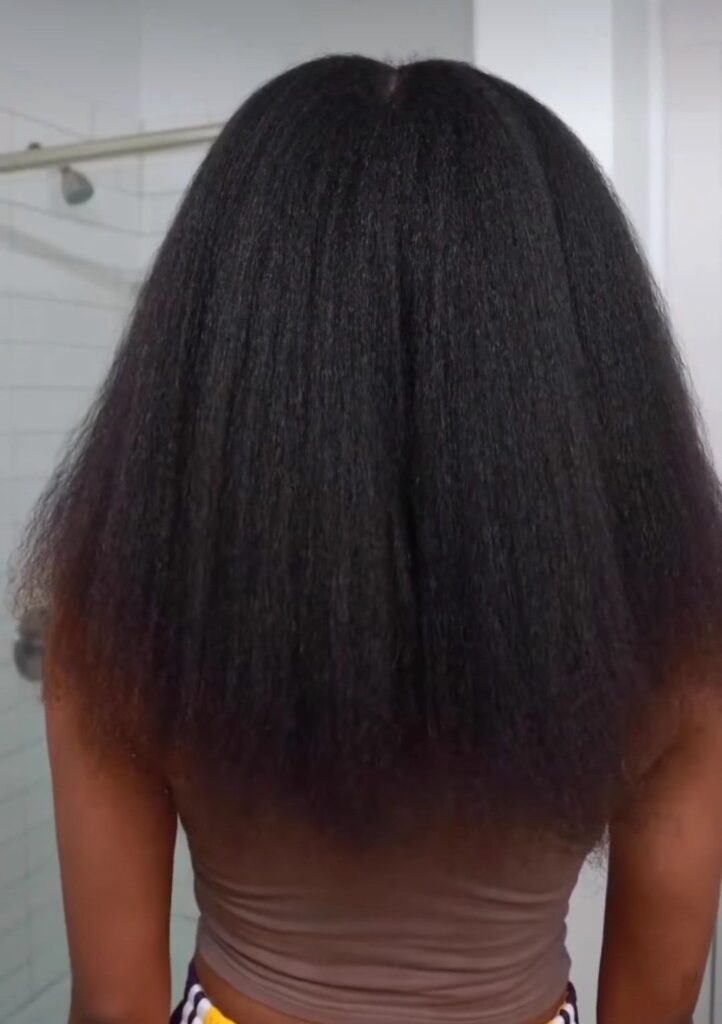
Signs Your Prep Routine Needs Adjusting
Persistent itching, excessive shedding at removal, or unusual dryness are all signs worth noting.
Sometimes these signs connect to bigger questions, like why your afro hair isn’t growing as expected. If your usual routine stops working, it’s worth reassessing rather than pushing through.
My coworker Emily kept getting headaches from her usual braid base for months. Once she switched to looser flat twists, the headaches disappeared completely.
Small adjustments, guided by your own hair’s feedback, often solve problems that seem mysterious at first.
She wishes she’d made the change sooner instead of assuming the headaches were normal. Paying closer attention to your own signals saves you unnecessary discomfort.
Your hair usually tells you what it needs, if you’re willing to listen.

Prep for Long Term Wig Wear vs Short Term
Shorter wear times need less intensive prep than longer, multi week installs. Learning how long you should wear a wig continuously helps you match your prep routine to your actual plans.
Longer wear demands more moisture, a sturdier base, and more careful edge protection.
Think ahead about your schedule before choosing how elaborate your prep should be. A quick style might suit a weekend event, while longer wear needs more planning.
Matching effort to actual need saves you time without sacrificing your hair’s health.
If your plans change mid wear, adjust your care routine rather than ignoring the shift. An install that runs longer than expected still needs the same level of attention.
Flexibility here protects your hair regardless of how your schedule evolves.
Build in a mental checkpoint around the halfway mark of any longer install. Use that moment to assess how your scalp and hair are actually doing.

Tools and Products You’ll Need
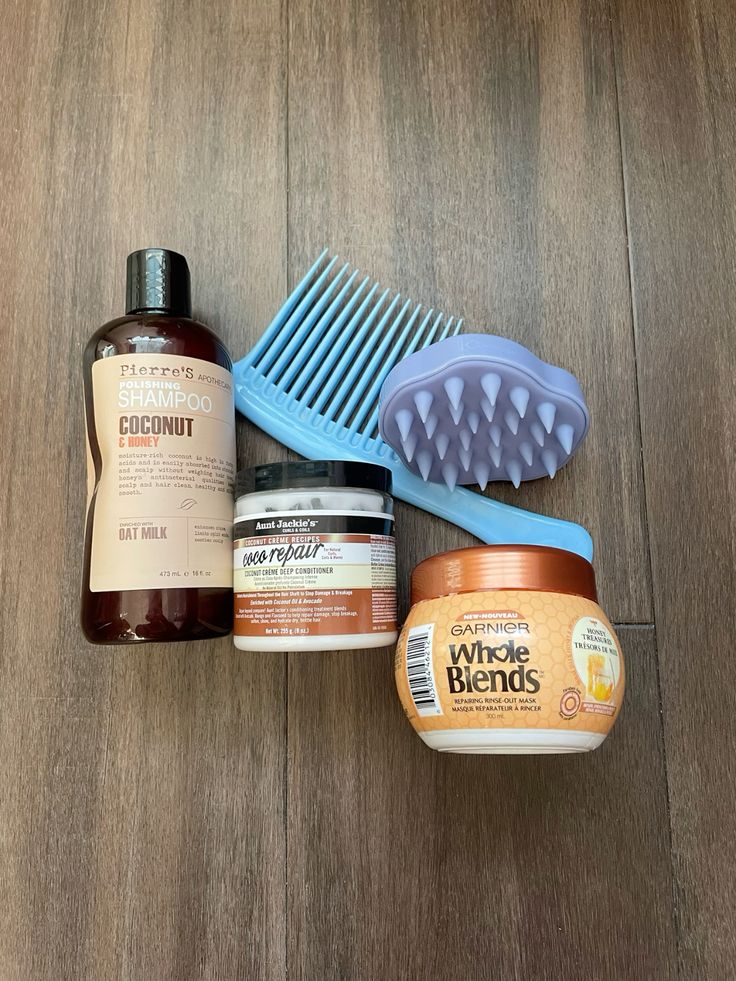
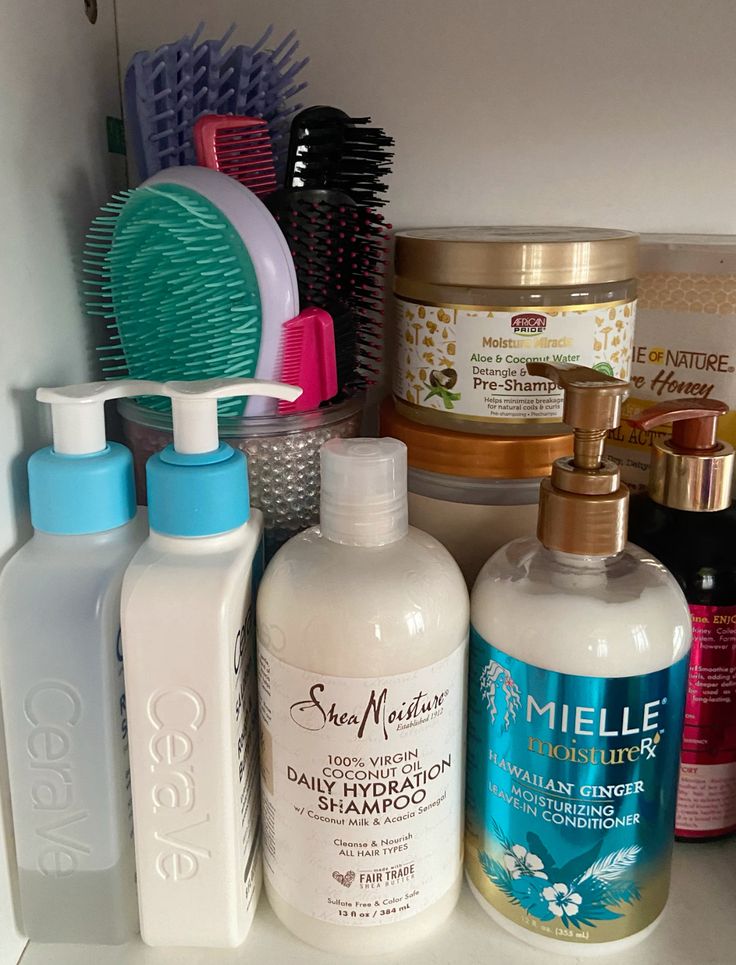
You don’t need an overwhelming collection of products for solid prep work. A clarifying shampoo, deep conditioner, detangling brush, and leave in conditioner cover the basics.
A rat tail comb helps with clean, precise parting for your chosen base style.
Don’t forget heat protectant if you’re blow drying or straightening as part of your prep. Watch out for common heat protectant mistakes like skipping sections or applying too little.
Quality basics, used consistently, matter more than a huge collection of specialty products.
Keep your prep kit organized in one place so you’re never scrambling to find something. A dedicated bag or box makes future installs faster and less stressful.
Good organization is a small habit that pays off every single time.
Restock your basics before you run out, rather than discovering a gap mid session. Running out of leave in conditioner halfway through prep is a frustrating, avoidable problem.
Aftercare Once the Wig Is On
Prep doesn’t end the moment the wig goes on your head. Learning how to care for afro hair under a wig continues the work you started during prep.
Moisturize your scalp periodically and check in on your hair’s condition throughout wear.
Keep an eye out for any discomfort that develops over the following days. Address small issues early, rather than waiting until removal day to deal with them.
Ongoing care protects the investment you made during your initial prep session.
Think of prep and aftercare as two halves of the same continuous routine. Neither one works well without the other supporting it fully.
Together, they give your hair the best chance at staying healthy throughout the entire wear.

Final Checklist Before You Install
Clean, detangled, moisturized hair forms the foundation of any good wig install. A properly chosen and secured base protects your edges and scalp throughout wear.
Technique matters here just as much as it does with curly styles. It’s a bit like why your twist-out never looks like everyone else’s, since small habits change everything.
Double check your cap fit and overall comfort before securing the wig on top. Take a moment to appreciate the work you’ve put in before the final step.
Good prep sets up weeks of comfortable, protected wear ahead of you.
Run through this checklist mentally before every single install, not just your first one. Consistency here matters far more than memorizing every single detail perfectly.
Over time, these steps will start to feel automatic rather than like a chore. Give yourself credit for the care you’re putting into your hair along the way.


4 Comments