
Why Your Twist-Out Never Looks Like Everyone Else’s
Disclosure: Some of the links in this post are affiliate links. This means if you click on the link and purchase an item, I will receive an affiliate commission at no extra cost to you.
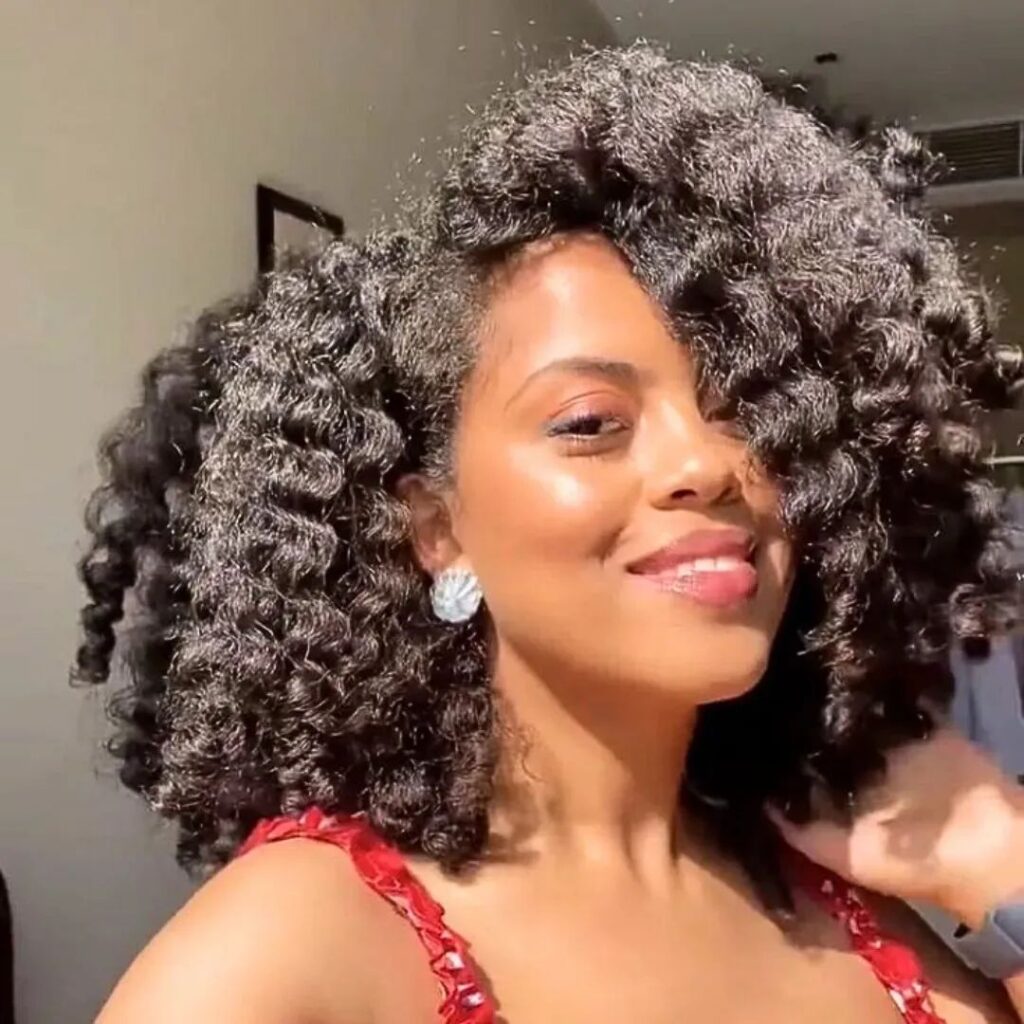
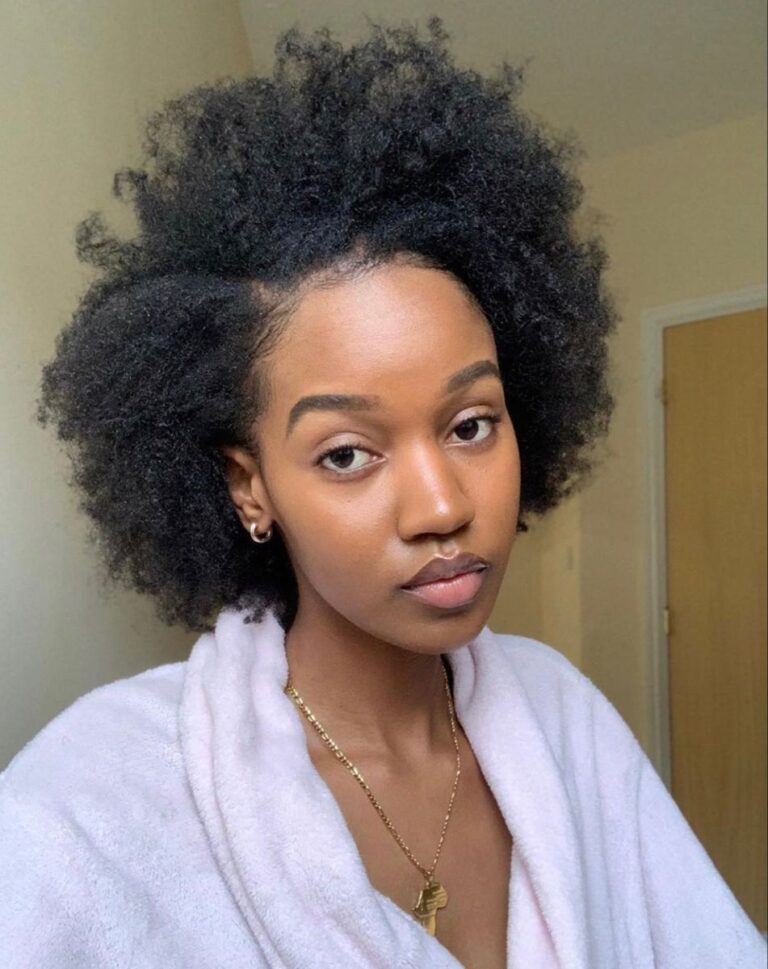
You scroll through your feed and see a perfect twist-out, full and defined. Then you look in the mirror and your own twist-out looks nothing like that. It feels frustrating, and you start wondering what you are doing wrong every single time.
Maybe you bought the exact same products the influencer used and followed every single step. Still, your result looked flatter, frizzier, or just different in some way you cannot quite name.
That gap between expectation and reality catches almost everyone at some point in their hair journey. The truth is simpler than most people expect, and it has little to do with skill.
A lot of it comes down to habits covered in the hidden mistake that’s breaking your hair every week. These are things you may never have noticed before today. Let’s break down why your results look different, and what actually changes them for good.
Why Your Twist-Out Never Looks Like Everyone Else’s
Why Twist-Outs Never Look the Same on Two Different Heads
No two heads of hair behave exactly the same way, even within the same family. Curl pattern, hair density, and porosity all shift the outcome of every single twist-out.
What works perfectly for one person can fall completely flat on someone else’s head. This is not about effort or product quality most of the time.
It is about matching your specific hair to the right method for your own curls. Two sisters can use the same exact products and still get very different final results.
One might get bouncy, defined coils, while the other gets a softer, looser look instead. Neither outcome means someone did something wrong during the process.
Your Curl Pattern Is Not Everyone Else’s Curl Pattern
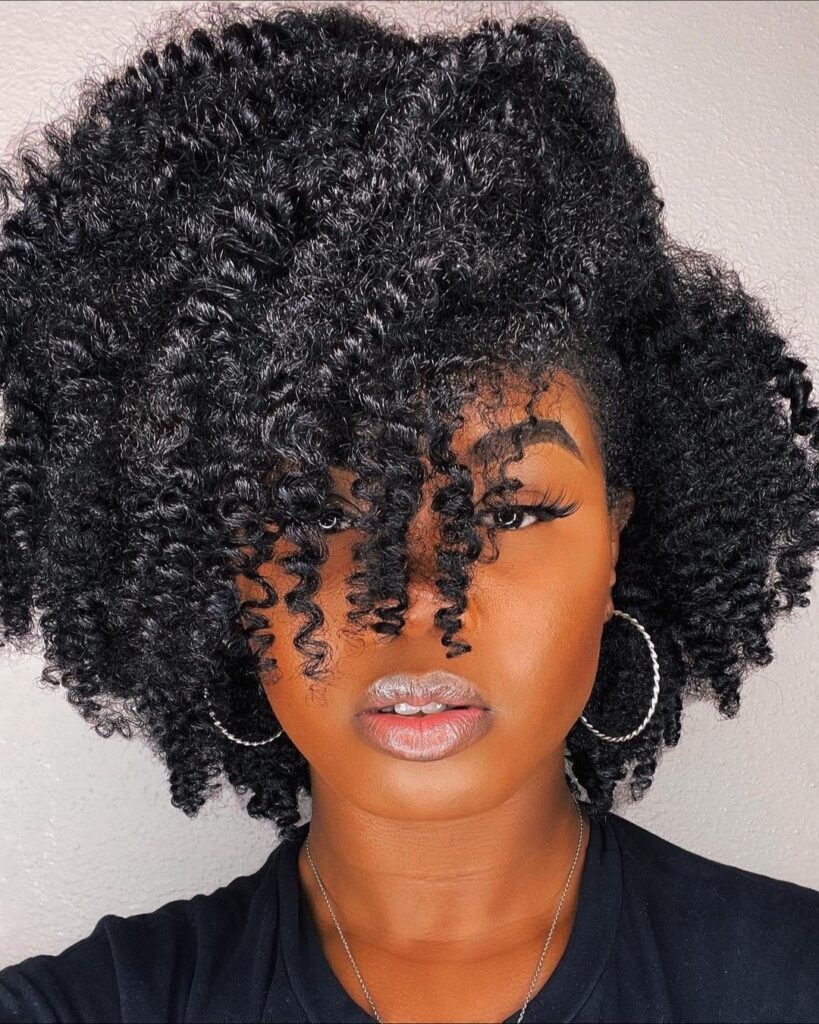
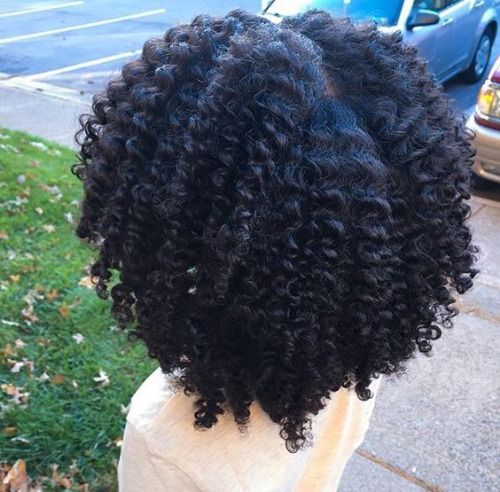
Some curls coil tight and small, while others form loose, wide waves instead. A twist-out on tightly coiled hair often looks fuller because each strand shrinks up more.
Looser curl patterns tend to stretch out and look softer once the twists come down. Neither result is wrong, but comparing the two directly sets you up for disappointment.
Learn your own pattern first, then adjust your expectations to match what that pattern naturally does. A client once brought me a photo and asked why her hair would not match it.
Once we checked her curl pattern against the photo, the mismatch made complete sense. Her hair was never going to shrink the same way as the photo she loved.
Copying someone’s exact routine step by step also often disappoints, even when followed perfectly. Your hair reacts to timing, humidity, and product ingredients differently than someone else’s hair does.
Treat any routine you find online as a rough guide, not a strict formula. Adjust each step slowly, watching how your own hair responds along the way.

Porosity — The Hidden Factor Behind Twist-Out Results
Porosity controls how fast your hair absorbs and loses moisture throughout the day. High porosity hair soaks up product quickly but also dries out just as fast.
Low porosity hair resists product at first, then holds onto moisture for much longer stretches. If your twist-out frizzes out within hours, porosity is often the real reason behind it.
Knowing your porosity type changes which products actually work for your specific twist-out routine. You can test this at home with a simple strand and water test.
Drop a clean strand into a glass of water and watch how it behaves. Hair that sinks fast is usually high porosity, while hair that floats is usually low porosity.
High porosity hair often benefits from heavier creams that seal moisture in longer. Low porosity hair usually does better with lighter, water-based products applied to slightly damp strands.
Steam treatments can also help low porosity hair absorb product more evenly before styling.
Product Buildup and Why It Flattens Your Curls
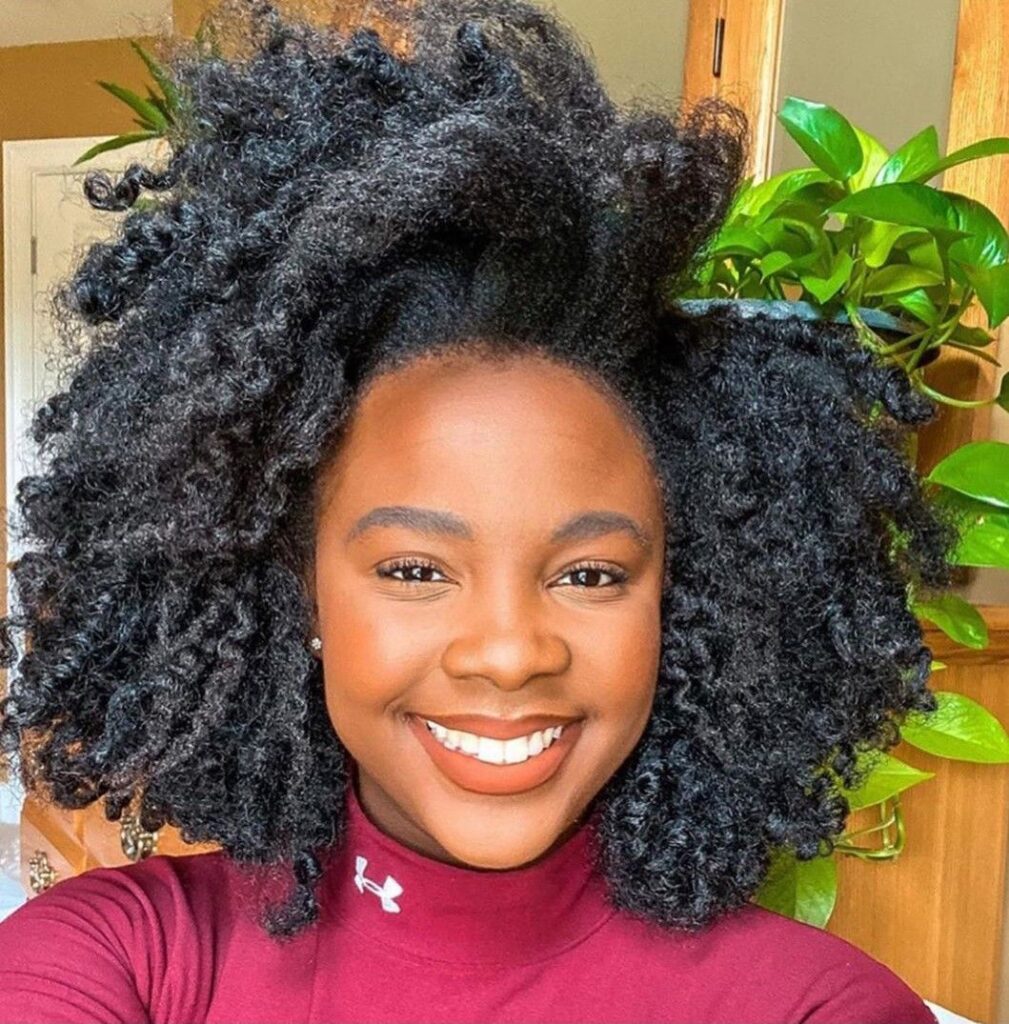
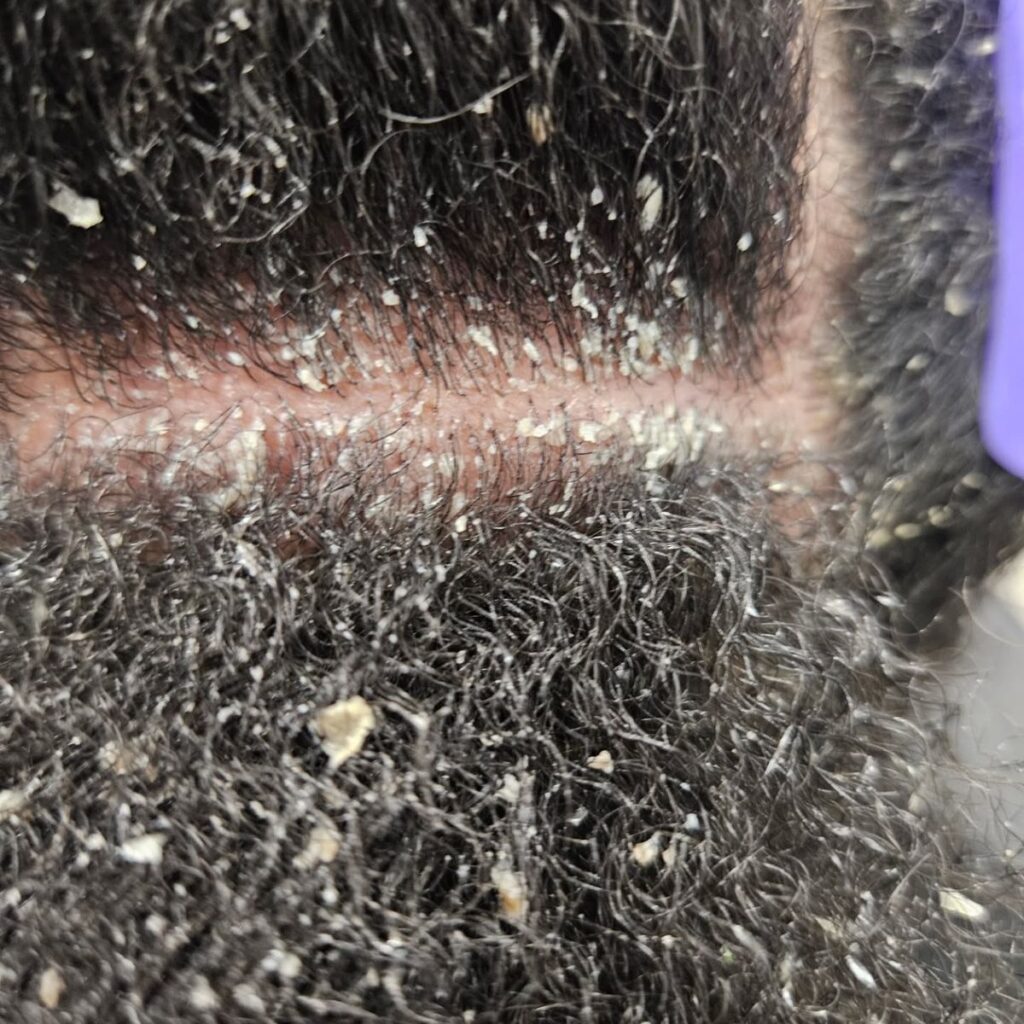
Heavy product buildup weighs curls down and stops them from springing back properly. If you layer cream after cream without washing in between, buildup collects fast.
Blocked strands cannot absorb fresh moisture properly, no matter how much product you add on top. Clean hair holds twist-out definition far better than hair coated in old product residue.
A simple clarifying wash every few weeks removes this buildup and resets your curls fully. Many people skip this step, assuming more product will fix flat, undefined results.
In reality, less product on genuinely clean hair often gives the fuller, bouncier look they want. Check your scalp too, since buildup there can slow growth and cause irritation over time.
A clarifying shampoo once a month is usually enough for most people, unless you use heavy styling products often.
If you wear wigs regularly, buildup can hide underneath without you noticing it right away. Pair a clarifying wash with a proper check under any wig you wear often.
The Size of Your Twists Changes Everything
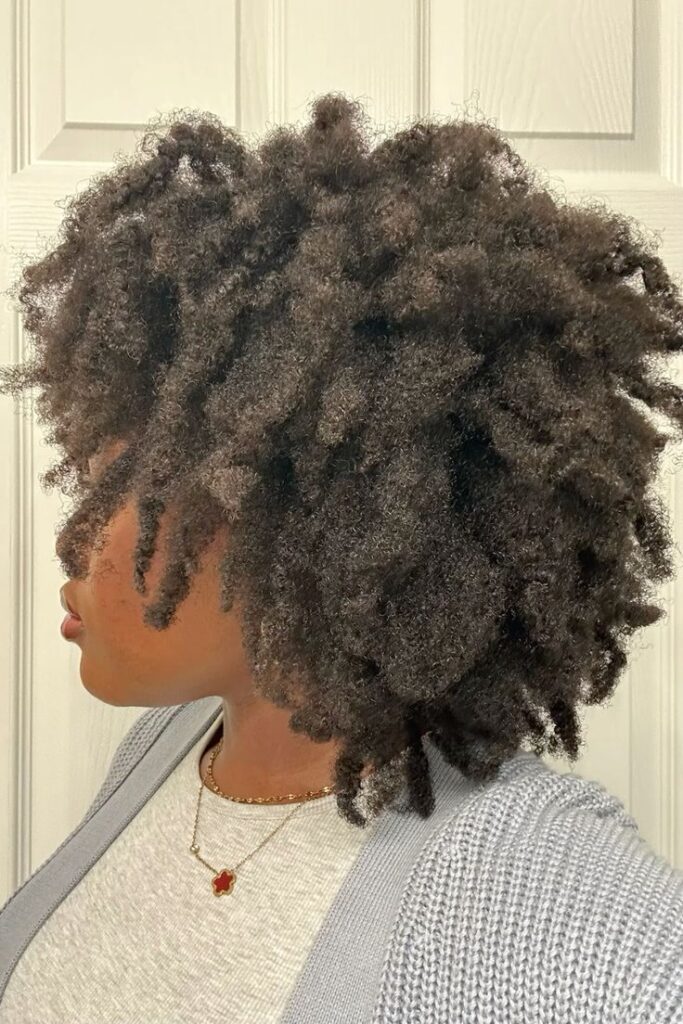
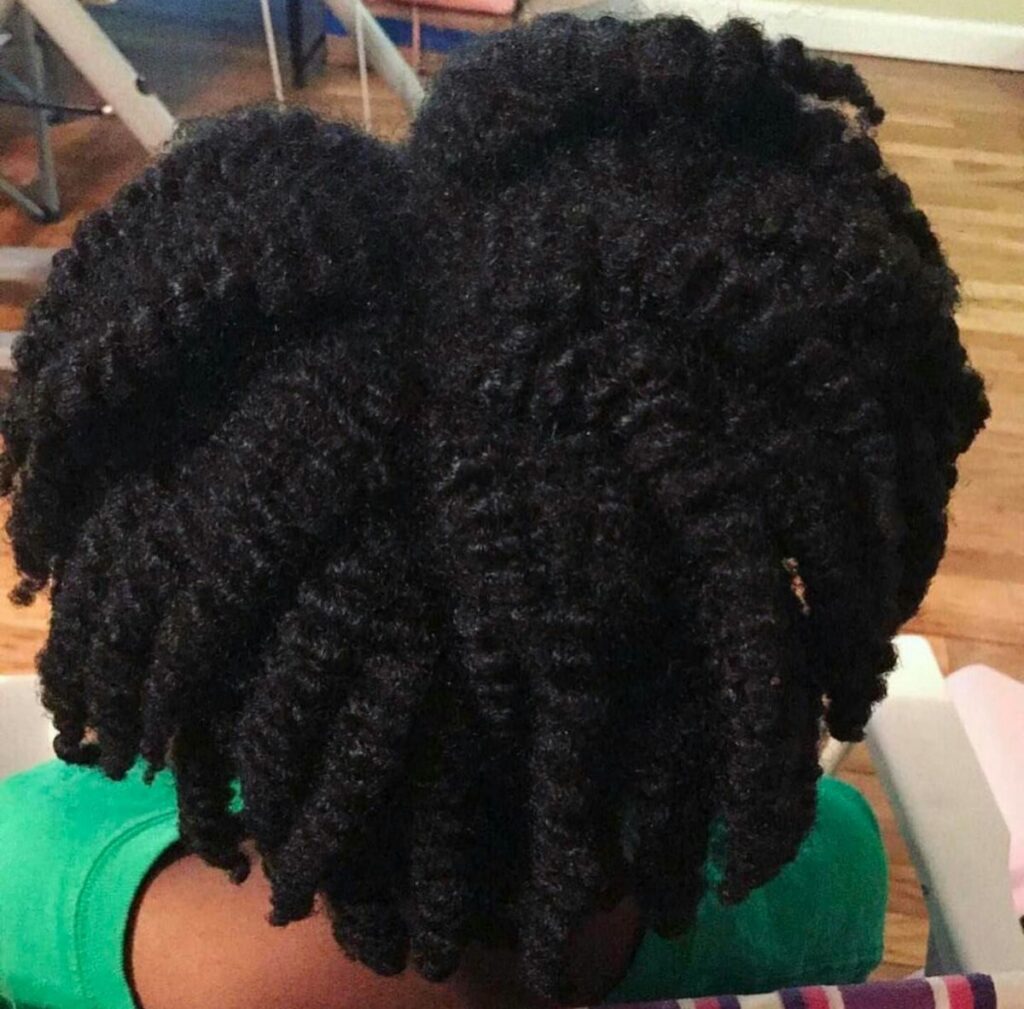
Small twists create tighter, more defined curls once you take them down carefully. Larger twists create looser waves with a softer, more relaxed overall look instead.
Neither size is better on its own, since it depends entirely on the result you actually want. Try a few different twist sizes on separate wash days to see what suits your hair best.
Keep notes on what worked, since memory alone rarely captures the small details that mattered. Twist count matters too, and rushing through with only a handful of large twists limits definition.
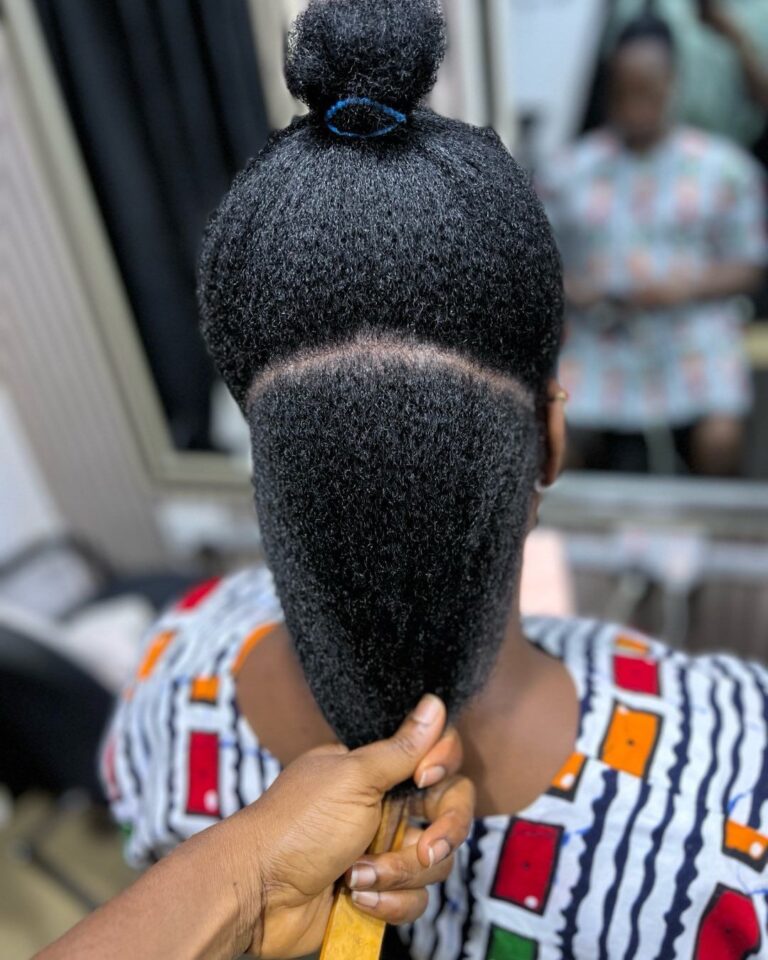
Take your time sectioning properly, even when a full head of small twists feels tedious. Uneven sections also create uneven curls, so measure roughly the same size across your whole head.
A rat tail comb helps create clean, consistent parts if you struggle with sectioning by hand.

Wet Twisting vs Dry Twisting — Which Gives Better Definition
Twisting on soaking wet hair usually gives sharper, more consistent curl definition overall. Twisting on dry or mostly dry hair often creates a softer, more textured finish instead.
Neither method is wrong, but mixing wet hair with dry-hair products causes real problems fast. Match your product choice to your chosen method, and stay consistent throughout the entire process.
Wet twisting generally takes longer to dry, so plan your schedule around that reality. Dry twisting works faster but usually needs slightly more product to control frizz along the way.
If you are often short on time, dry twisting the night before saves you a rushed morning. If definition matters more than speed, wet twisting on a free weekend usually gives the better payoff.
How Much Product Is Too Much, or Too Little
Using too little product leaves your twist-out frizzy and completely undefined by the end. Using too much product leaves it greasy, weighed down, and slow to fully dry.
Finding the right amount takes real trial and error across a few separate attempts. Start with a small amount, then add slightly more only if your hair still feels dry.
A neighbor of mine used almost a full jar of cream on every single twist. Her curls barely moved once dry, weighed down by far more product than her hair needed.
Cutting that amount in half instantly gave her twist-outs more bounce and life. A pea-sized amount per section is usually a reasonable starting point for most curl types.
Increase gradually only if your hair still looks or feels dry once fully styled.
The Role of Moisture Before You Even Start Twisting
Dry hair going into a twist-out rarely holds any shape once you take it down. Moisture needs to go in before you add any styling product on top.
Skipping this step ruins your results before you even begin twisting your hair. A quick spritz of water or leave-in conditioner should always come first, every single time.

The Order You Apply Products In Matters
Applying products in the wrong order often cancels out the good ones you already bought. Water or leave-in should always go on first, before any heavier cream or gel.
Skipping this order traps dryness under a sealed layer that nothing can properly fix afterward. Many people apply gel first for hold, then wonder why their curls still feel dry underneath.
Flip that order, seal moisture in with oil last, and definition usually improves within one wash day. A stylist friend calls this the LOC method, standing for liquid, oil, and cream.
She swears her clients notice a real difference the very first time they try the correct order. Small changes like this often matter more than switching brands entirely.
Some curl types do better with a slightly different order, called LCO, cream before oil instead. Testing both orders on your own hair tells you which one actually seals moisture in best.

Weather and Season Changes Affect Twist-Outs Too
Humidity in the air pulls moisture toward your hair, and this often causes fast frizz. Dry, cold air does the opposite, pulling moisture out of your strands instead.
Your twist-out routine likely needs small adjustments as the seasons shift throughout the year. In humid months, a stronger hold product helps twist-outs survive the extra moisture in the air.
In dry months, extra sealing with oil helps prevent your curls from drying out too fast. Pay attention to how your hair reacts each season, rather than assuming one routine fits every month.
What worked perfectly in summer may need real tweaking once winter weather arrives. Indoor heating in colder months also dries hair out faster than most people expect.
A humidifier in your bedroom can help protect your twist-out overnight during the driest weeks of the year.
Heat Damage and Its Long-Term Effect on Twist-Outs
If you use heat often for silk presses or blowouts, your curl pattern may already be shifting. Heat-damaged sections behave differently than untouched curls, and they rarely twist the same way.
Start by understanding heat basics through a beginner’s guide to silk presses before your next appointment.
Learn how to protect your results afterward through how to keep a silk press looking fresh longer too.
If you switch between methods, it helps to know the difference between a silk press and a blowout beforehand.
Whichever method you choose, follow safe technique using how to blow dry afro hair without damage every time.
Skipping protection is a common slip, and heat protectant mistakes you might be making covers this exact problem.
How Your Hair Health Affects Twist-Out Results
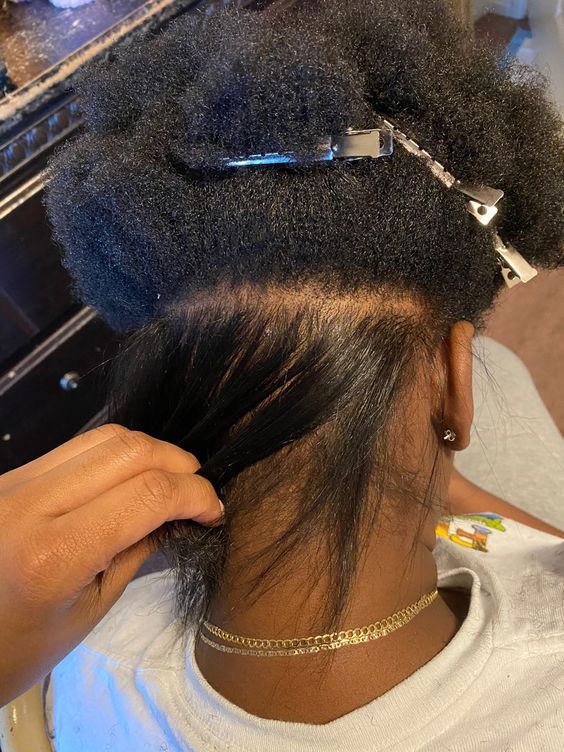
Weak, damaged, or slow-growing hair rarely holds a twist-out shape as well as healthy hair.
If your hair feels stuck at the same length, 15 reasons your afro hair isn’t growing might explain why.
Dryness plays a role too, and why your hair still feels dry after moisturizing covers this connection in depth.
Even your regular hairstyles play a part in this, more than most people assume. Read could your favorite hairstyle be damaging your hairline for a fuller picture on this.

Wigs and Twist-Outs — Can You Combine Them
Some people wear wigs over twist-out hair to protect their curls from daily manipulation. If you are new to wigs entirely, start with a beginner’s guide to wigs for natural hair first.
Proper prep matters just as much here, so check how to prep your hair before installing a wig too. Once the wig is on, your natural curls still need real care underneath everything.
How to care for afro hair under a wig explains what that care should actually look like day to day.
Avoid the common slip-ups covered in the biggest wig mistakes that damage your hair, since some directly affect curl health.
Also, always respect limits explained in how long you should wear a wig continuously, since your curls need air too.
Drying Time and Why Patience Changes Your Results
Taking twists down while still damp almost always ruins the definition you worked hard for. Rushing this step is one of the most common mistakes people make repeatedly.
Let your twists air dry fully, or use a low, gentle heat setting instead. Patience here pays off far more than any product ever could on its own.
Overnight drying works well for many people, since it removes the temptation to rush. Check a twist near your ear first, since that section usually dries the slowest.
A bonnet or scarf helps twists dry evenly overnight without frizzing against your pillow. If you are in a hurry, a diffuser on low heat speeds drying without ruining your curl pattern.
Keep the heat setting low, since high heat undoes the gentle work you just put in.

The Takedown Method Matters as Much as the Twist Itself
How you separate your twists changes the final look just as much as the twisting did. Pulling too fast, or using a comb through fresh twists, breaks up the curl pattern instantly.
Use your fingers gently, and work in small sections rather than rushing through the whole head. A light oil on your fingertips helps twists separate smoothly without pulling curls apart.
Fluffing at the roots gives extra volume once every twist has been fully separated. Avoid touching your hair too much after this point, since that flattens definition fast.
Shaking your head gently, rather than raking through with fingers, often preserves more curl shape. Save any heavy touching or restyling for the next wash day instead of the same afternoon.
Comparing Your Hair to Someone Else’s Is the Real Problem
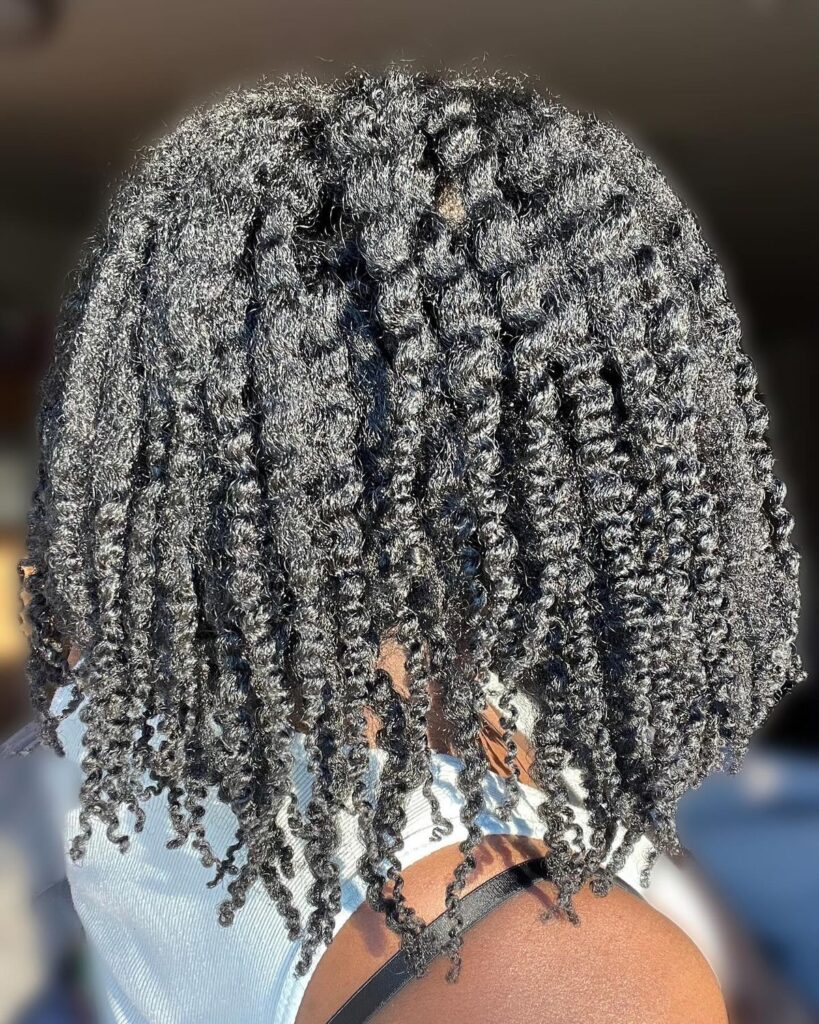
Social media shows a narrow slice of what twist-outs can actually look like across different people. Most posts skip the exact routine, the hair type, and the years of practice behind that result.
Comparing your third attempt to someone’s tenth year of practice is simply not a fair measure. Give yourself real room to learn your own hair before judging it against someone else entirely.
Filters and good lighting also play a bigger part in those photos than most people admit. What you see online is rarely the full, honest picture of someone’s actual daily hair.
Many influencers also have professional help, extra time, and years of practice most viewers never see. Remembering this context makes it much easier to judge your own results fairly.
Building Realistic Expectations for Your Own Hair
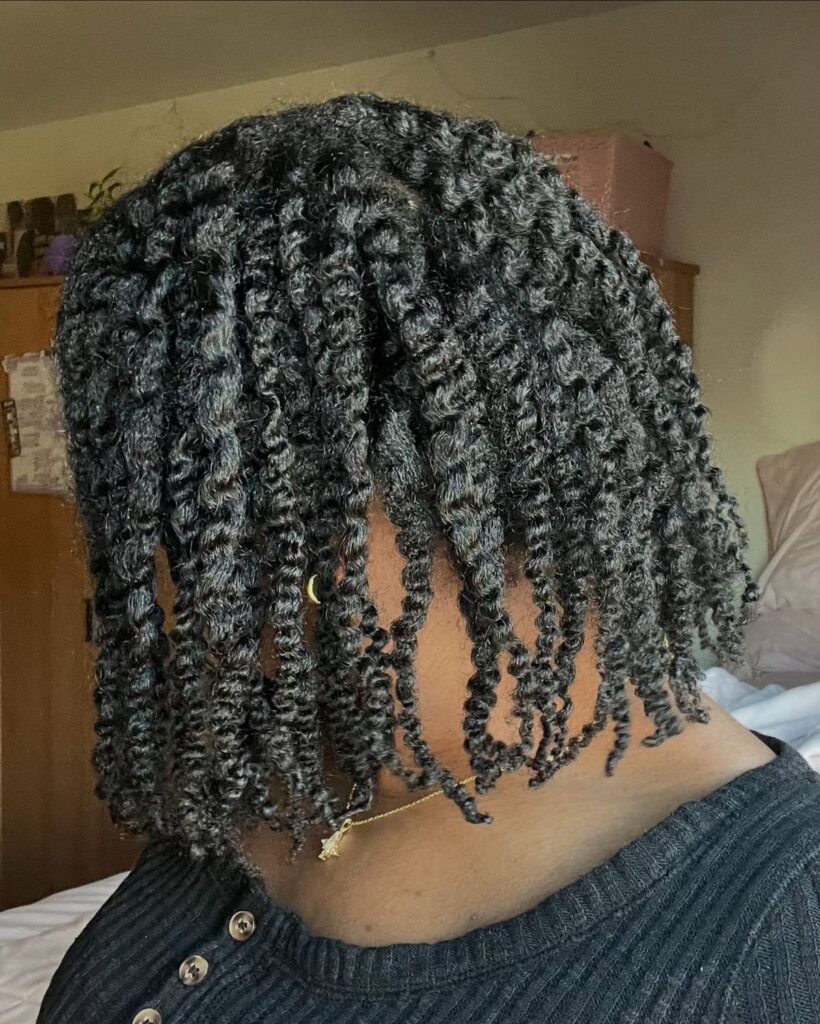
Your twist-out will likely never look exactly like the one you saw online, and that is fine. The goal is not to copy another person’s curls perfectly, strand for strand.
The goal is finding what genuinely works well for your own unique hair pattern. Once you shift that goal, frustration usually drops, and your results start improving steadily over time.
Progress often looks like small, gradual improvements rather than one dramatic overnight transformation.
Celebrate the days your twist-out holds up well, even if it still differs from your favorite photo.
Real growth comes from understanding your hair, not from chasing a look that belongs to someone else’s head.
Take photos of your own results over time, not just other people’s results you find online. Looking back at your own progress often shows real improvement you might otherwise miss completely.
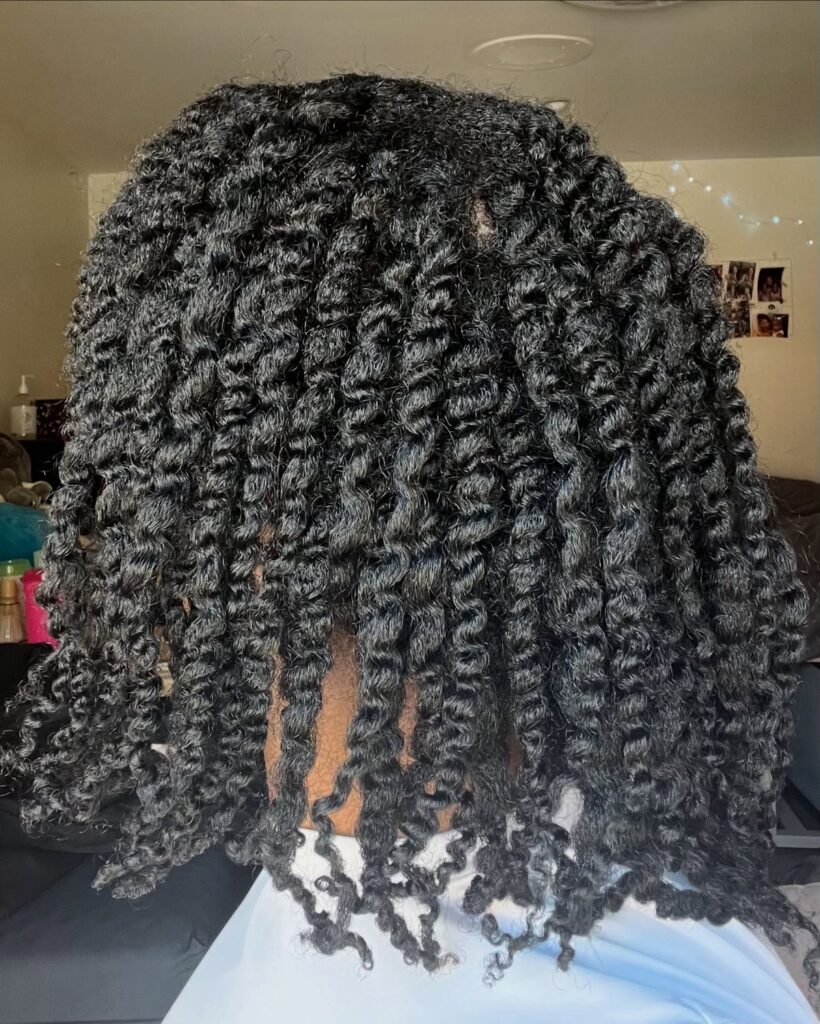
A Simple Twist-Out Routine That Actually Works for You
Start with clean, fully detangled hair before you add any product at all. Apply your moisture layer first, then follow with a light styling cream for hold.
Twist in sections that match your desired final curl size, small or large. Let your hair dry completely before taking anything down, no matter how tempting it feels.
Separate gently with your fingers, then finish with a small amount of oil for shine. Write down exact product amounts and timing the first few times you try this routine.
That record becomes useful later, when you want to repeat a result that worked really well. Adjust one variable at a time, whether that is twist size, product amount, or drying method.
Repeat the exact same version at least twice before deciding whether it truly works for you. One attempt rarely tells the whole story, since outside factors like weather can shift results slightly.

When Your Twist-Out Isn’t Working — Troubleshooting
If your twist-out frizzes fast, check your porosity and moisture routine first before anything else. And if it looks flat and weighed down, buildup or too much product is often the real cause.
If it never holds shape at all, your hair may need a health reset before styling changes help. Small adjustments, tested one at a time, reveal far more than changing everything all at once.
Keep a short list of what you changed each time, so patterns become easier to spot. Most twist-out problems trace back to one of just a few root causes covered here already.
When in doubt, go back to basics: clean hair, proper moisture, the right product amount, and real patience.
These four fundamentals solve the vast majority of twist-out struggles people run into regularly.

Final Thoughts on Loving Your Own Twist-Out
Your twist-out is not supposed to look like anyone else’s, no matter how much you compare. It is supposed to reflect your own curl pattern, your own porosity, and your own care routine.
Once you stop chasing someone else’s results, your own twist-out starts to feel like a real win. Give your hair the patience and attention it actually needs, and the results will follow naturally.
Track what works for you over a few months instead of judging one single attempt. Your hair will keep teaching you something new every single time you style it.


6 Comments